
NOTICE:
If your print came out too tight or too loose, just scale the cap up or down 0.05mm increment in the X & Y direction.
DO NOT scale the Z direction as that will make the locking mechanism to fail.
The same goes to the locking nut.
If your print falls off during printing, CLEAN your plate.
Different filaments and different flow rate, calibration can make the parts too tight or loose. Adjust accordingly.
As usual, if you face any other problems or feedback during printing, leave me a msg, I’ll try my best to help.
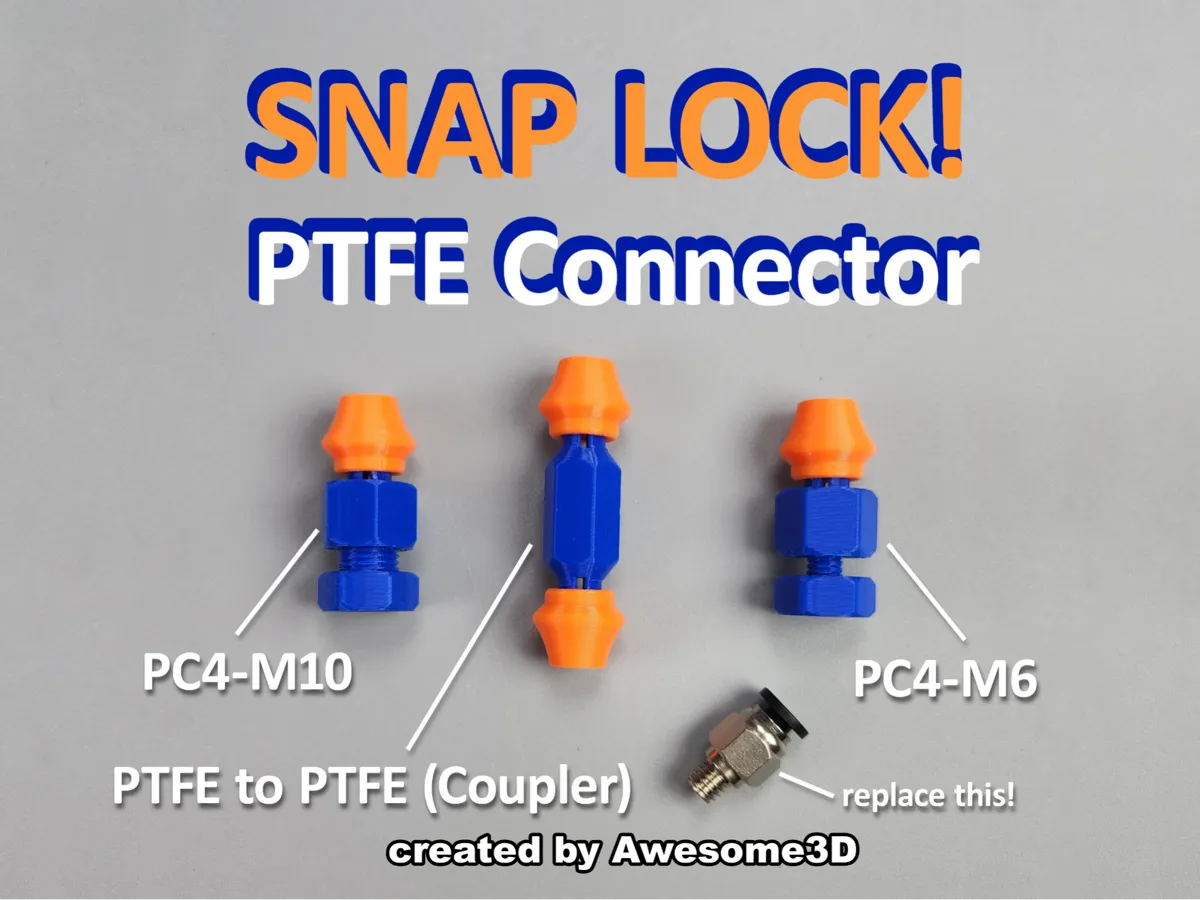
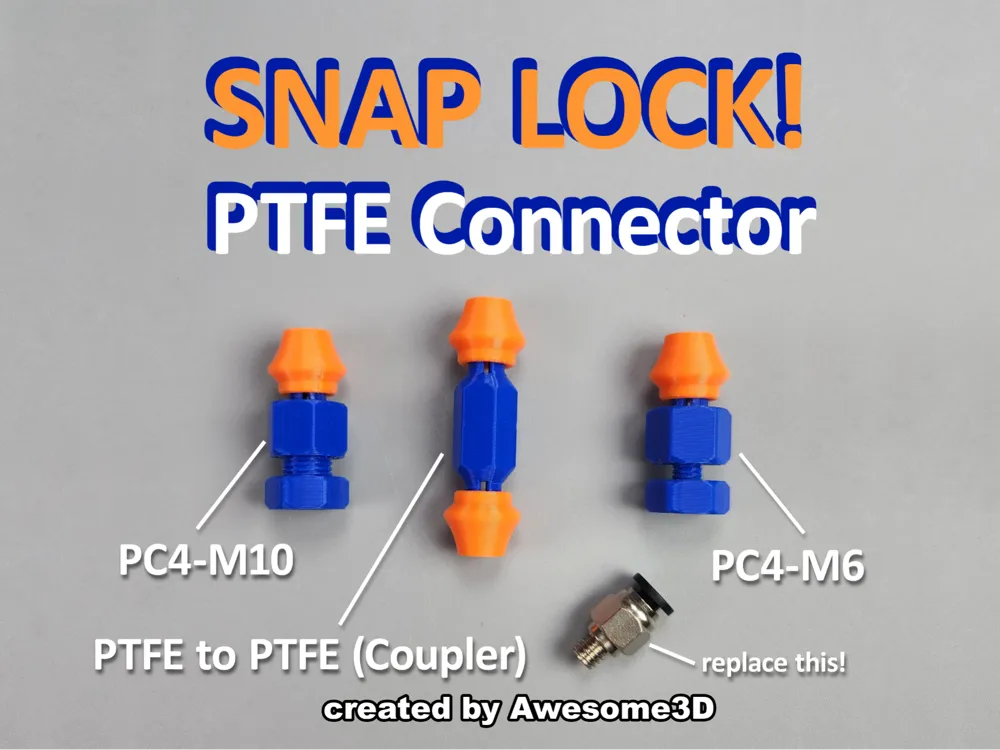
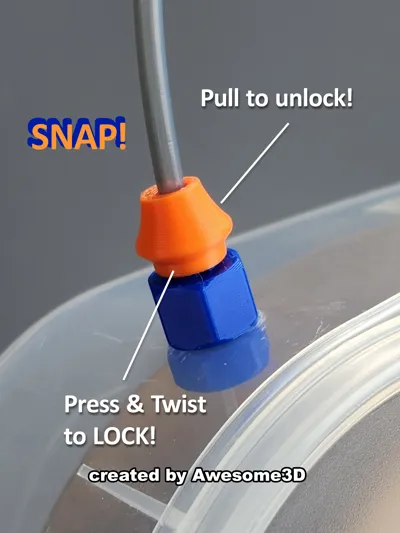
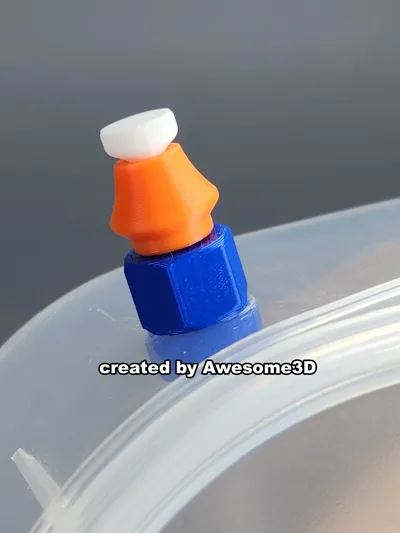
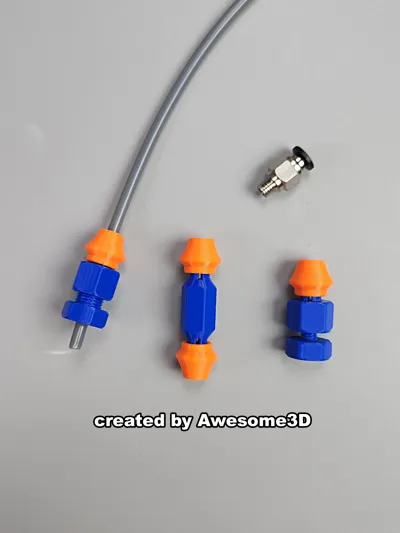
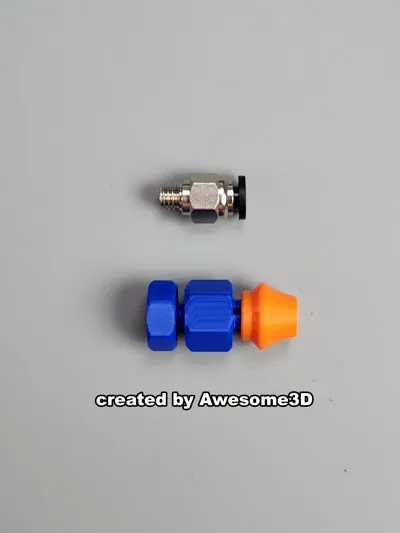
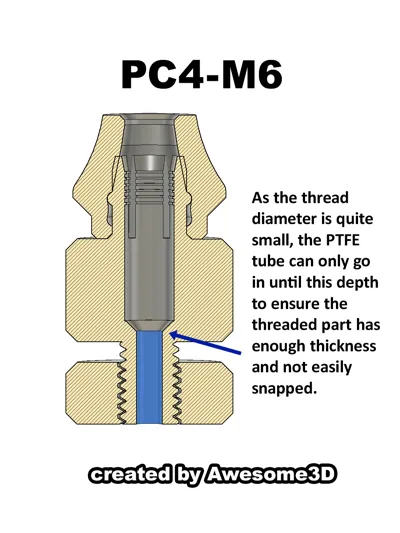
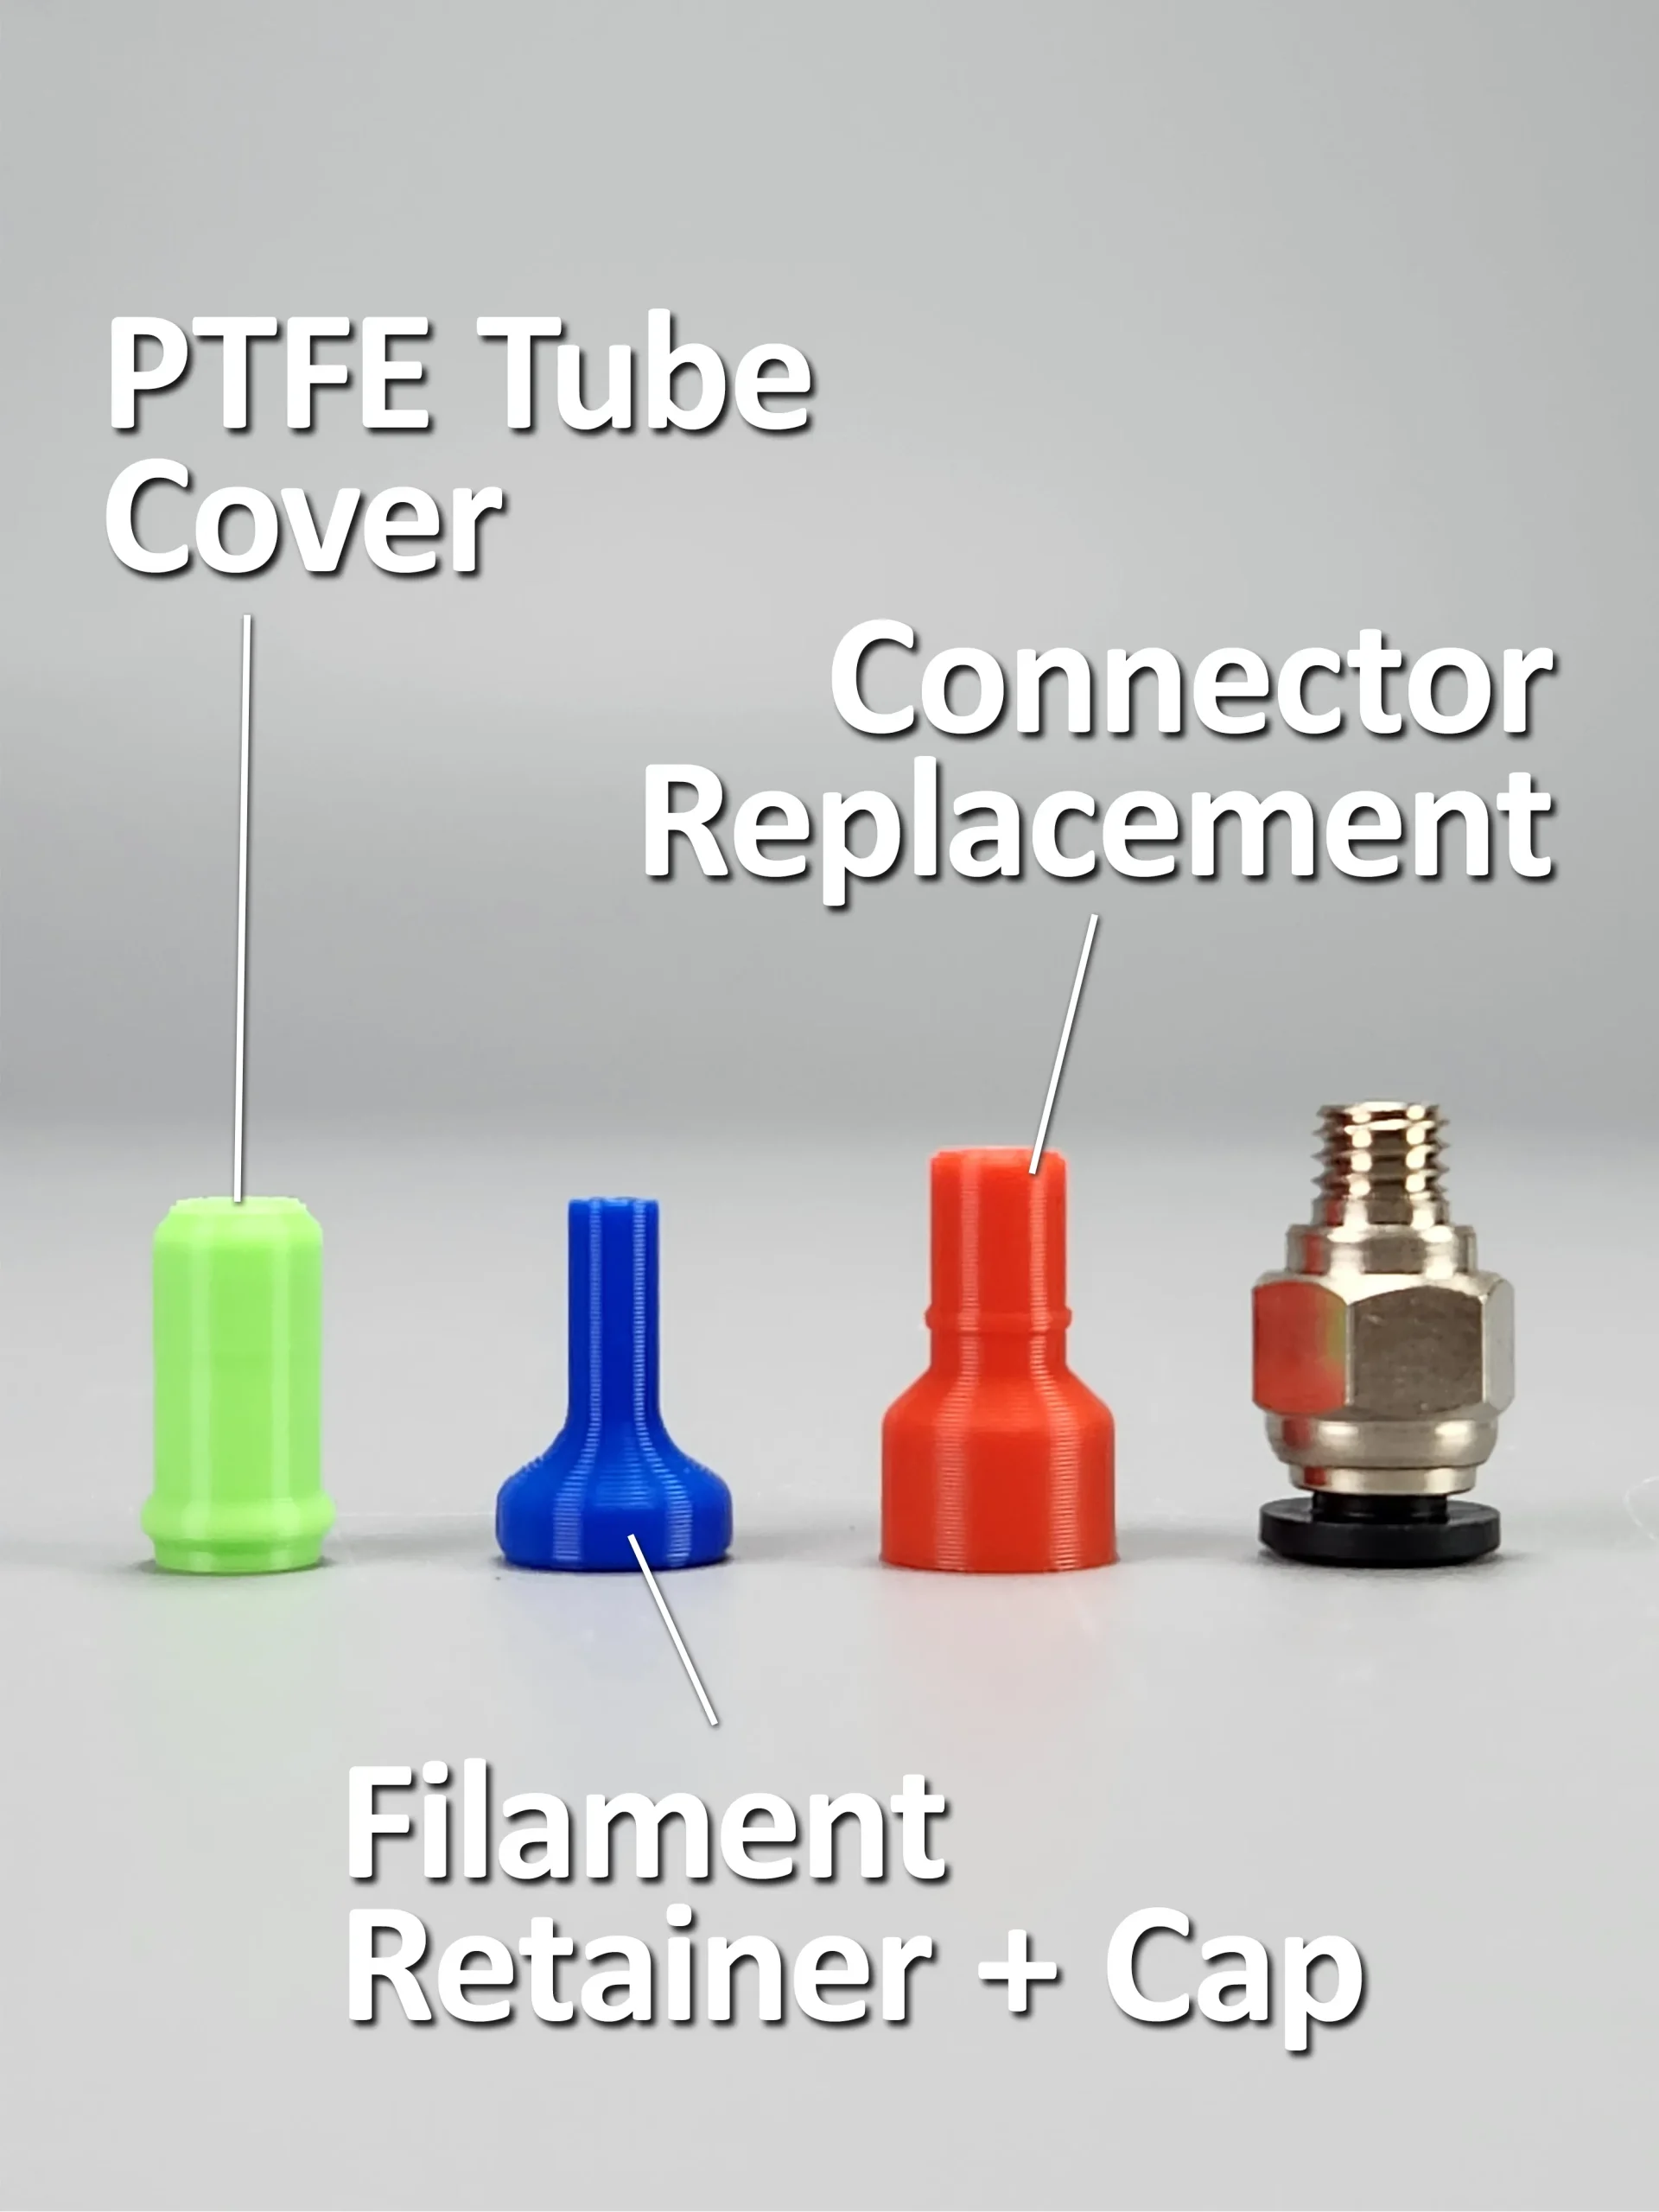
These are 3 different PTFE connectors specially designed to be able to lock and release easily and fast.
Have wanted to designed this connector since I made the previous bits for the drybox, however have never have the time for it until now.
Here’s the link to my previous design. While the previous connector was a quick substitute for the connector, it wasn’t good enough.
I’m still using the other 2 caps/cover, however the simple connector doesn’t work as well.
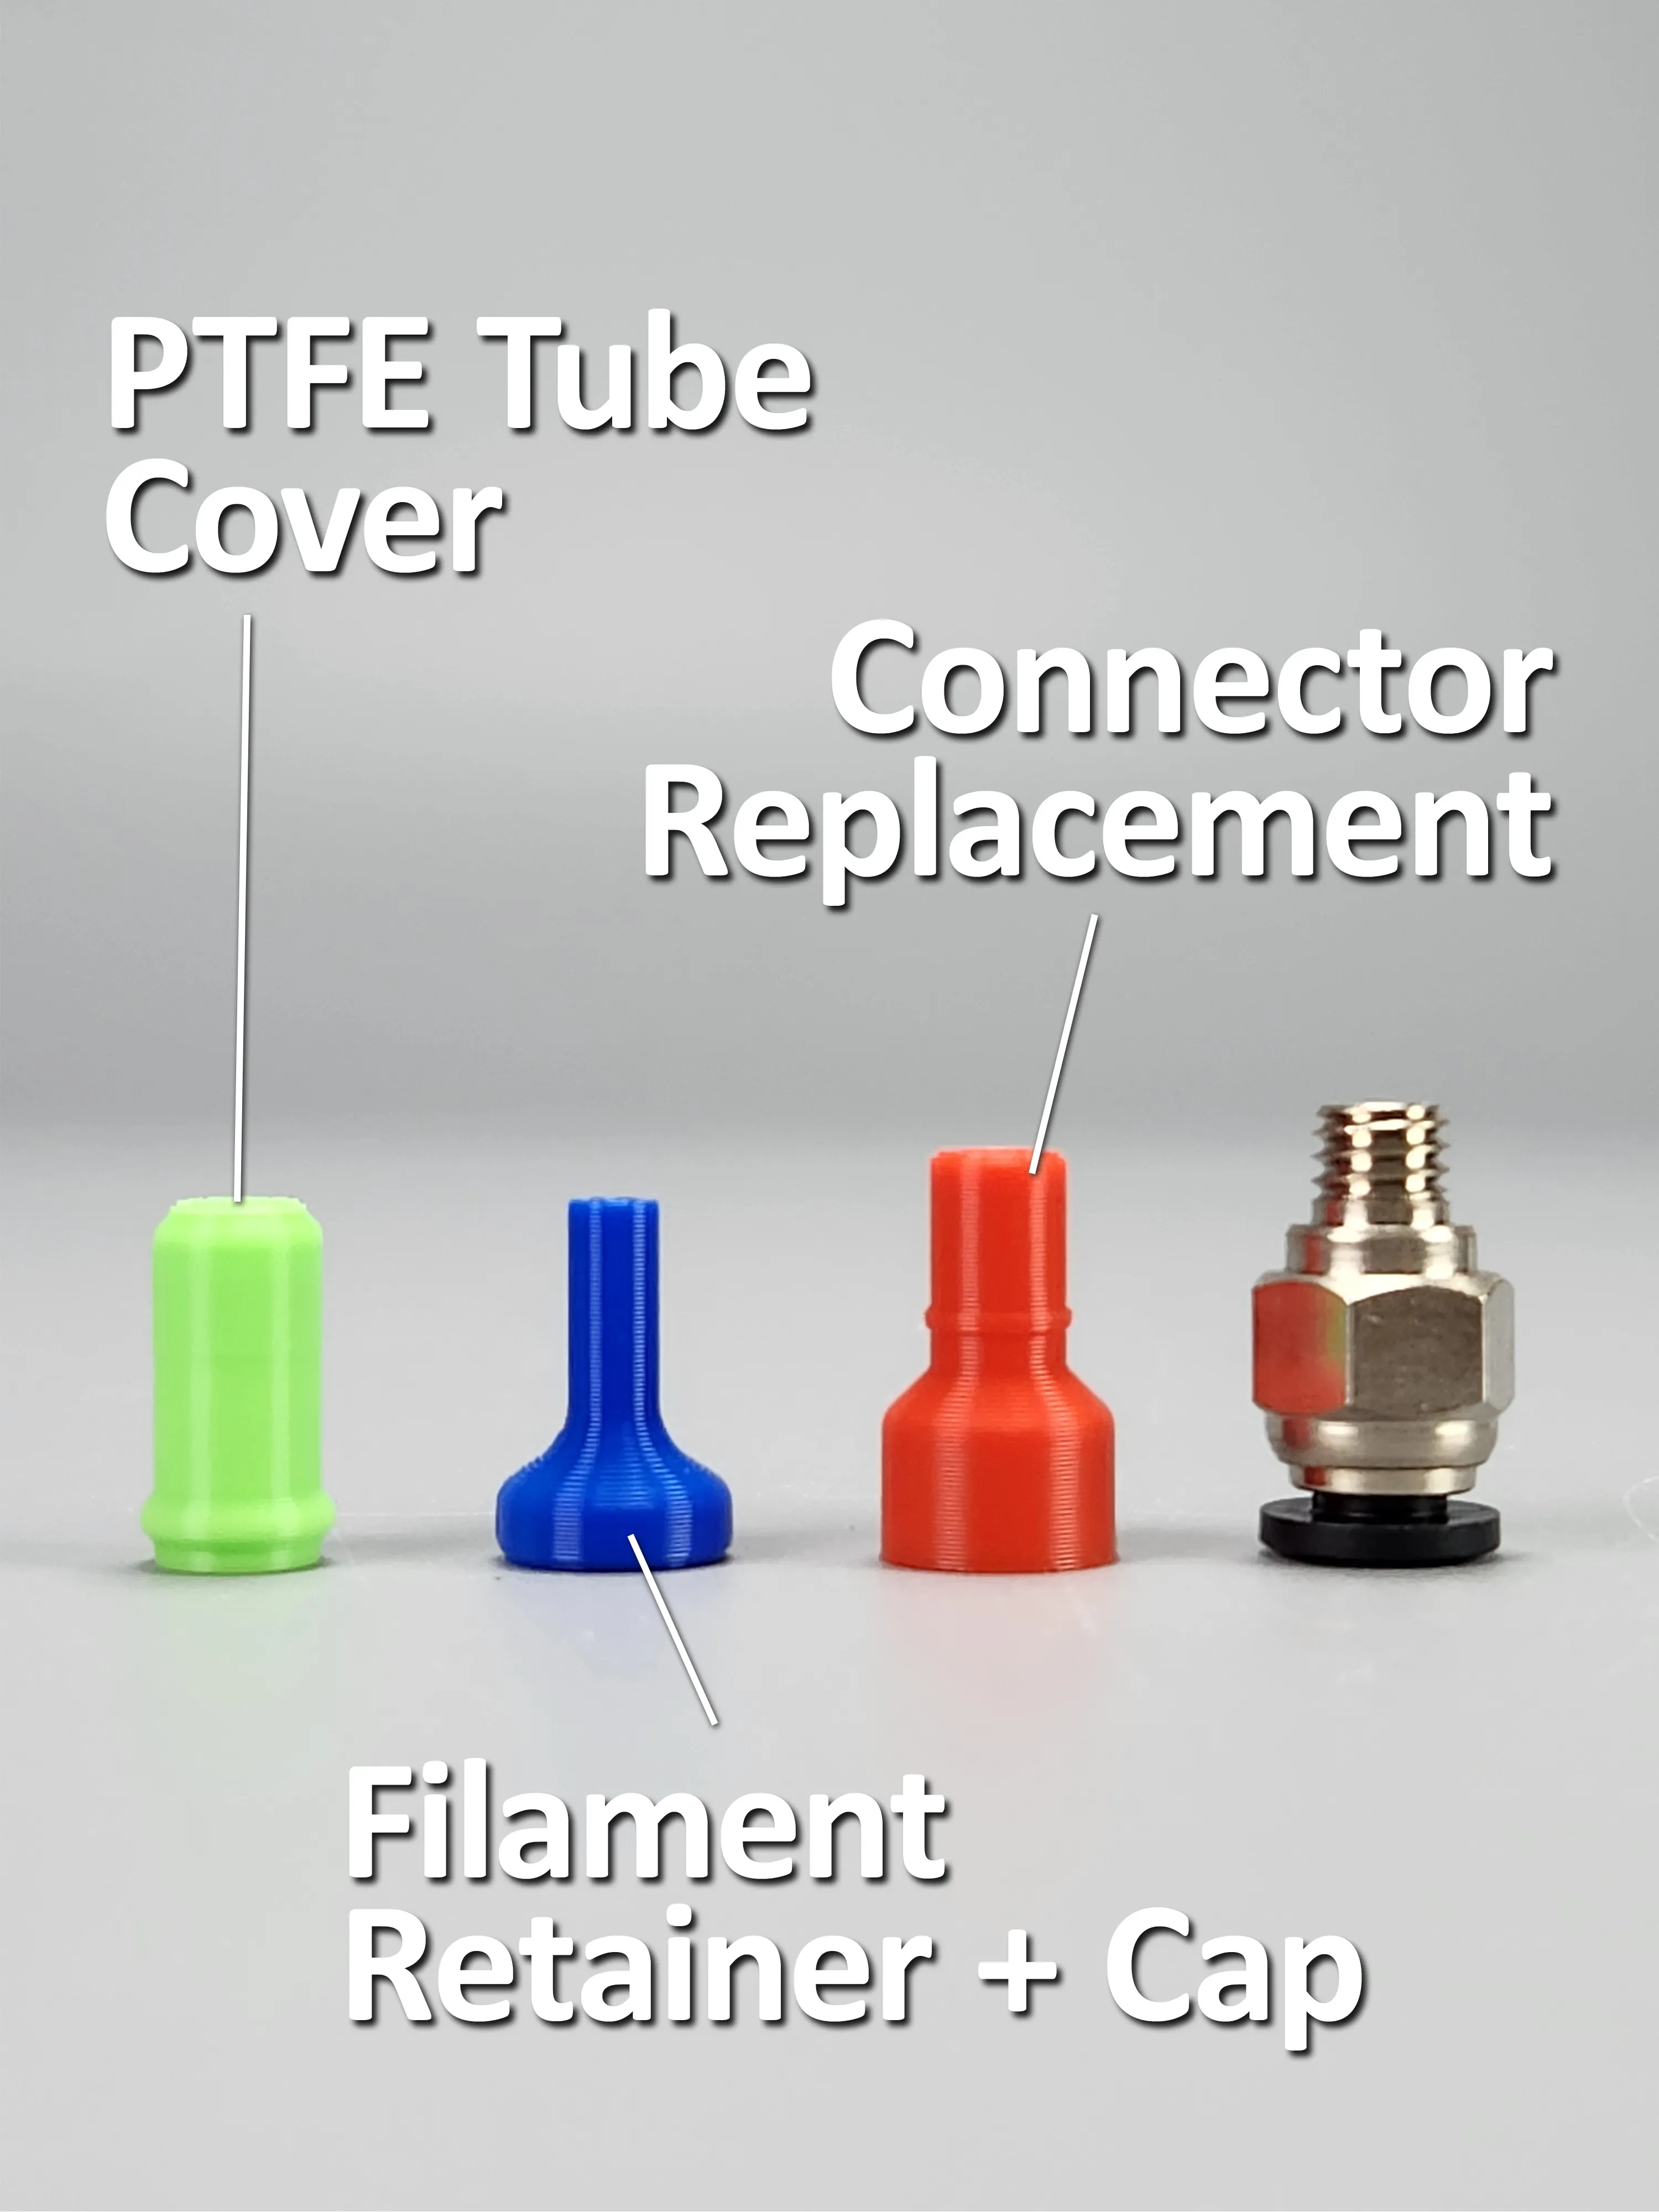
This connector solves my problem of my filament getting shaved by the original metal connector without the PTFE tube when manually loading filament without the AMS system or any other auto feed system when pulling out the filament from my DIY drybox.
I started the design with the head resembling the original connector and quickly realized that while it’s easy to pull out to unlock, it’s quick painful to lock it. My thumb hurts trying to lock it. I started trying new design for the head after version 3, until version 6… Then finally I saw the design my earphone speaker and thought it might work. So I tried that, but it wasn’t really working as it was too long and it didn’t work with my previous cover/cap. The extra length also makes the locking mechanism to fail. Finally, at version 18, everything works.
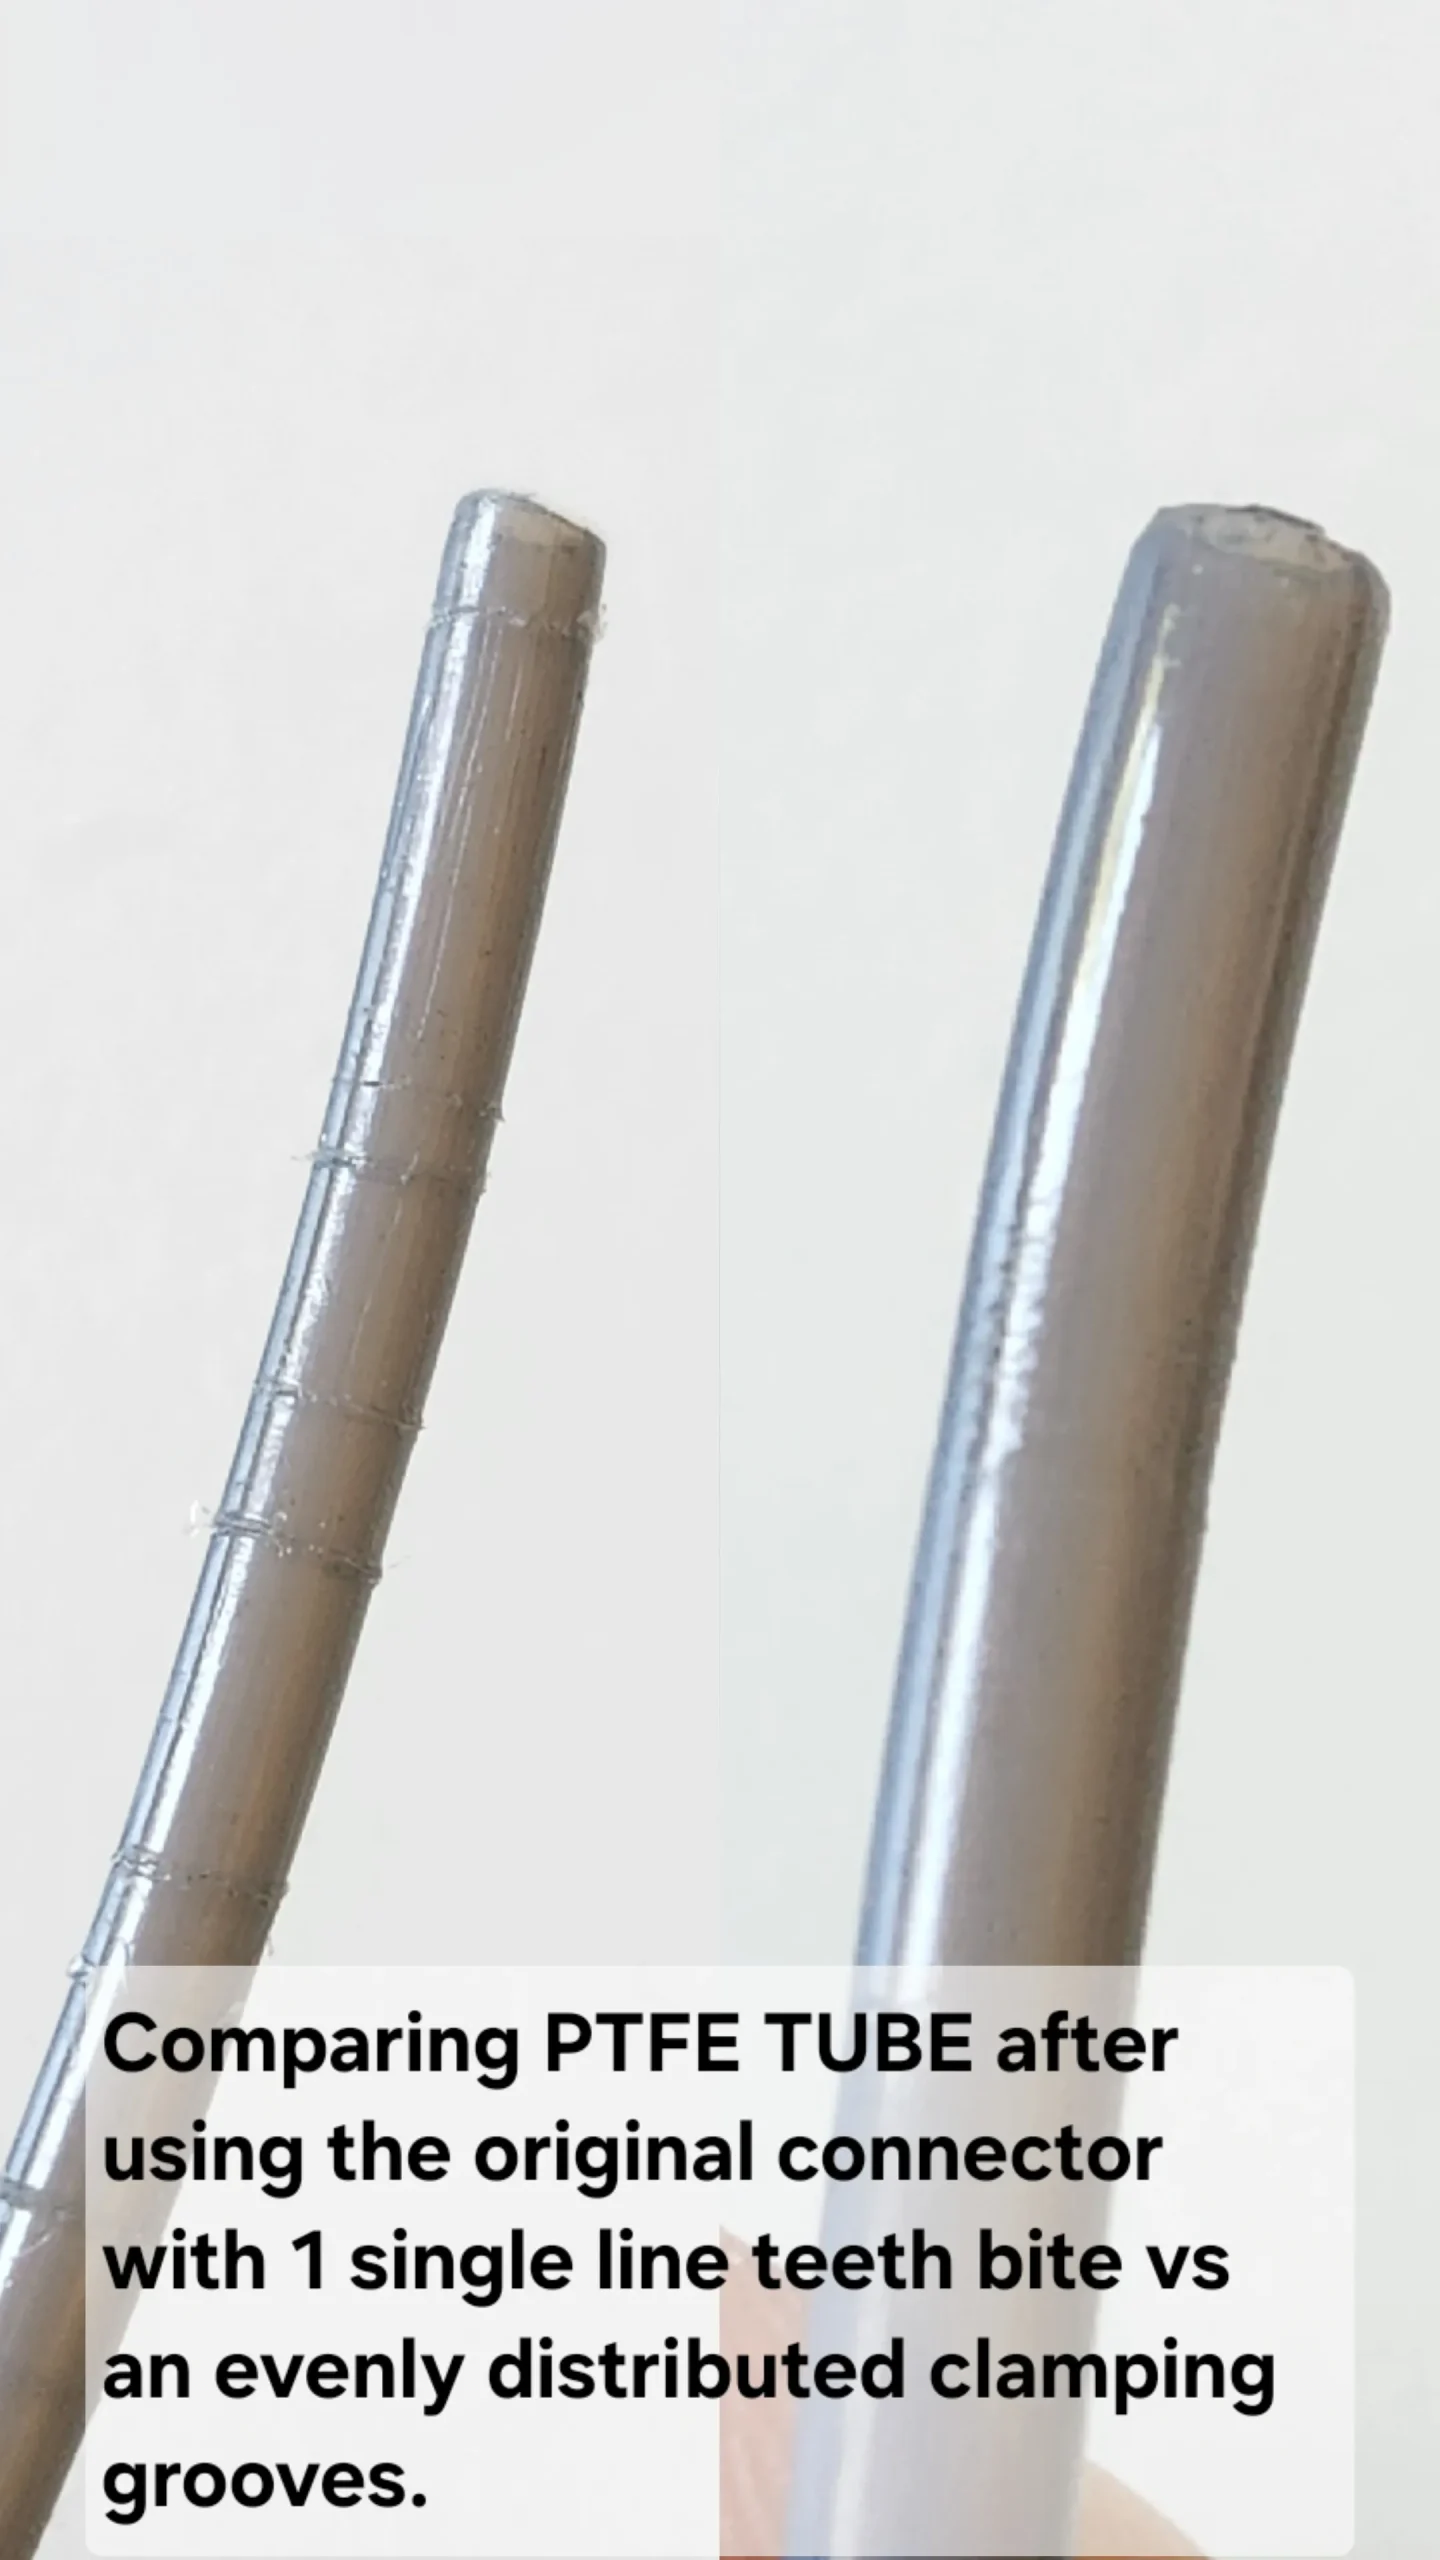
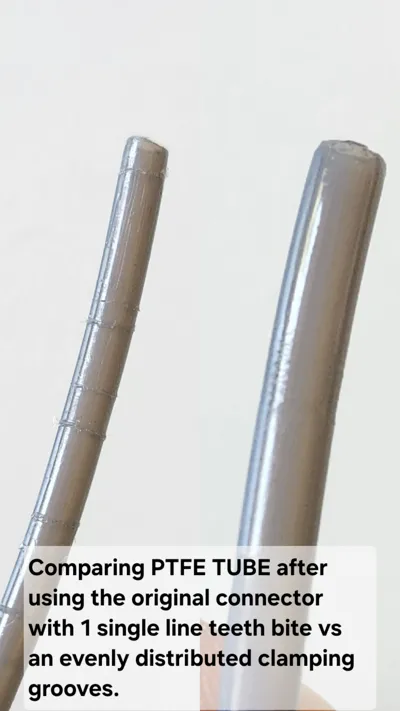
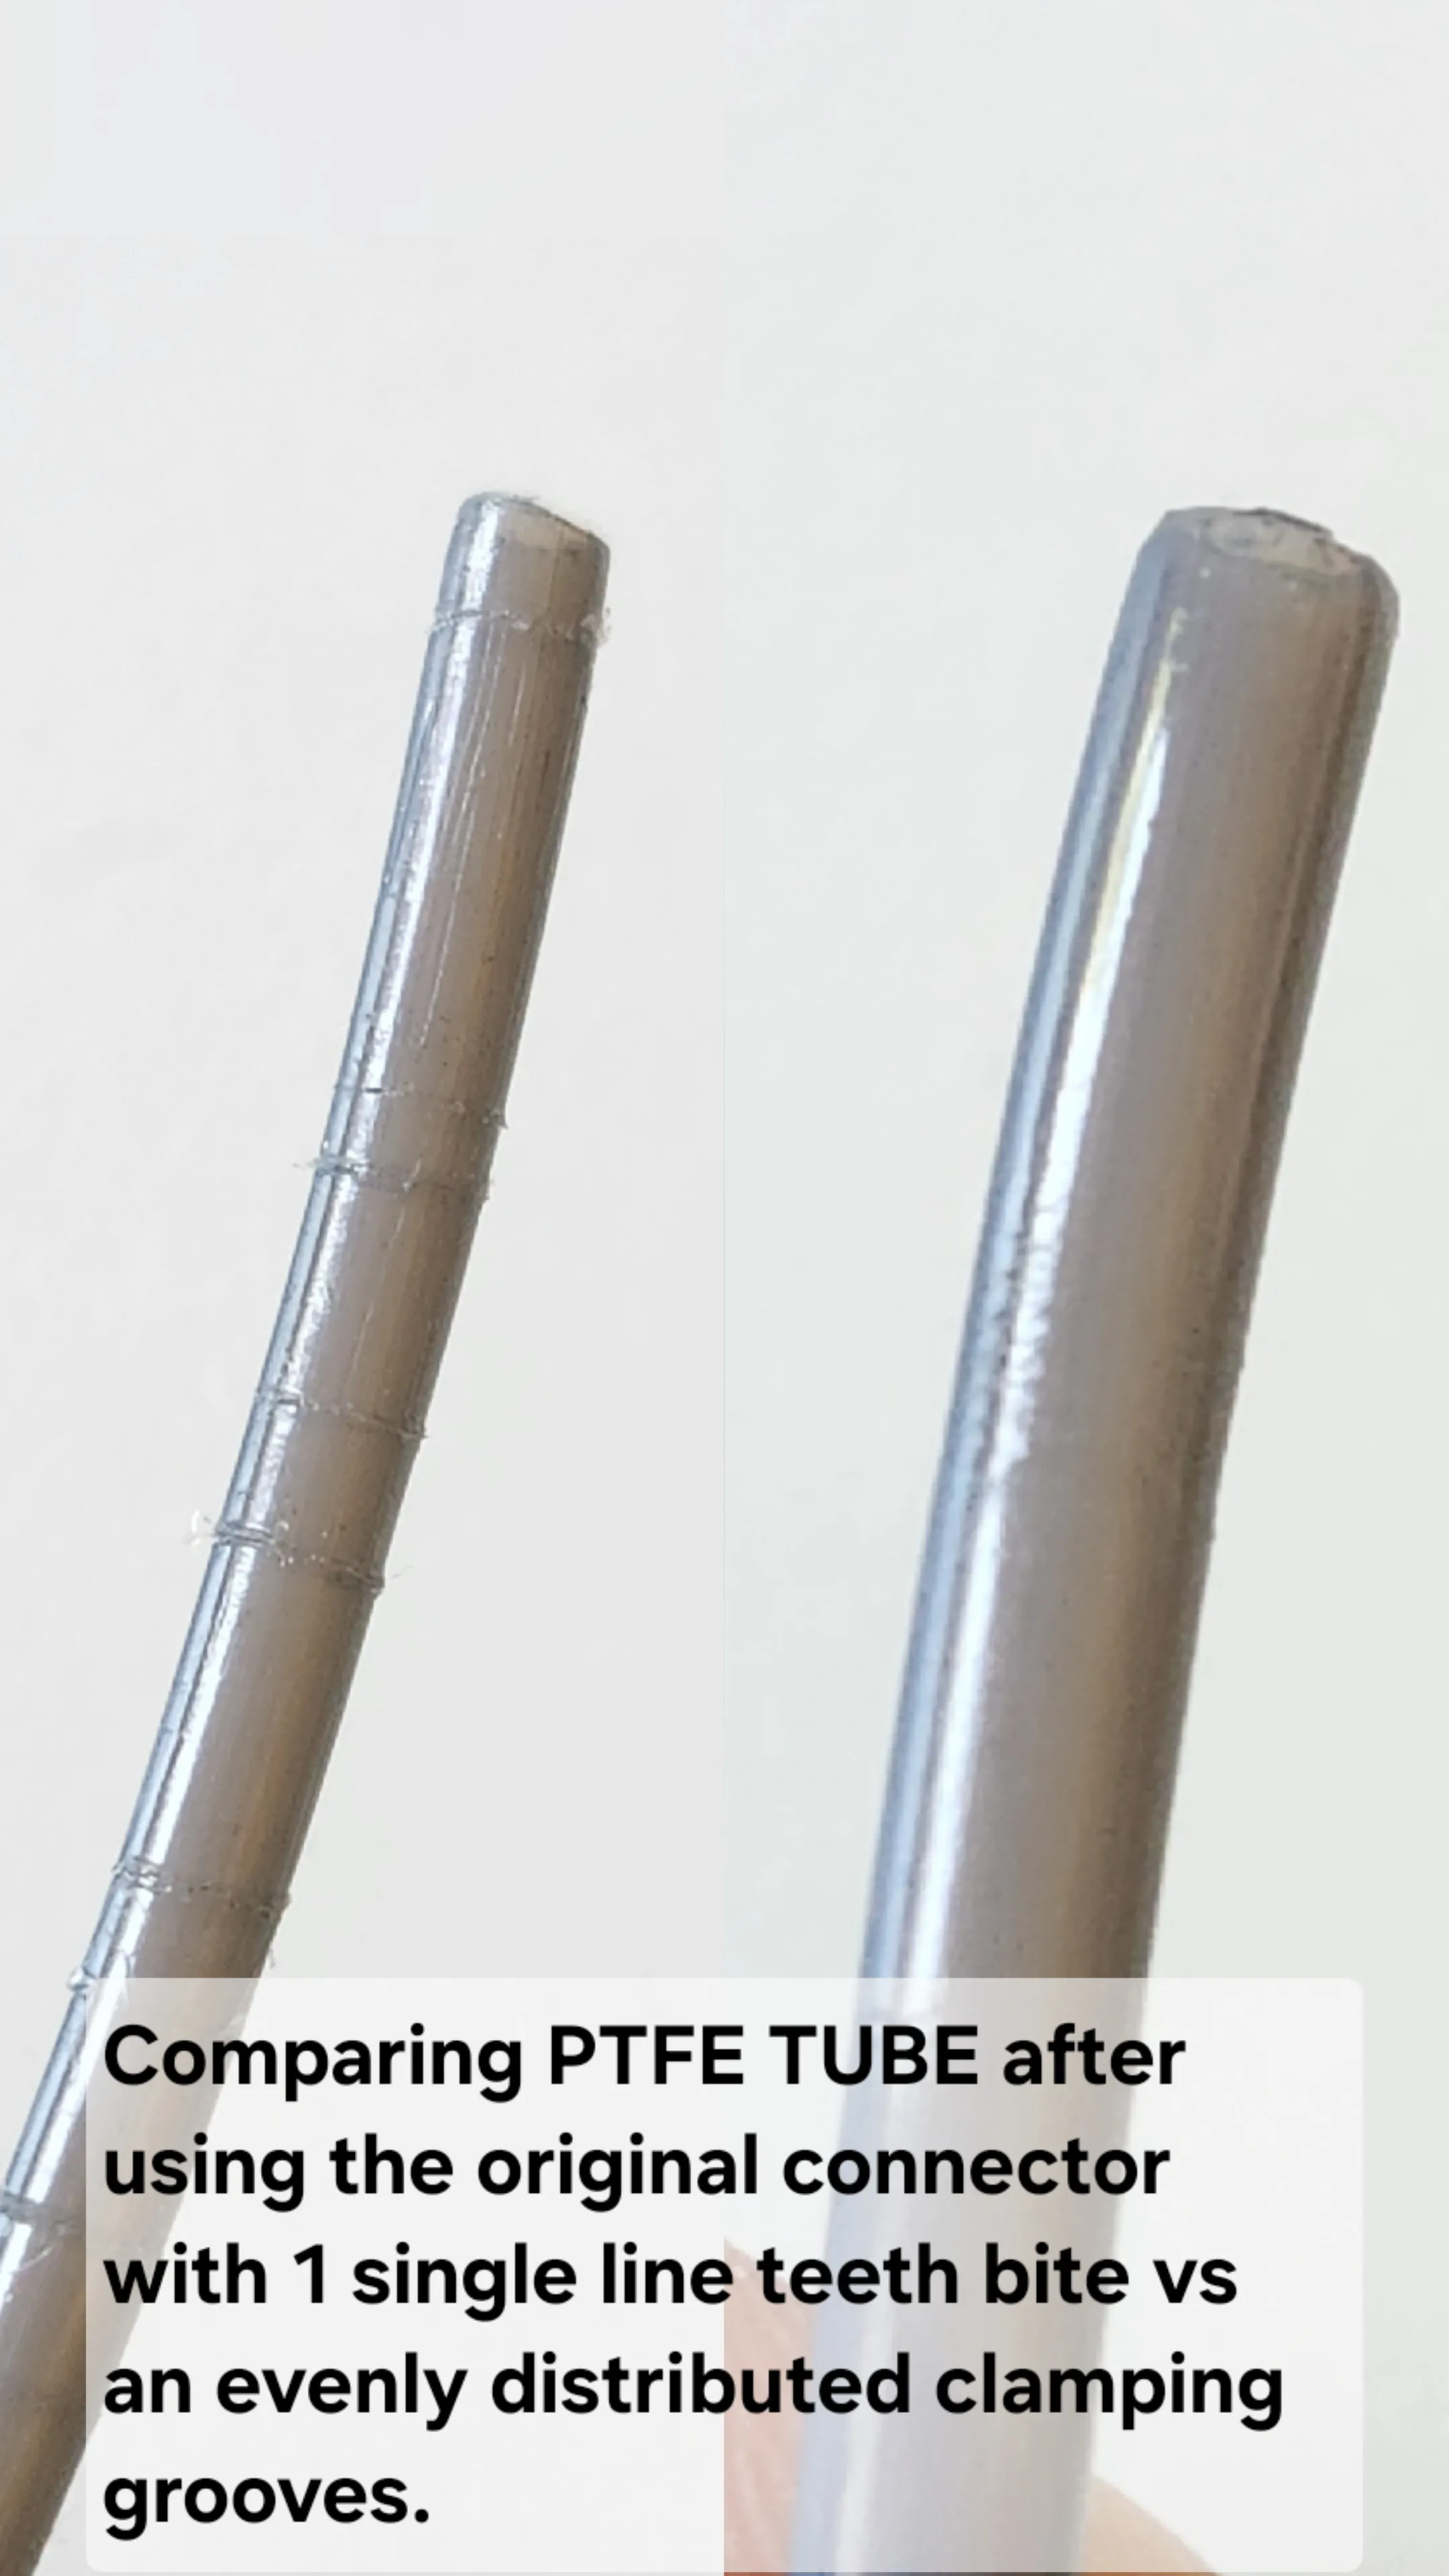
The advantage to using this connector comparing to the original connector is that the bite on this design is less destructive than the original design using 1 layer of sharp metal teeth. The one on the right is the tube after using this design, vs the tube after using the original connector.
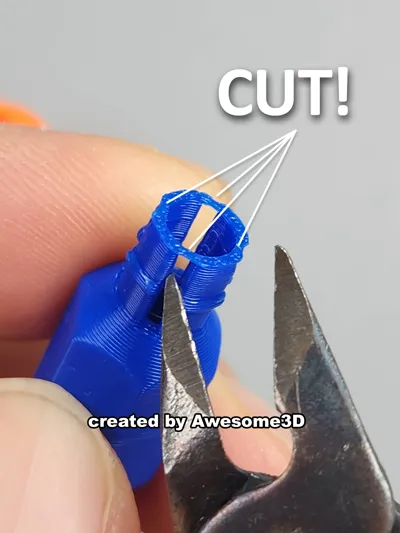
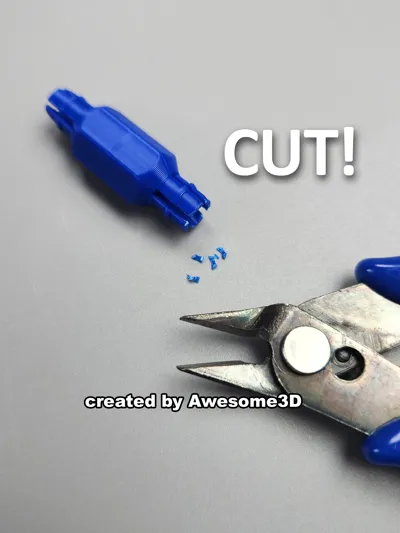
Please note that there build in “support/connector” on the legs of the PTFE to PTFE connector (Coupler) that needs to be cut away after print.
This is important and is designed to make the part have more contact to the plate when printing.
Hope these are as useful to someone else out there as they are to me!
Looking forward to see your prints in the comments!


Reviews
There are no reviews yet.