
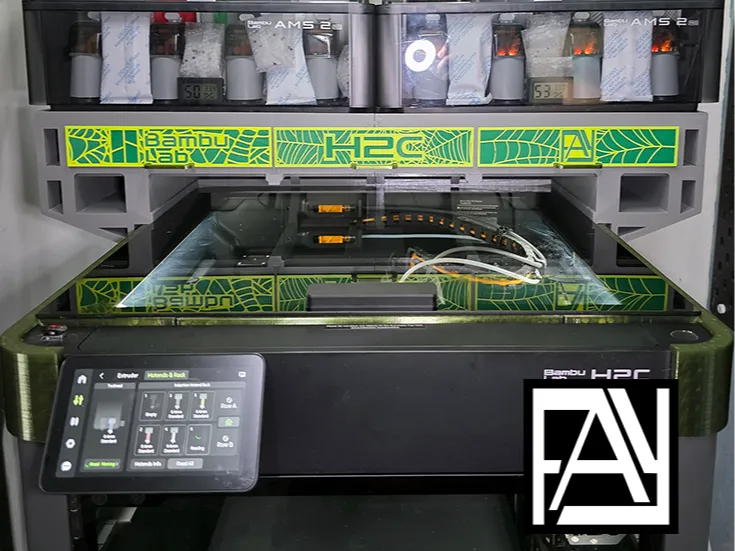
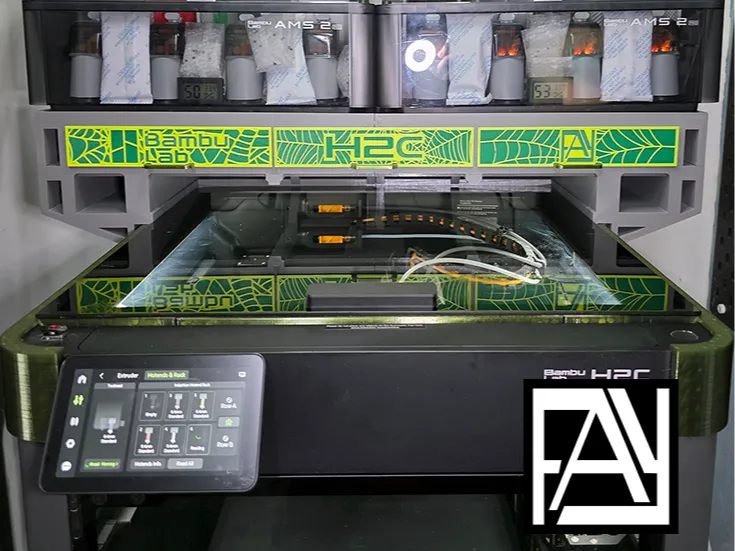
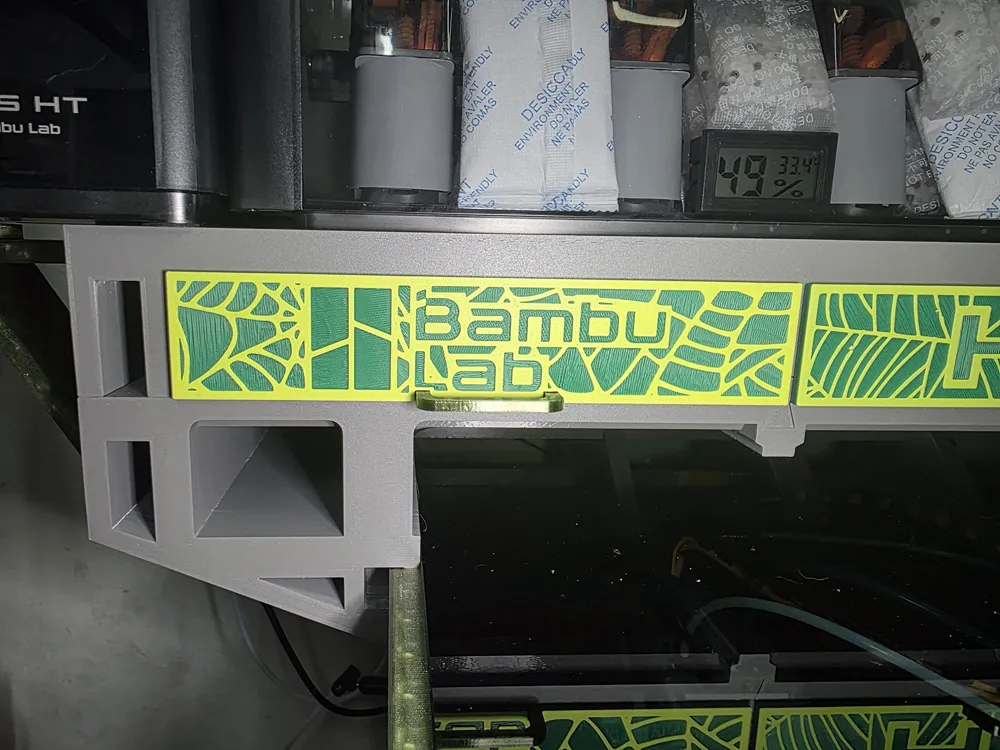
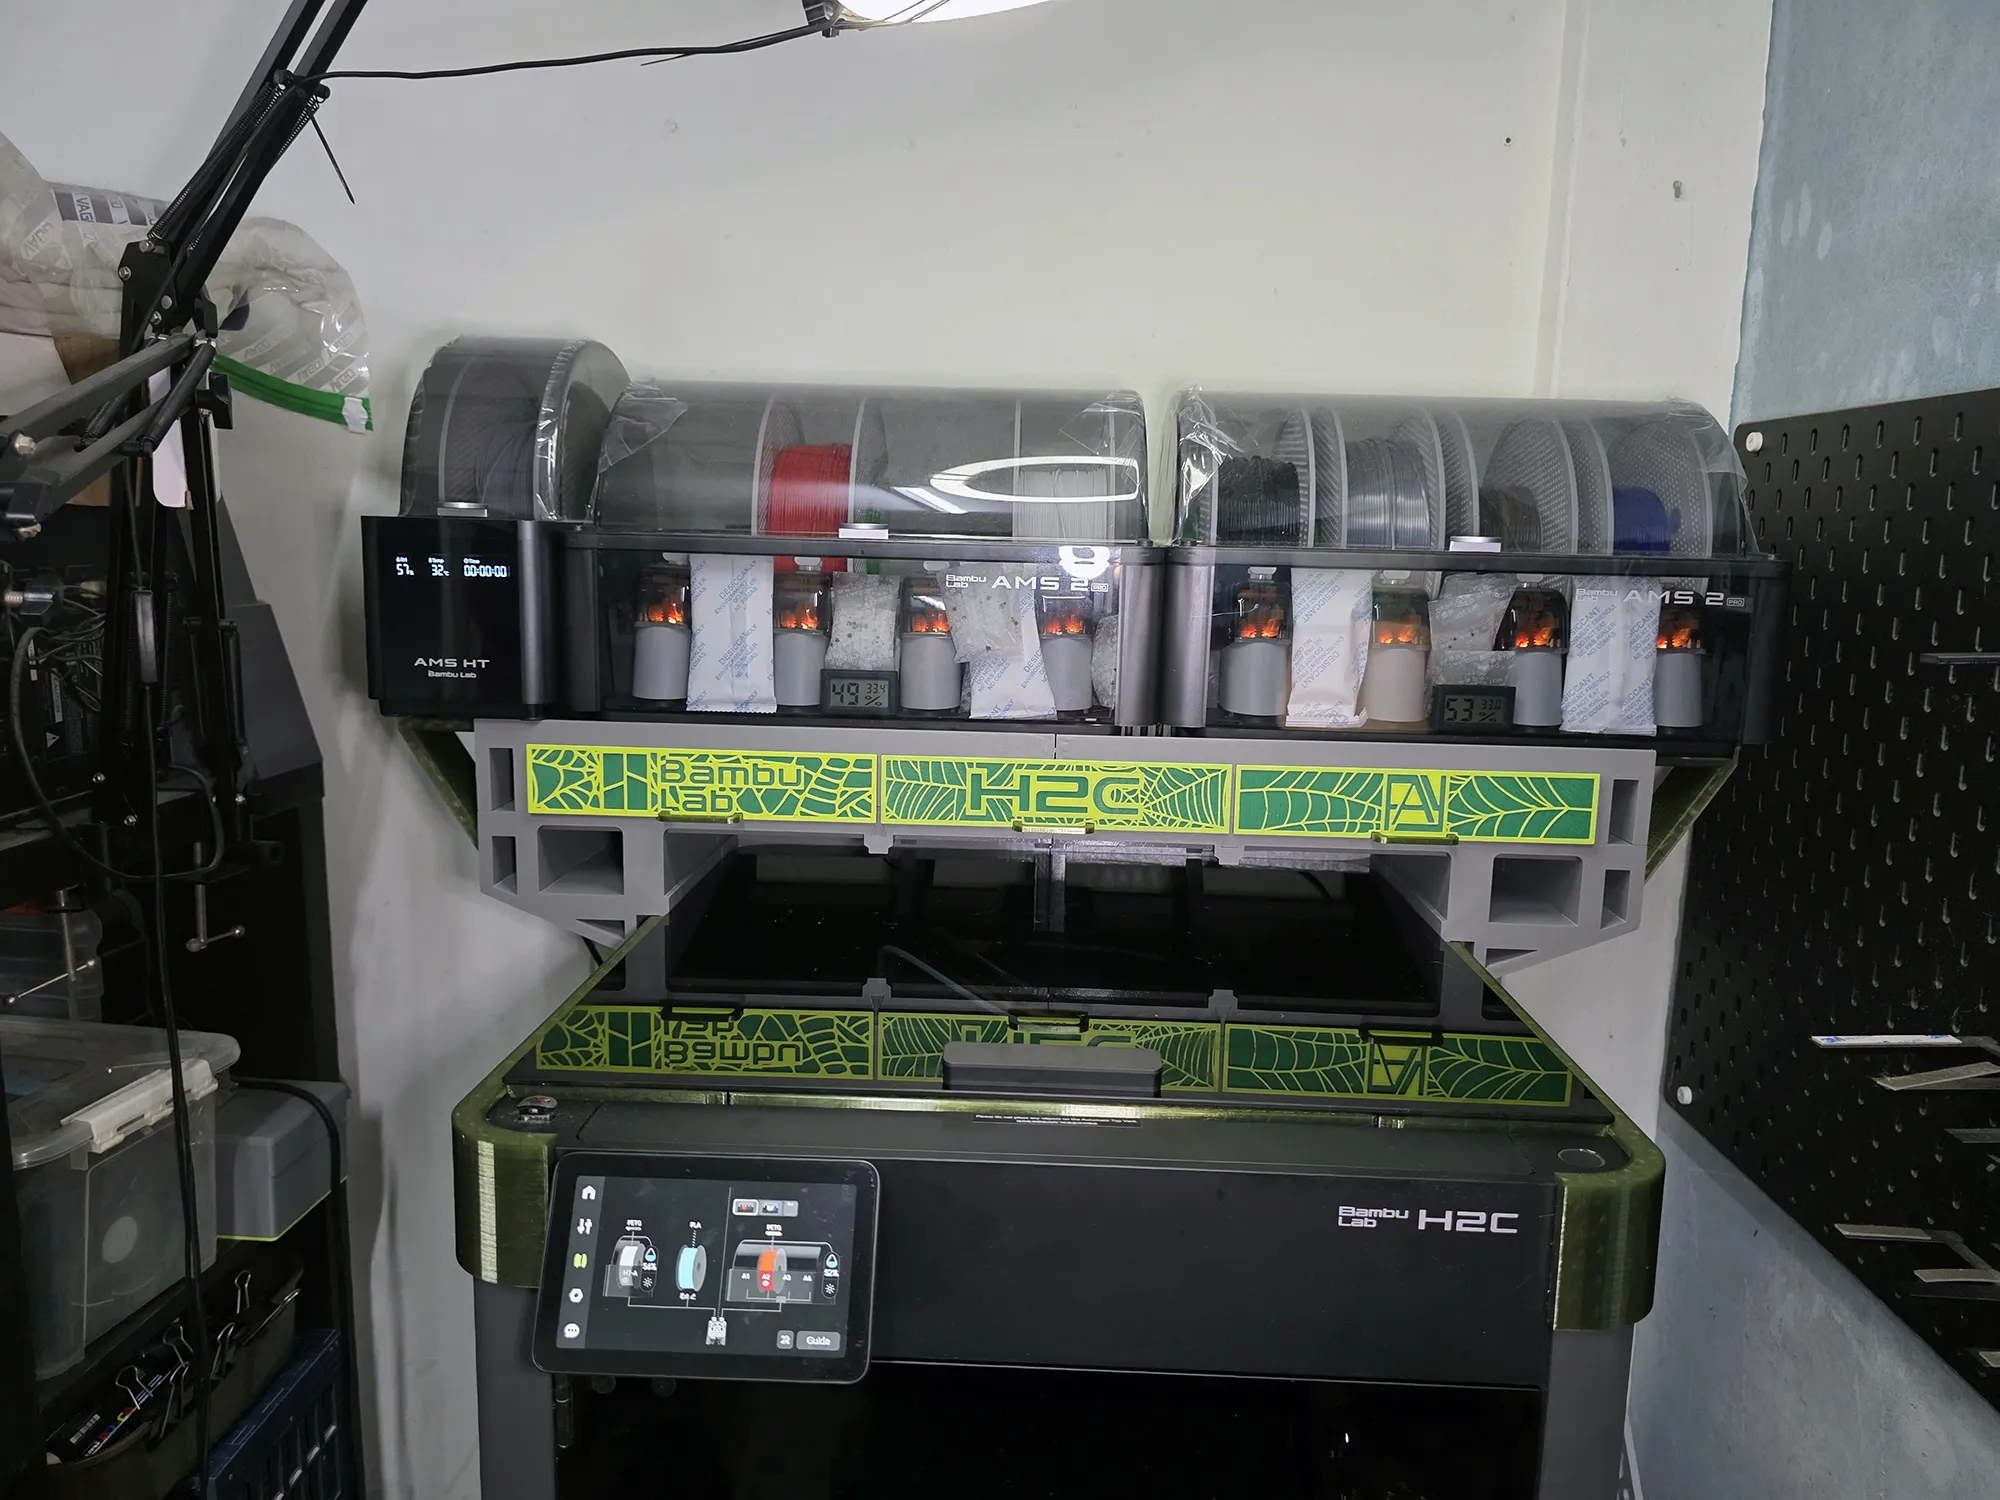
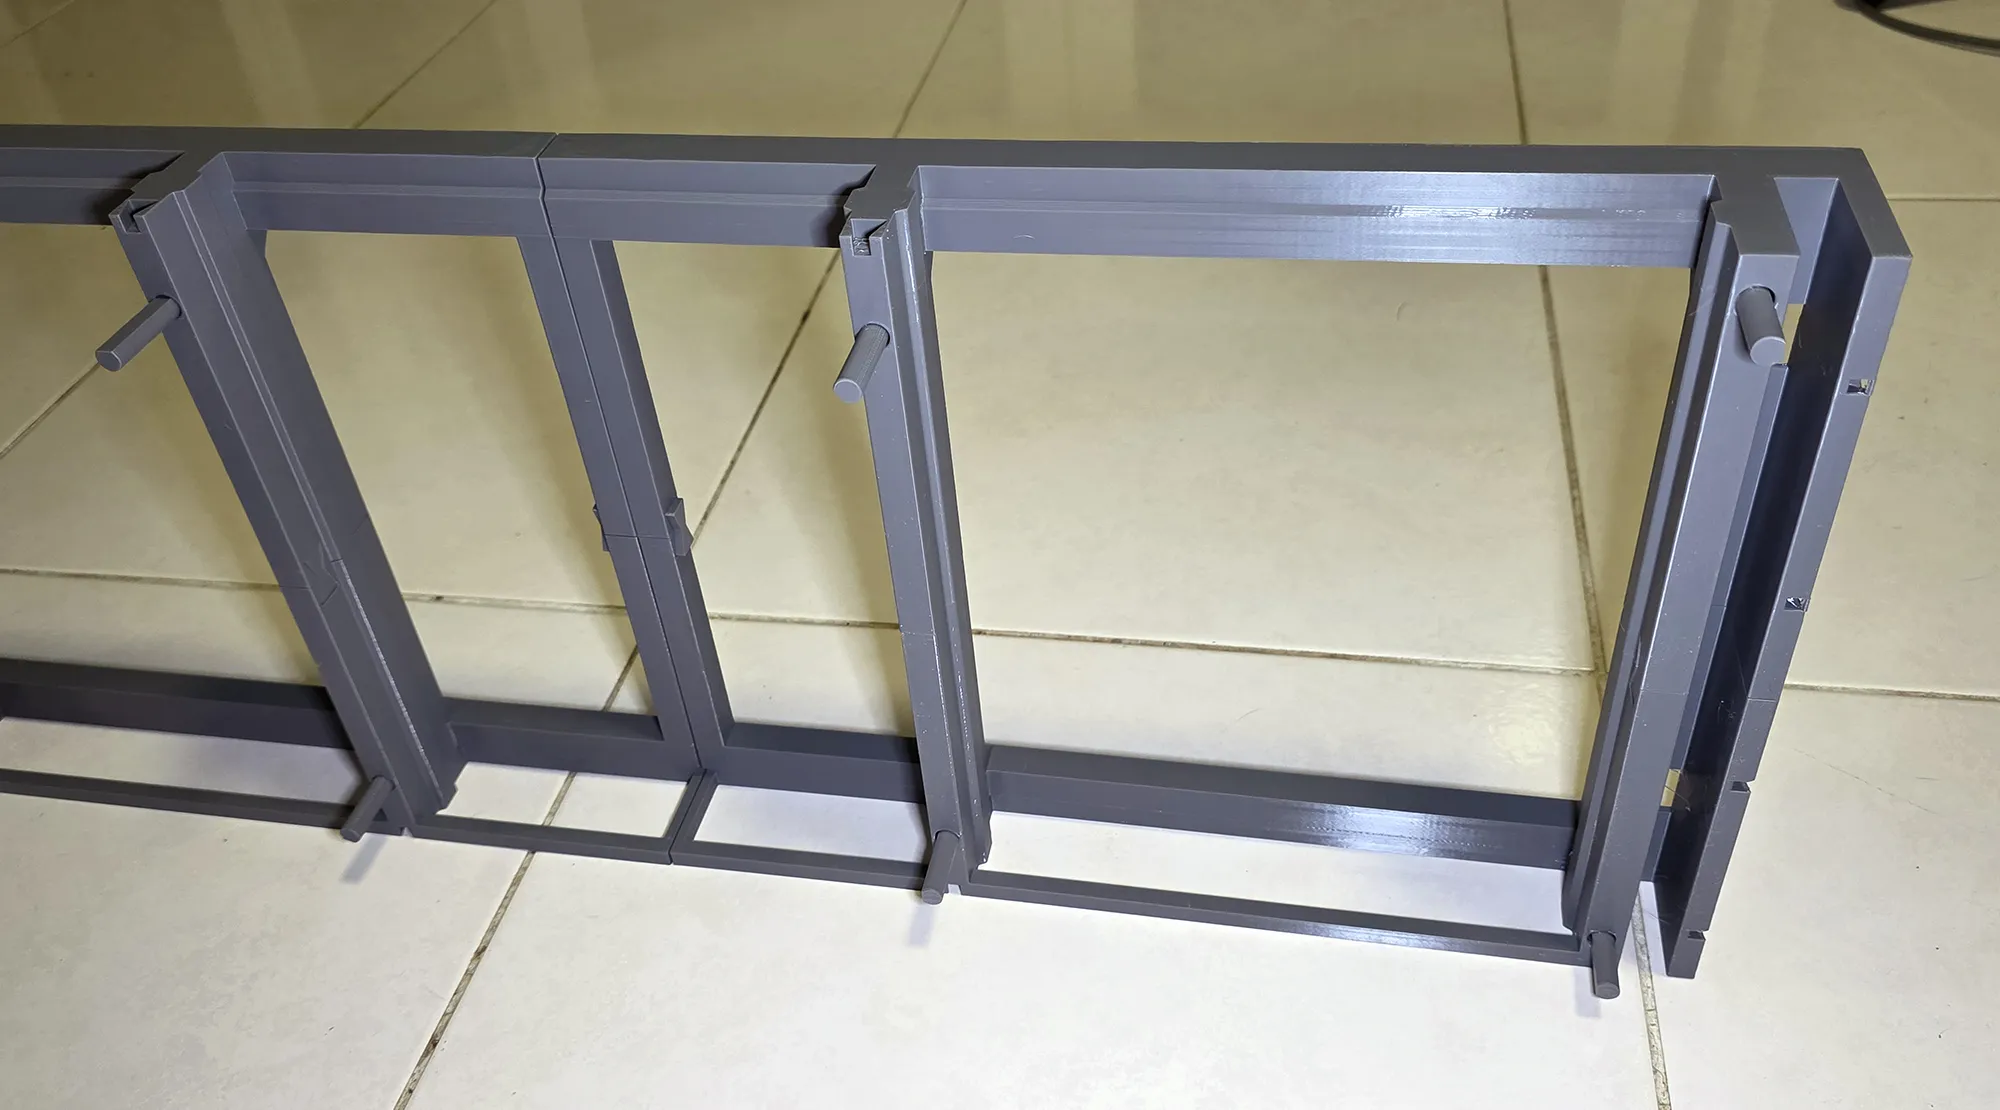
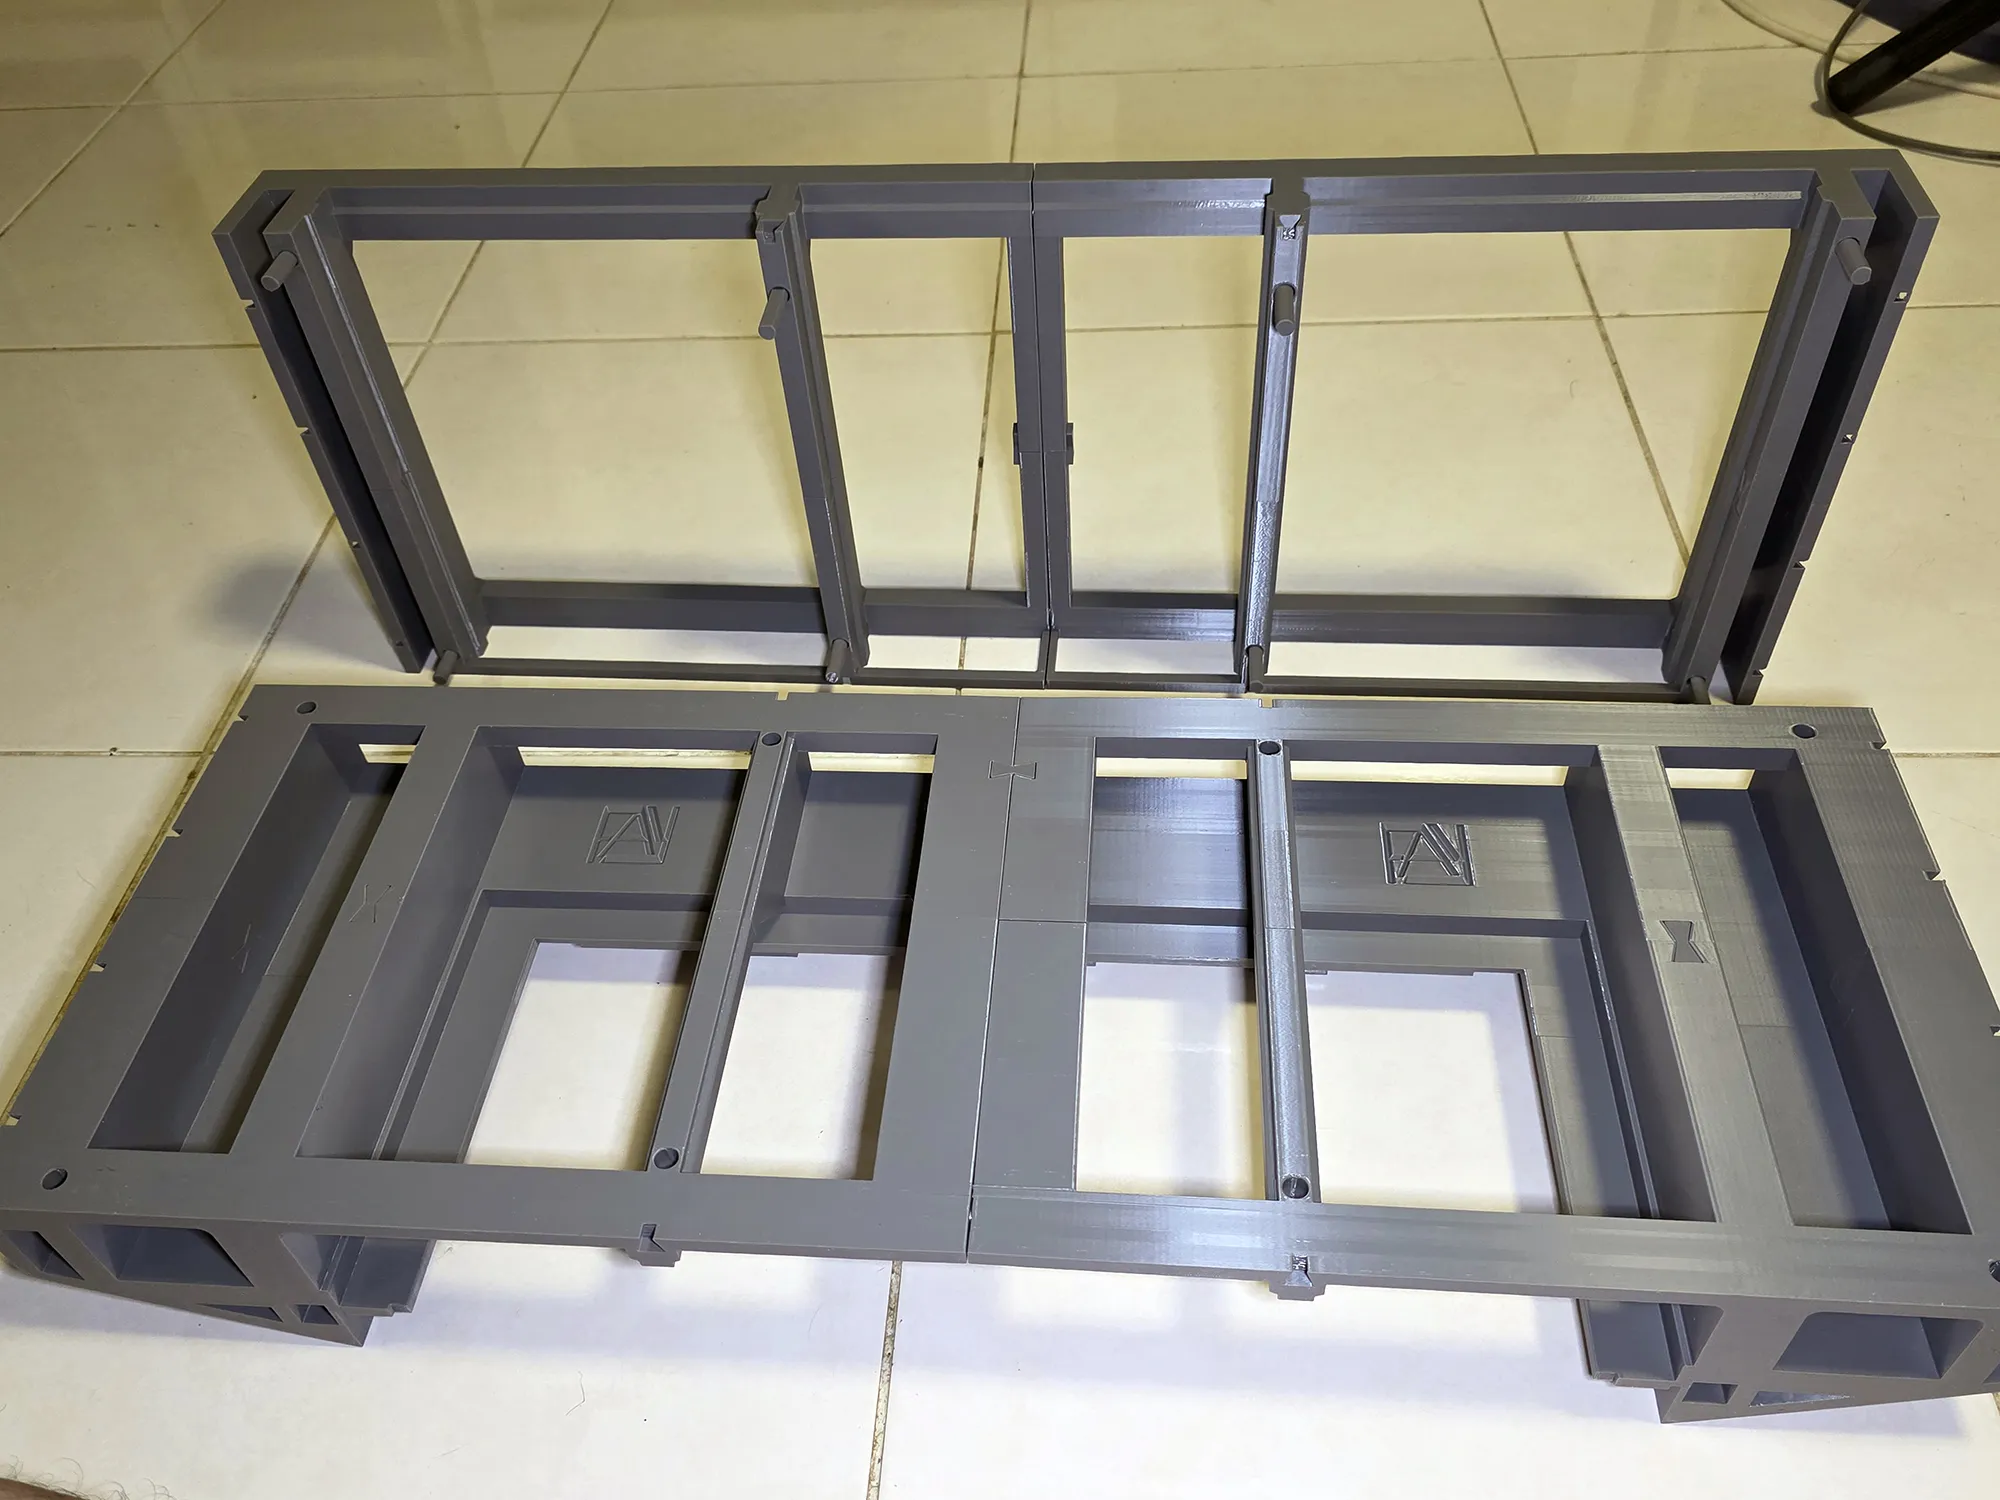
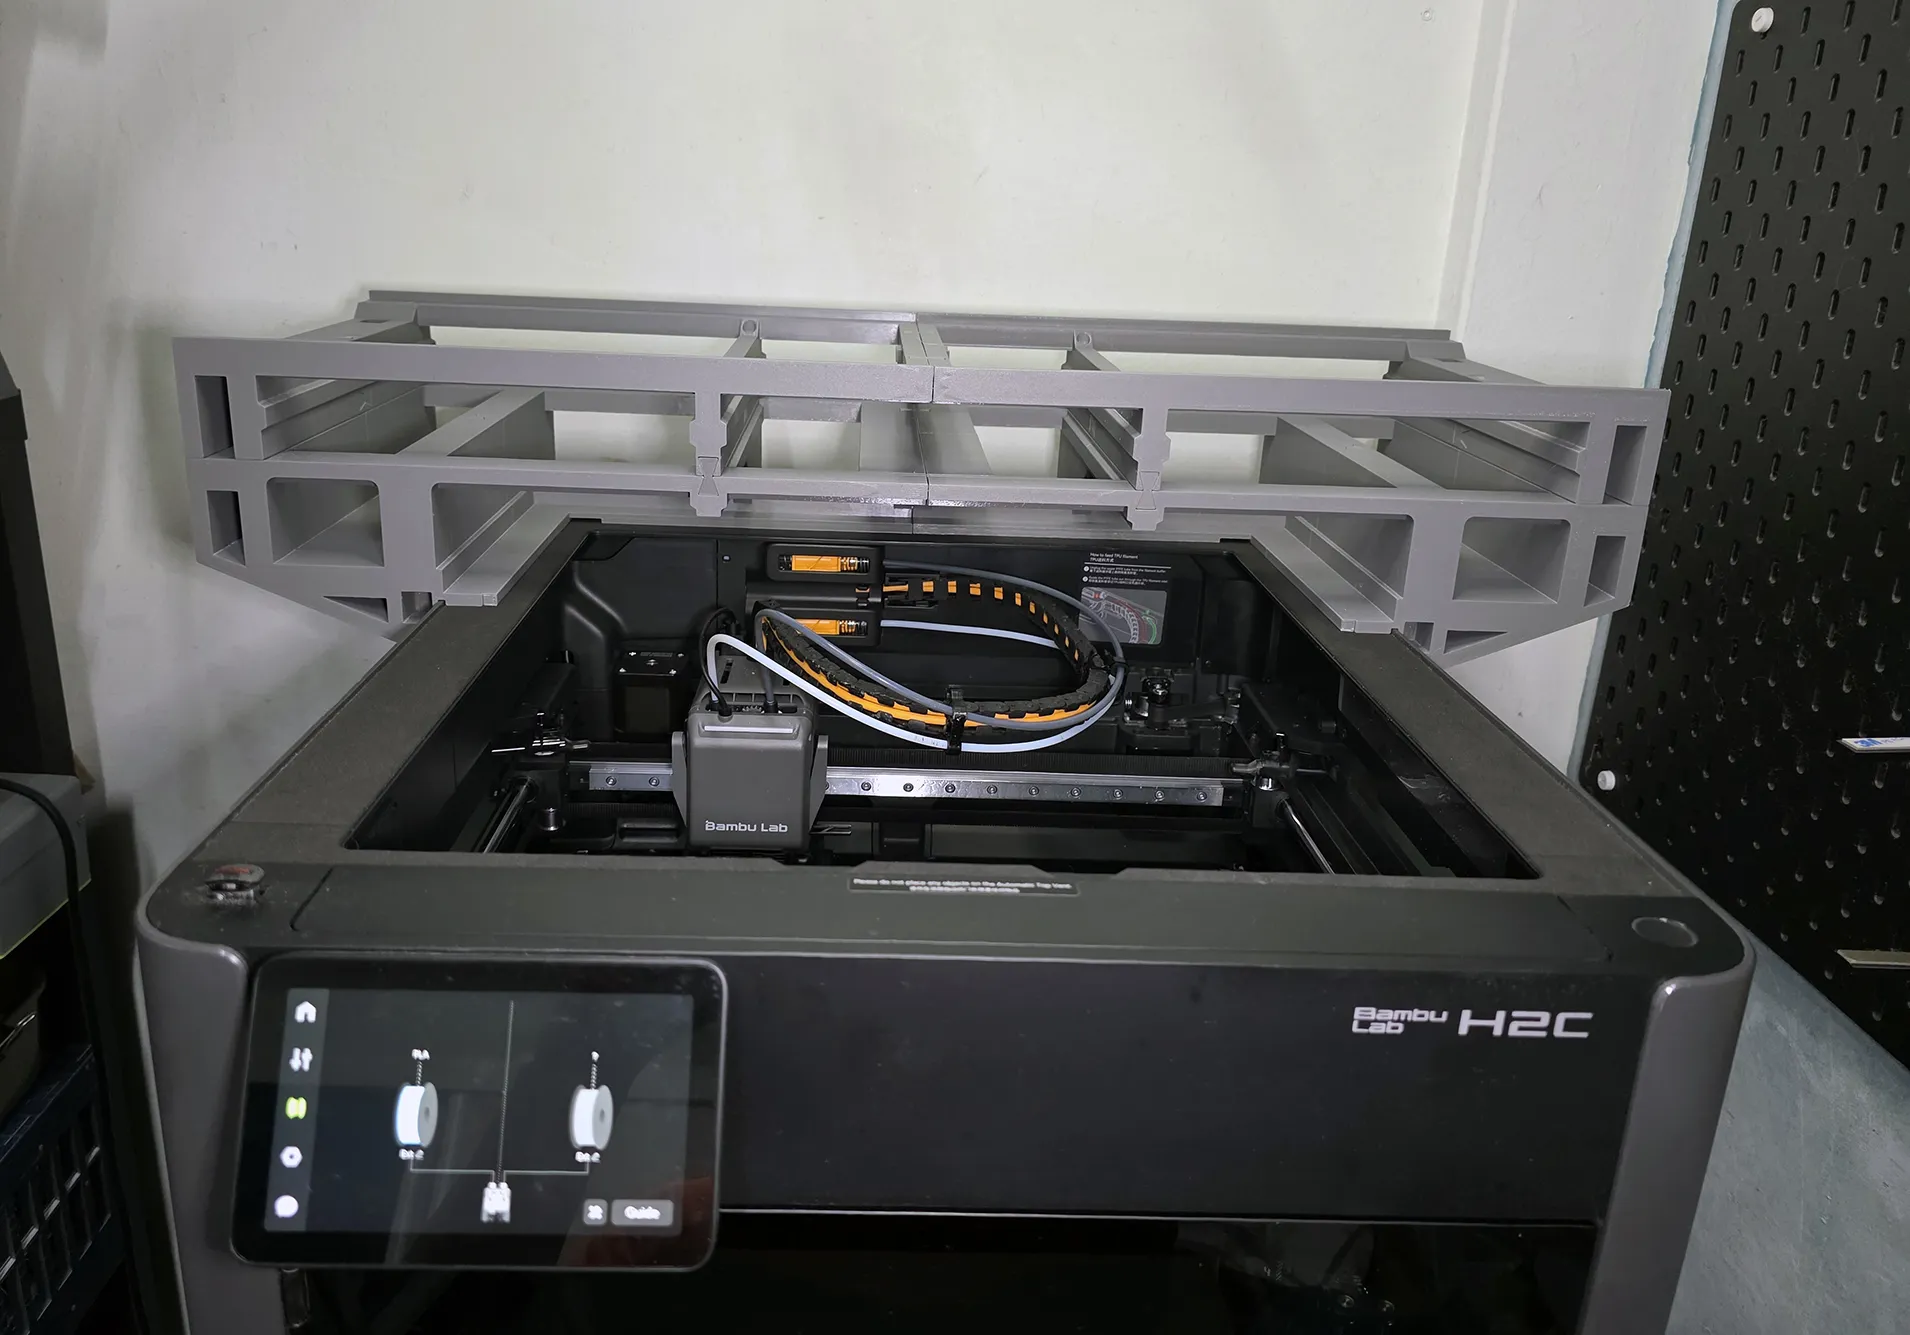
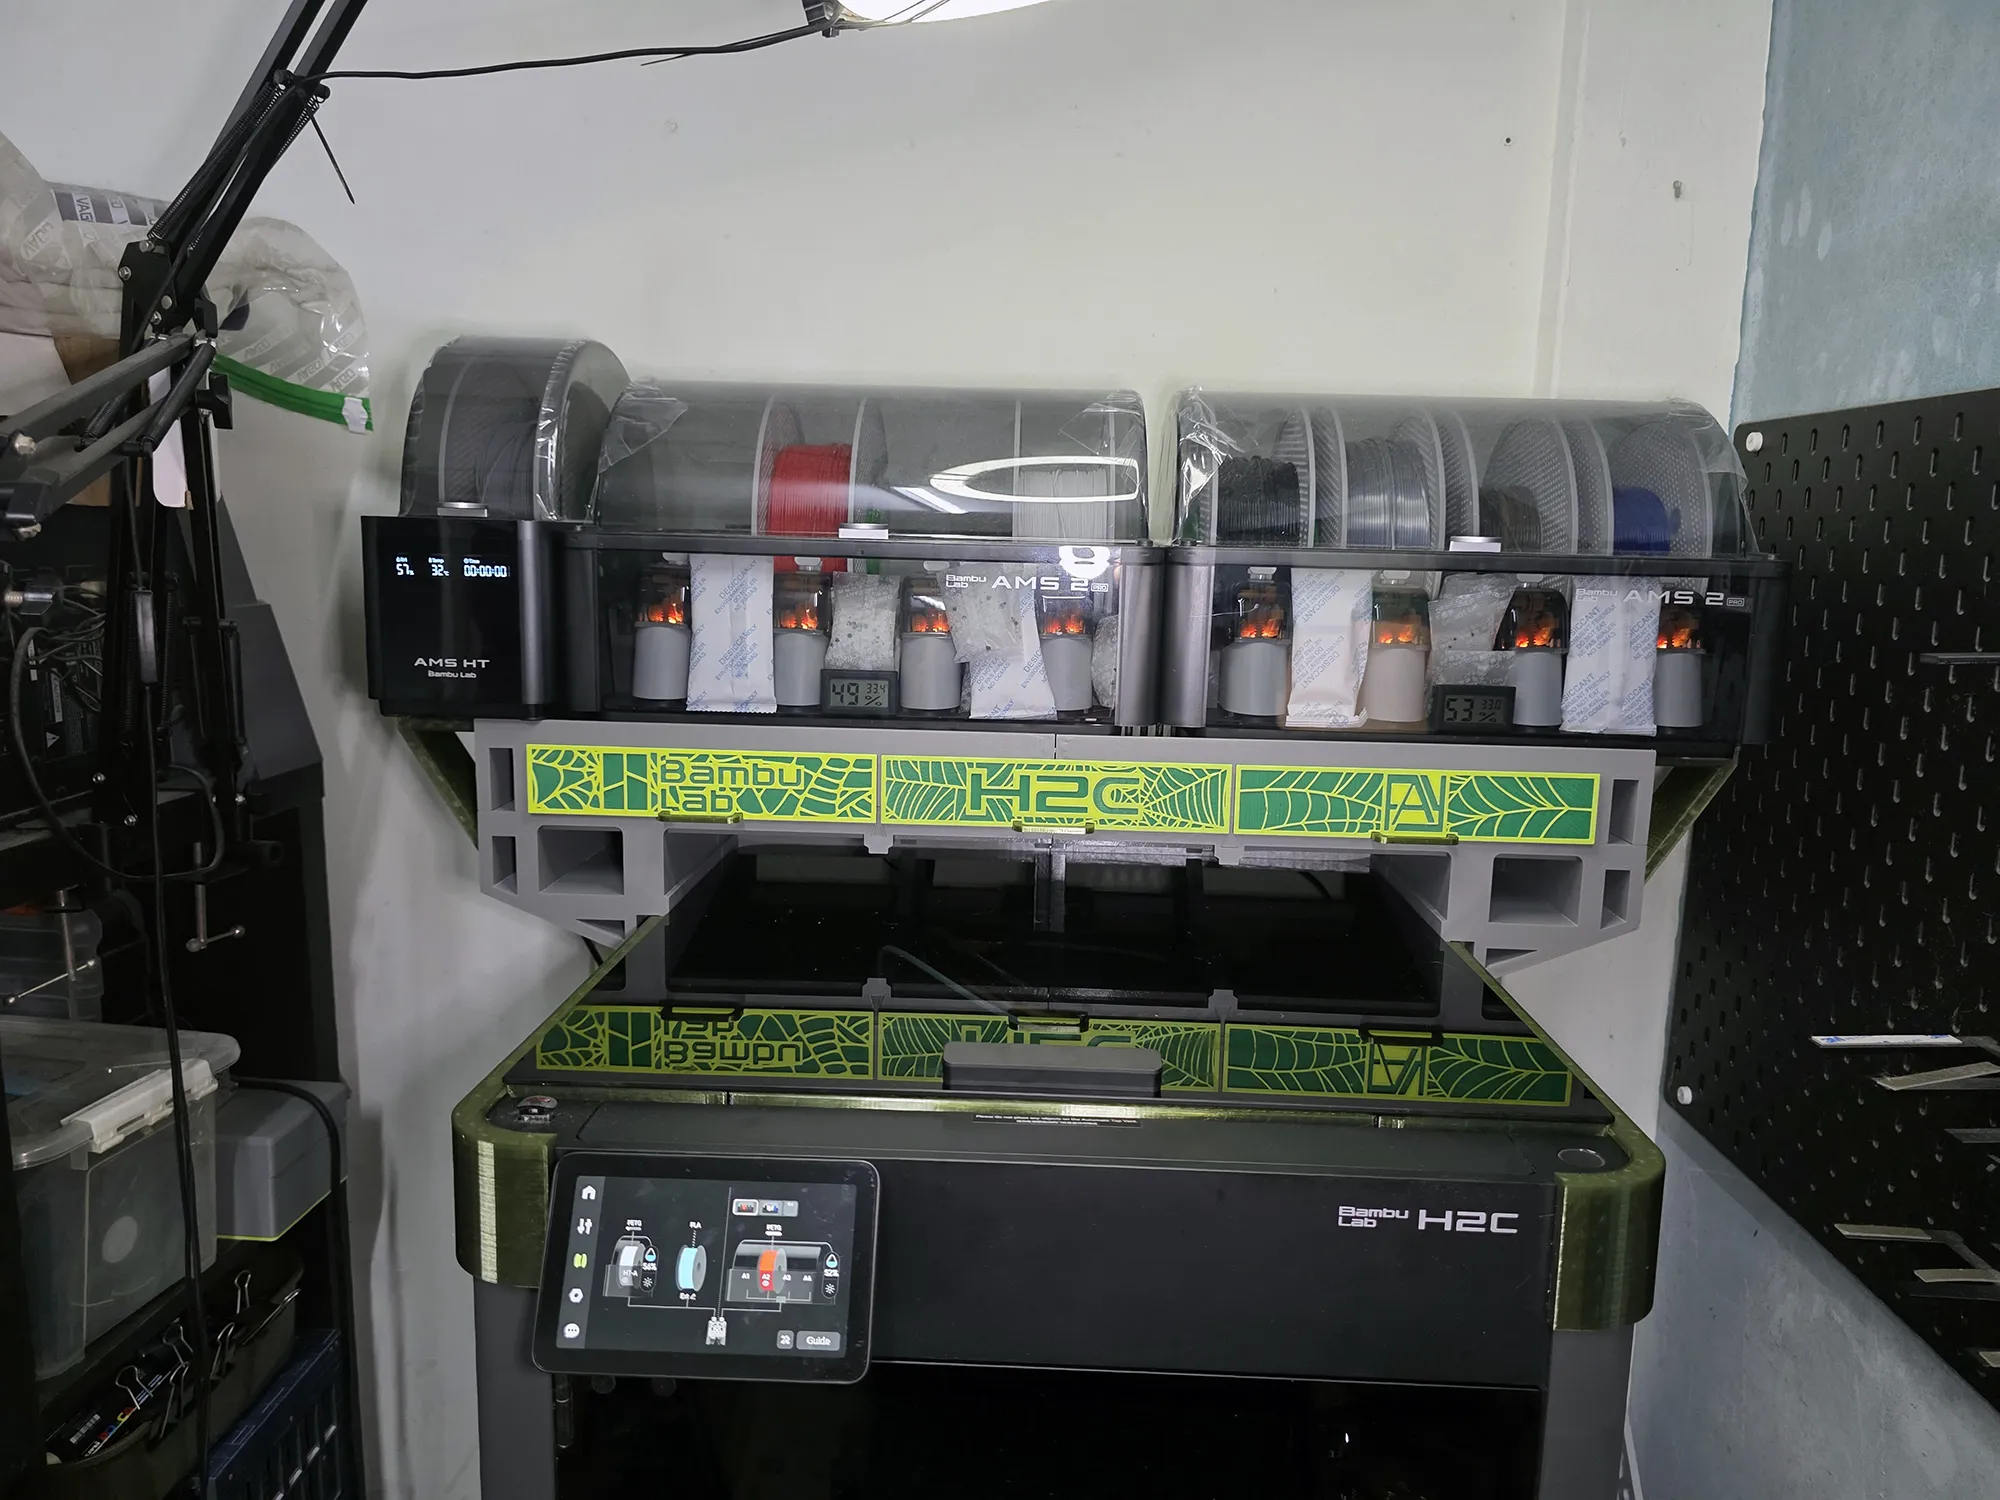
This is a new version of my H2 series AMS riser and drawers that i made last year.. The riser drawers works on all H2 series printer..
Here are the improvements i have made:
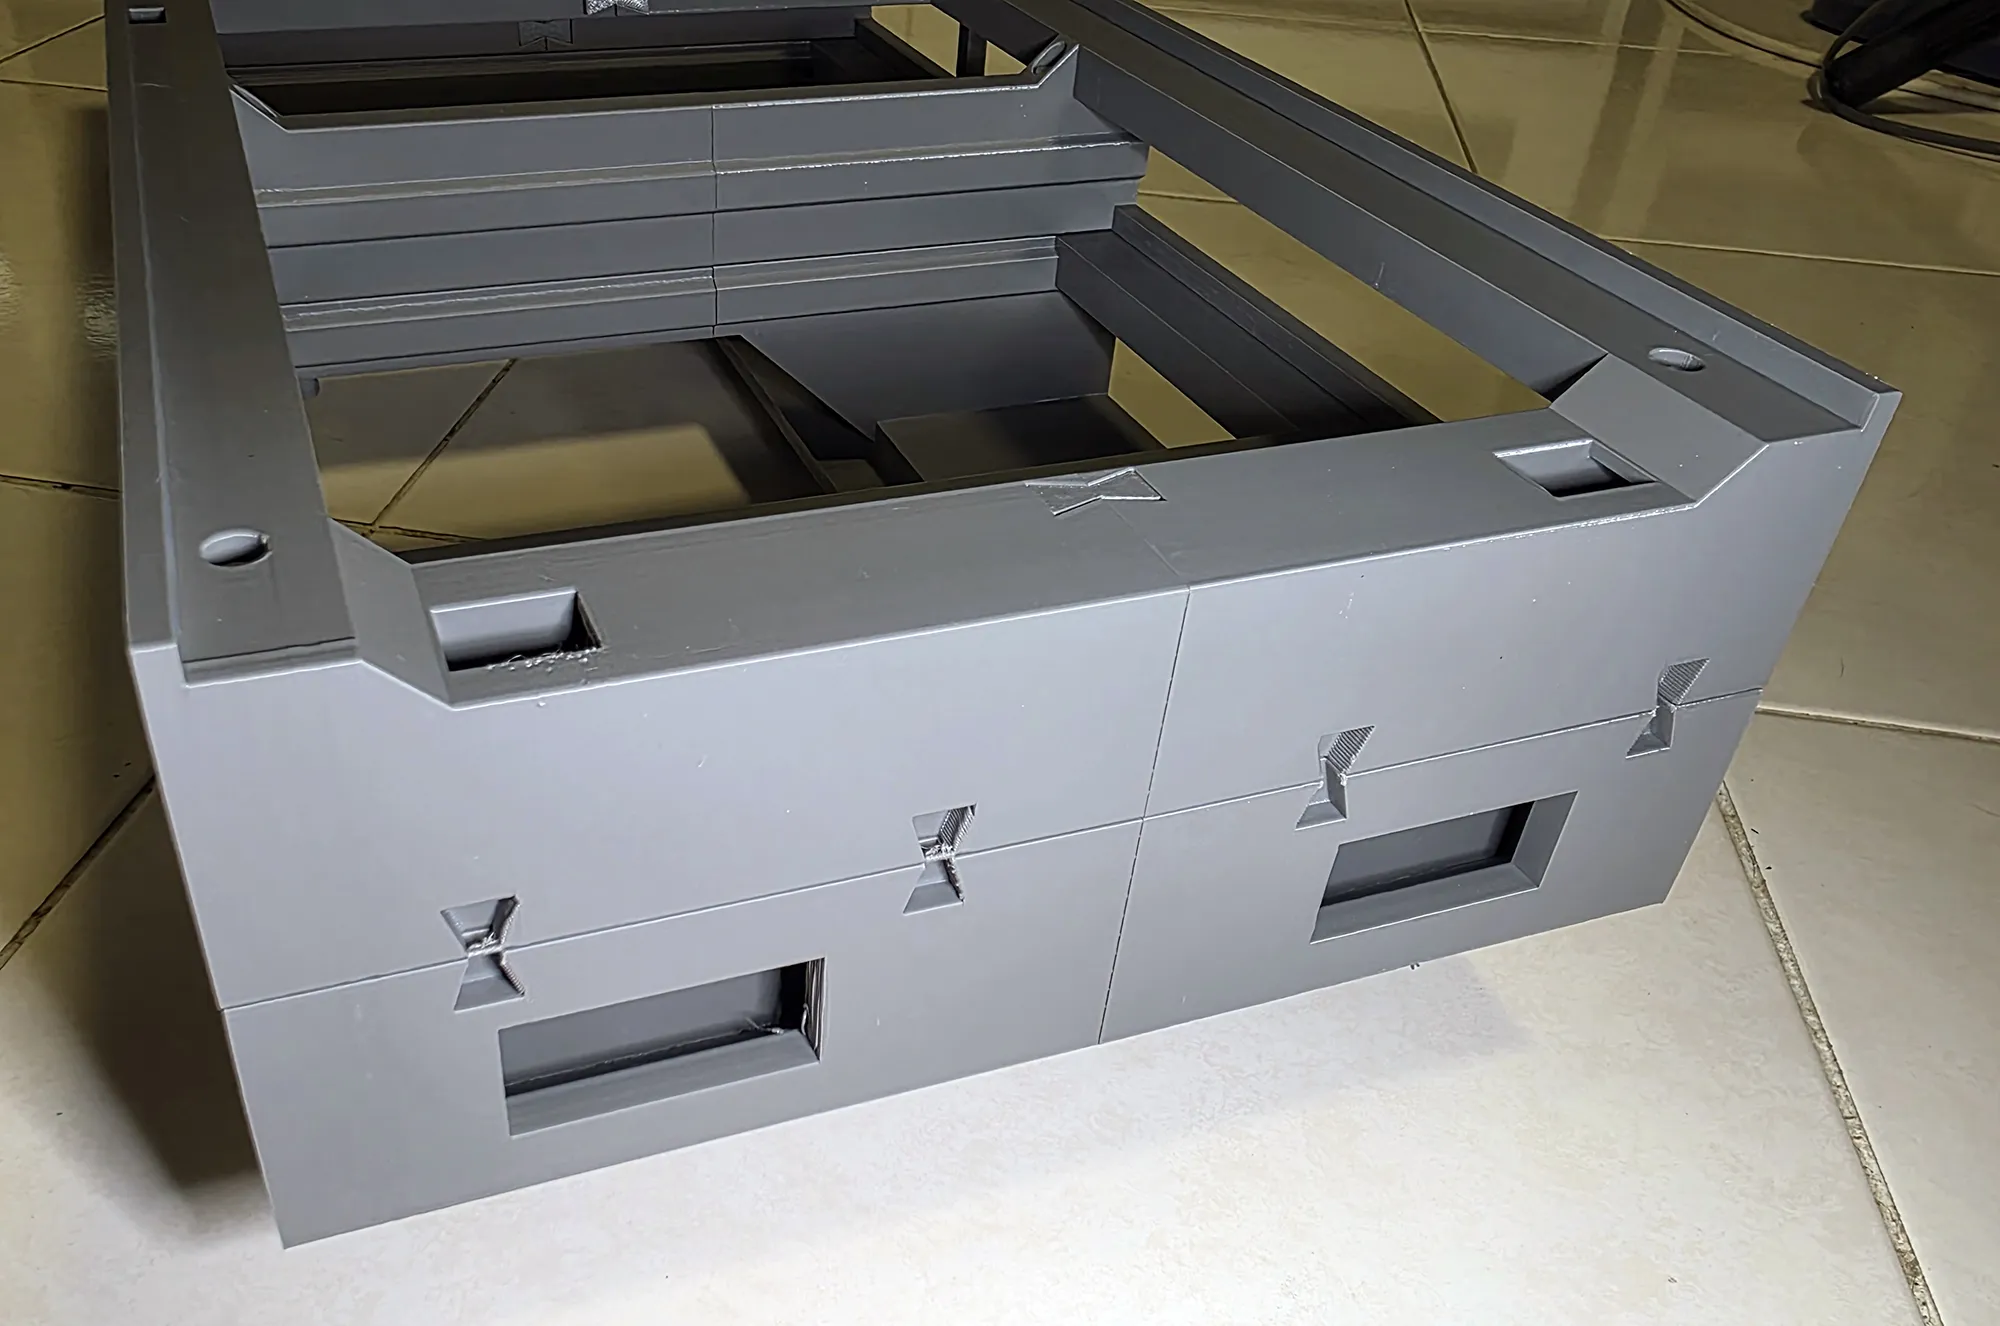
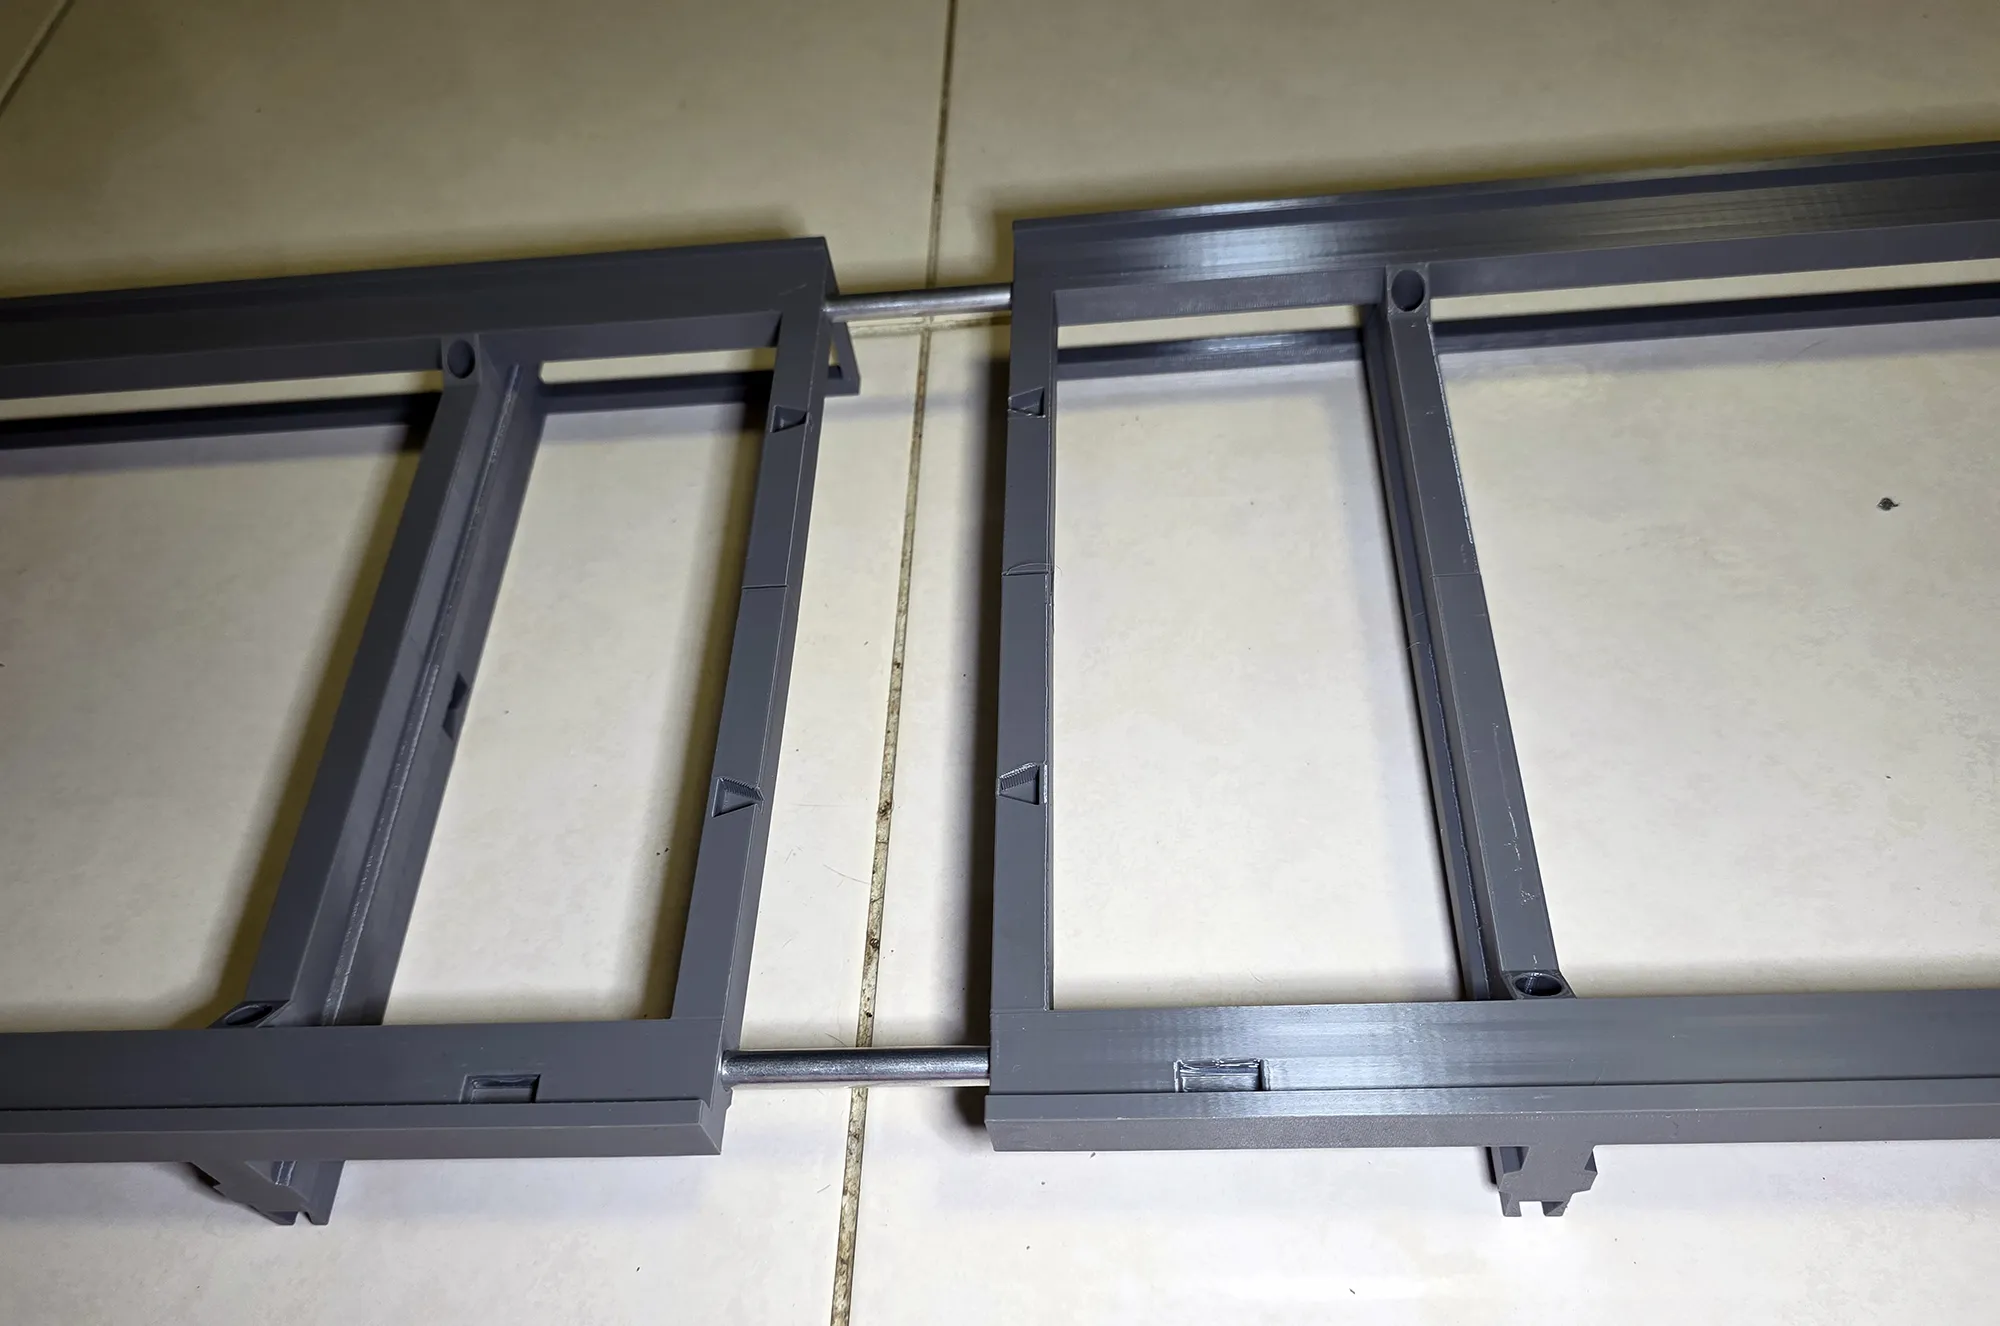
The new riser is split into 8 parts.. bottom and top each has 4 parts.. front and back.. Just like the original riser, you will need aluminium rod to hold all 8 pieces together.. you can also use 3d printer steel rods too.. since each side will have to hold a weight of 4kg.. the front and back riser connect using 15cm long rods and the horizontal left and right connects using 30cm rods.. I used 8mm diameter rods.. you’ll need:
here’s my Aliexpress affiliate link of the aluminium rod i use.. You should also be able to get the rods in your local hobby shops.. Gunpla artists use them to make sturts and absorbers for Gundam figurines.. I have also had other makers using wooden dowels too..
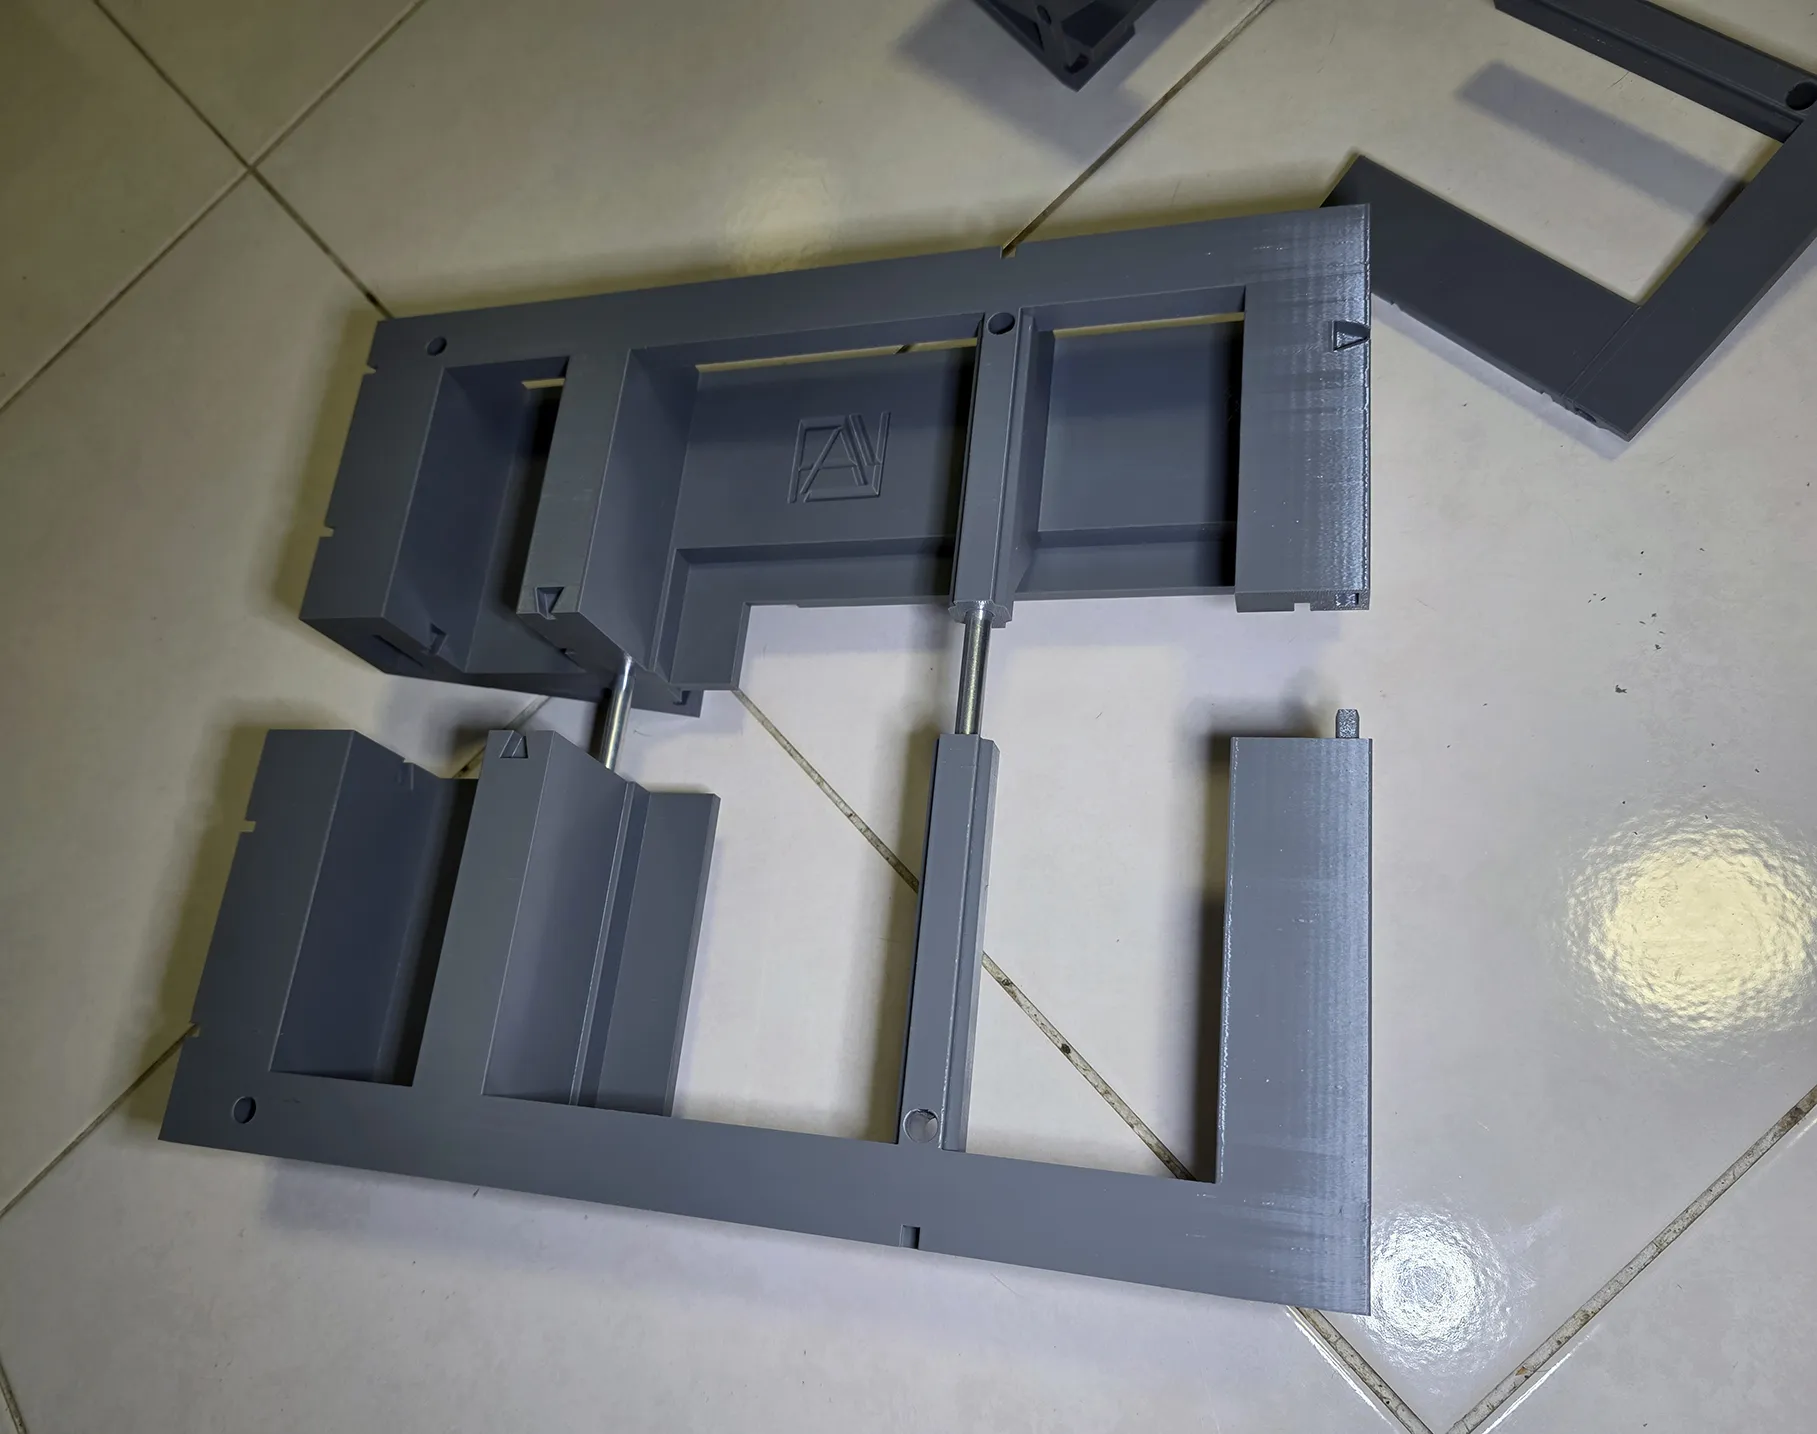 |
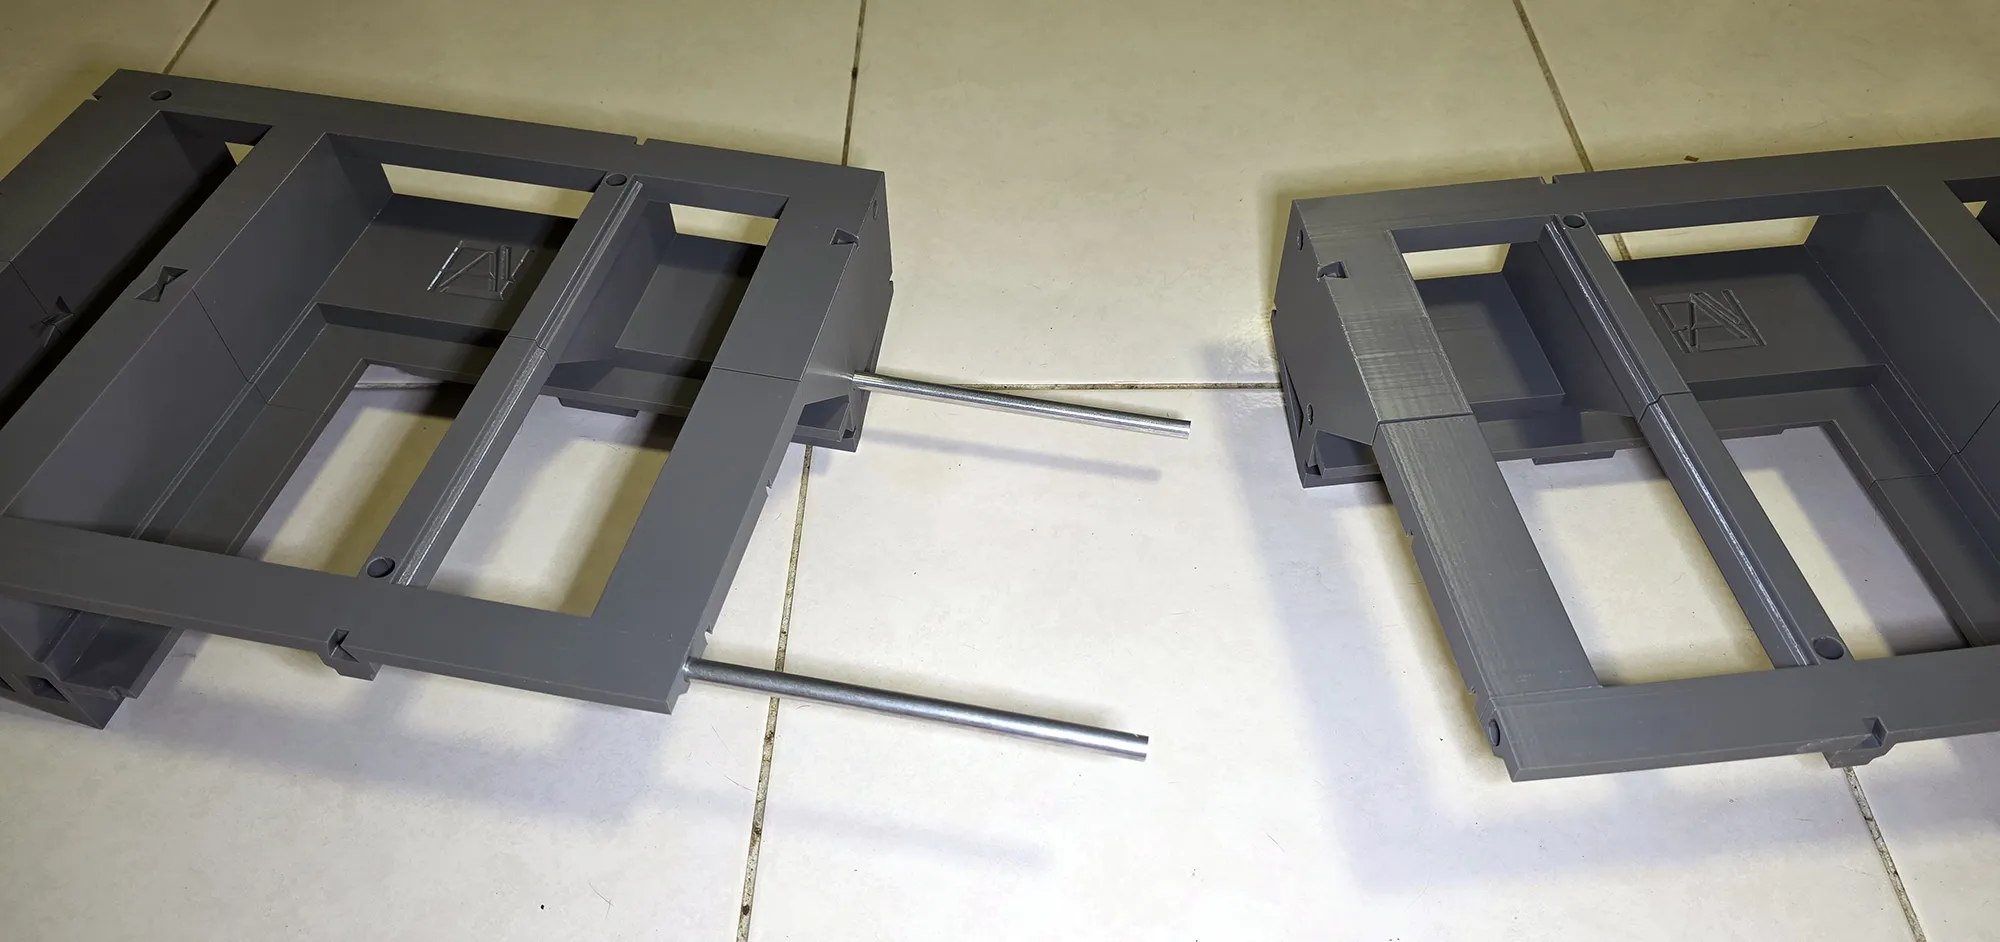 |
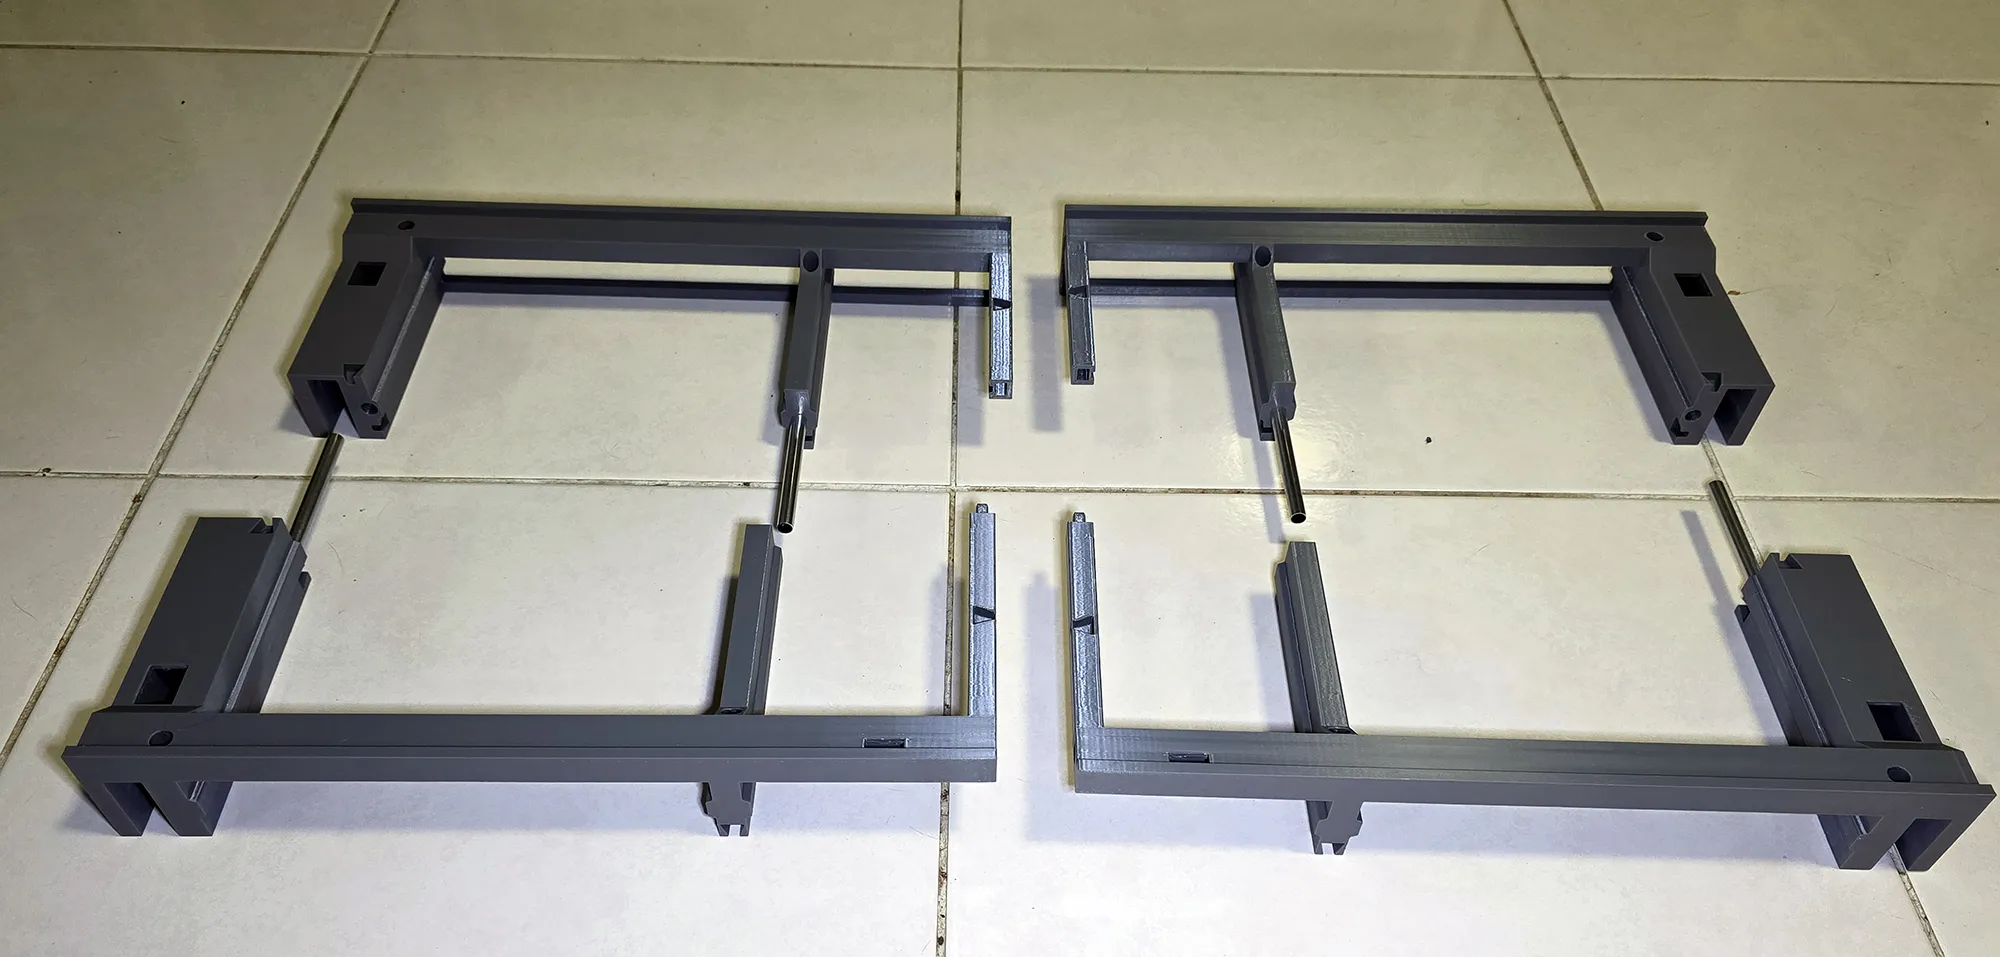 |
 |
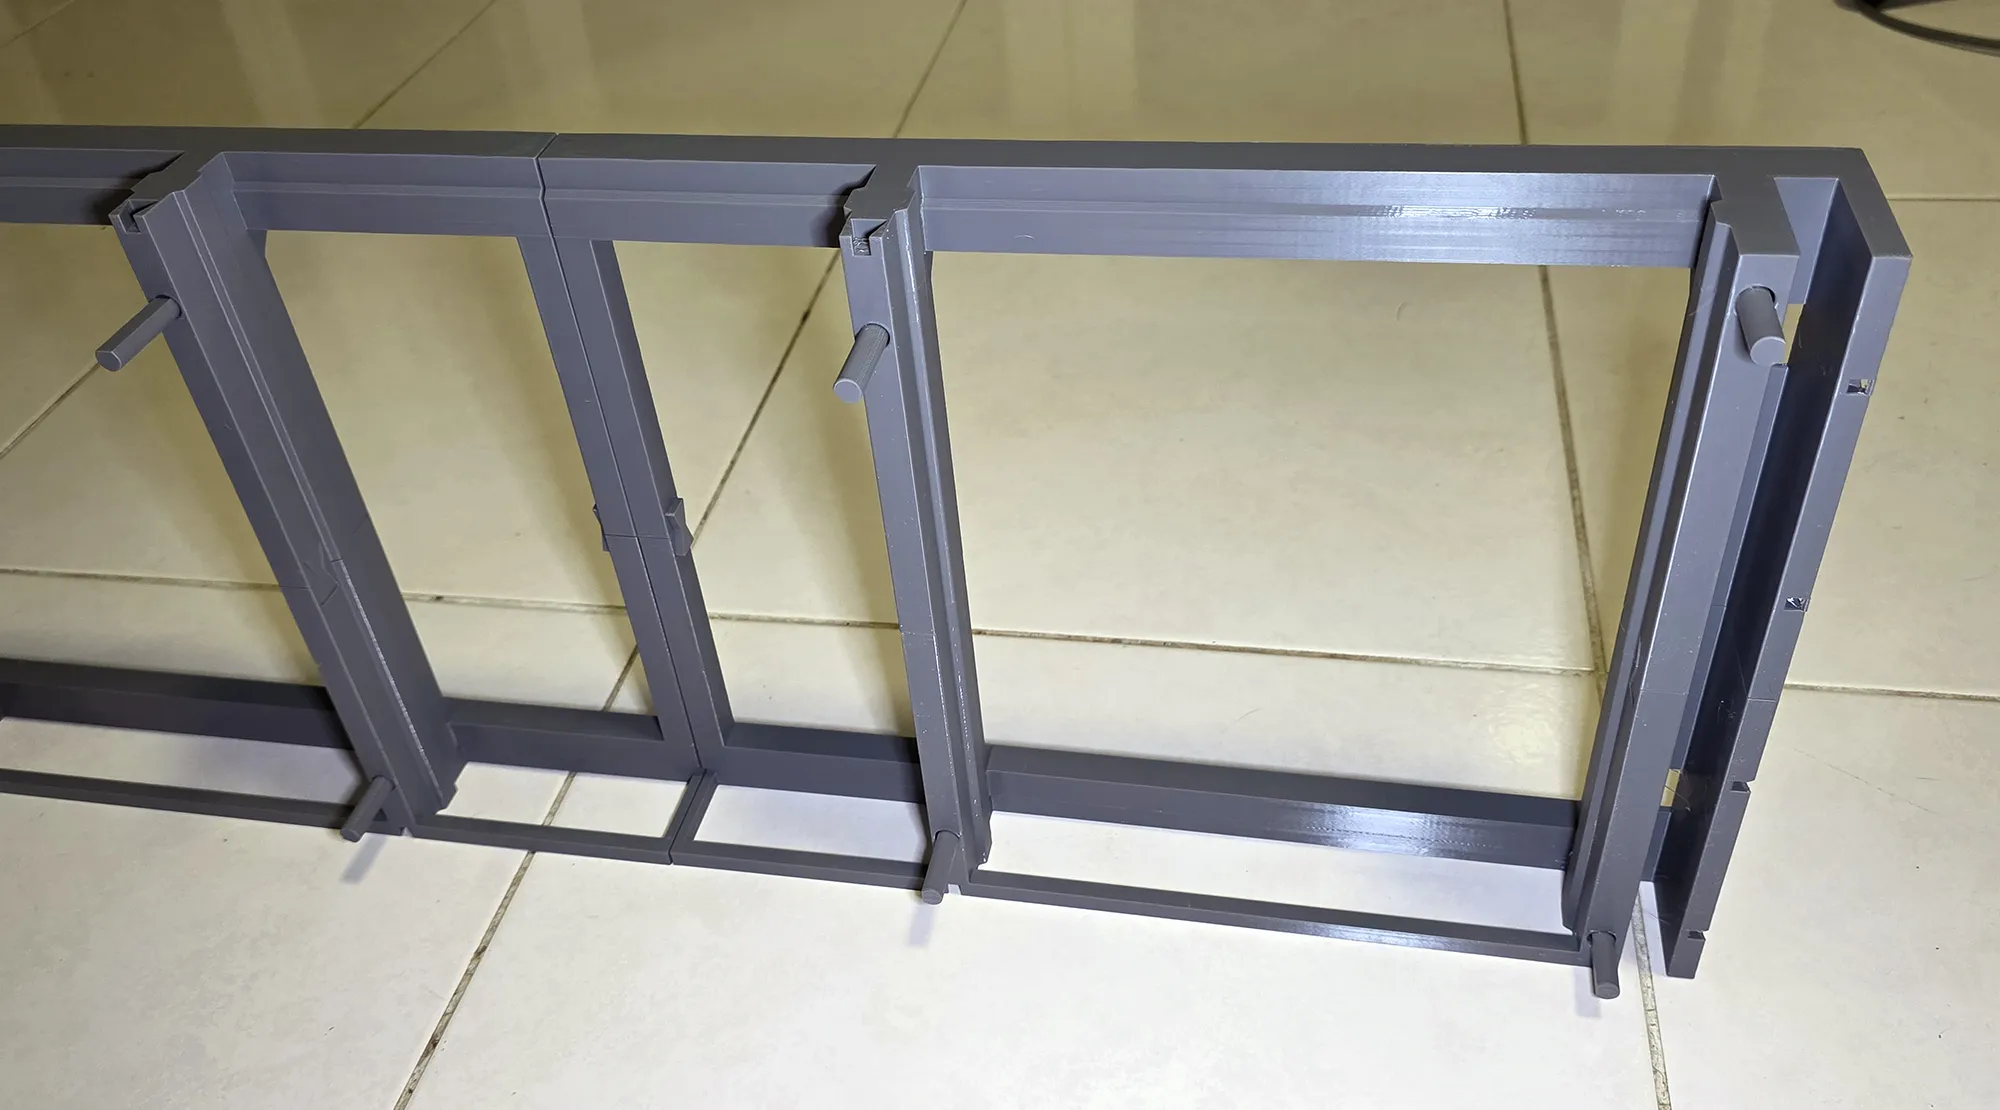
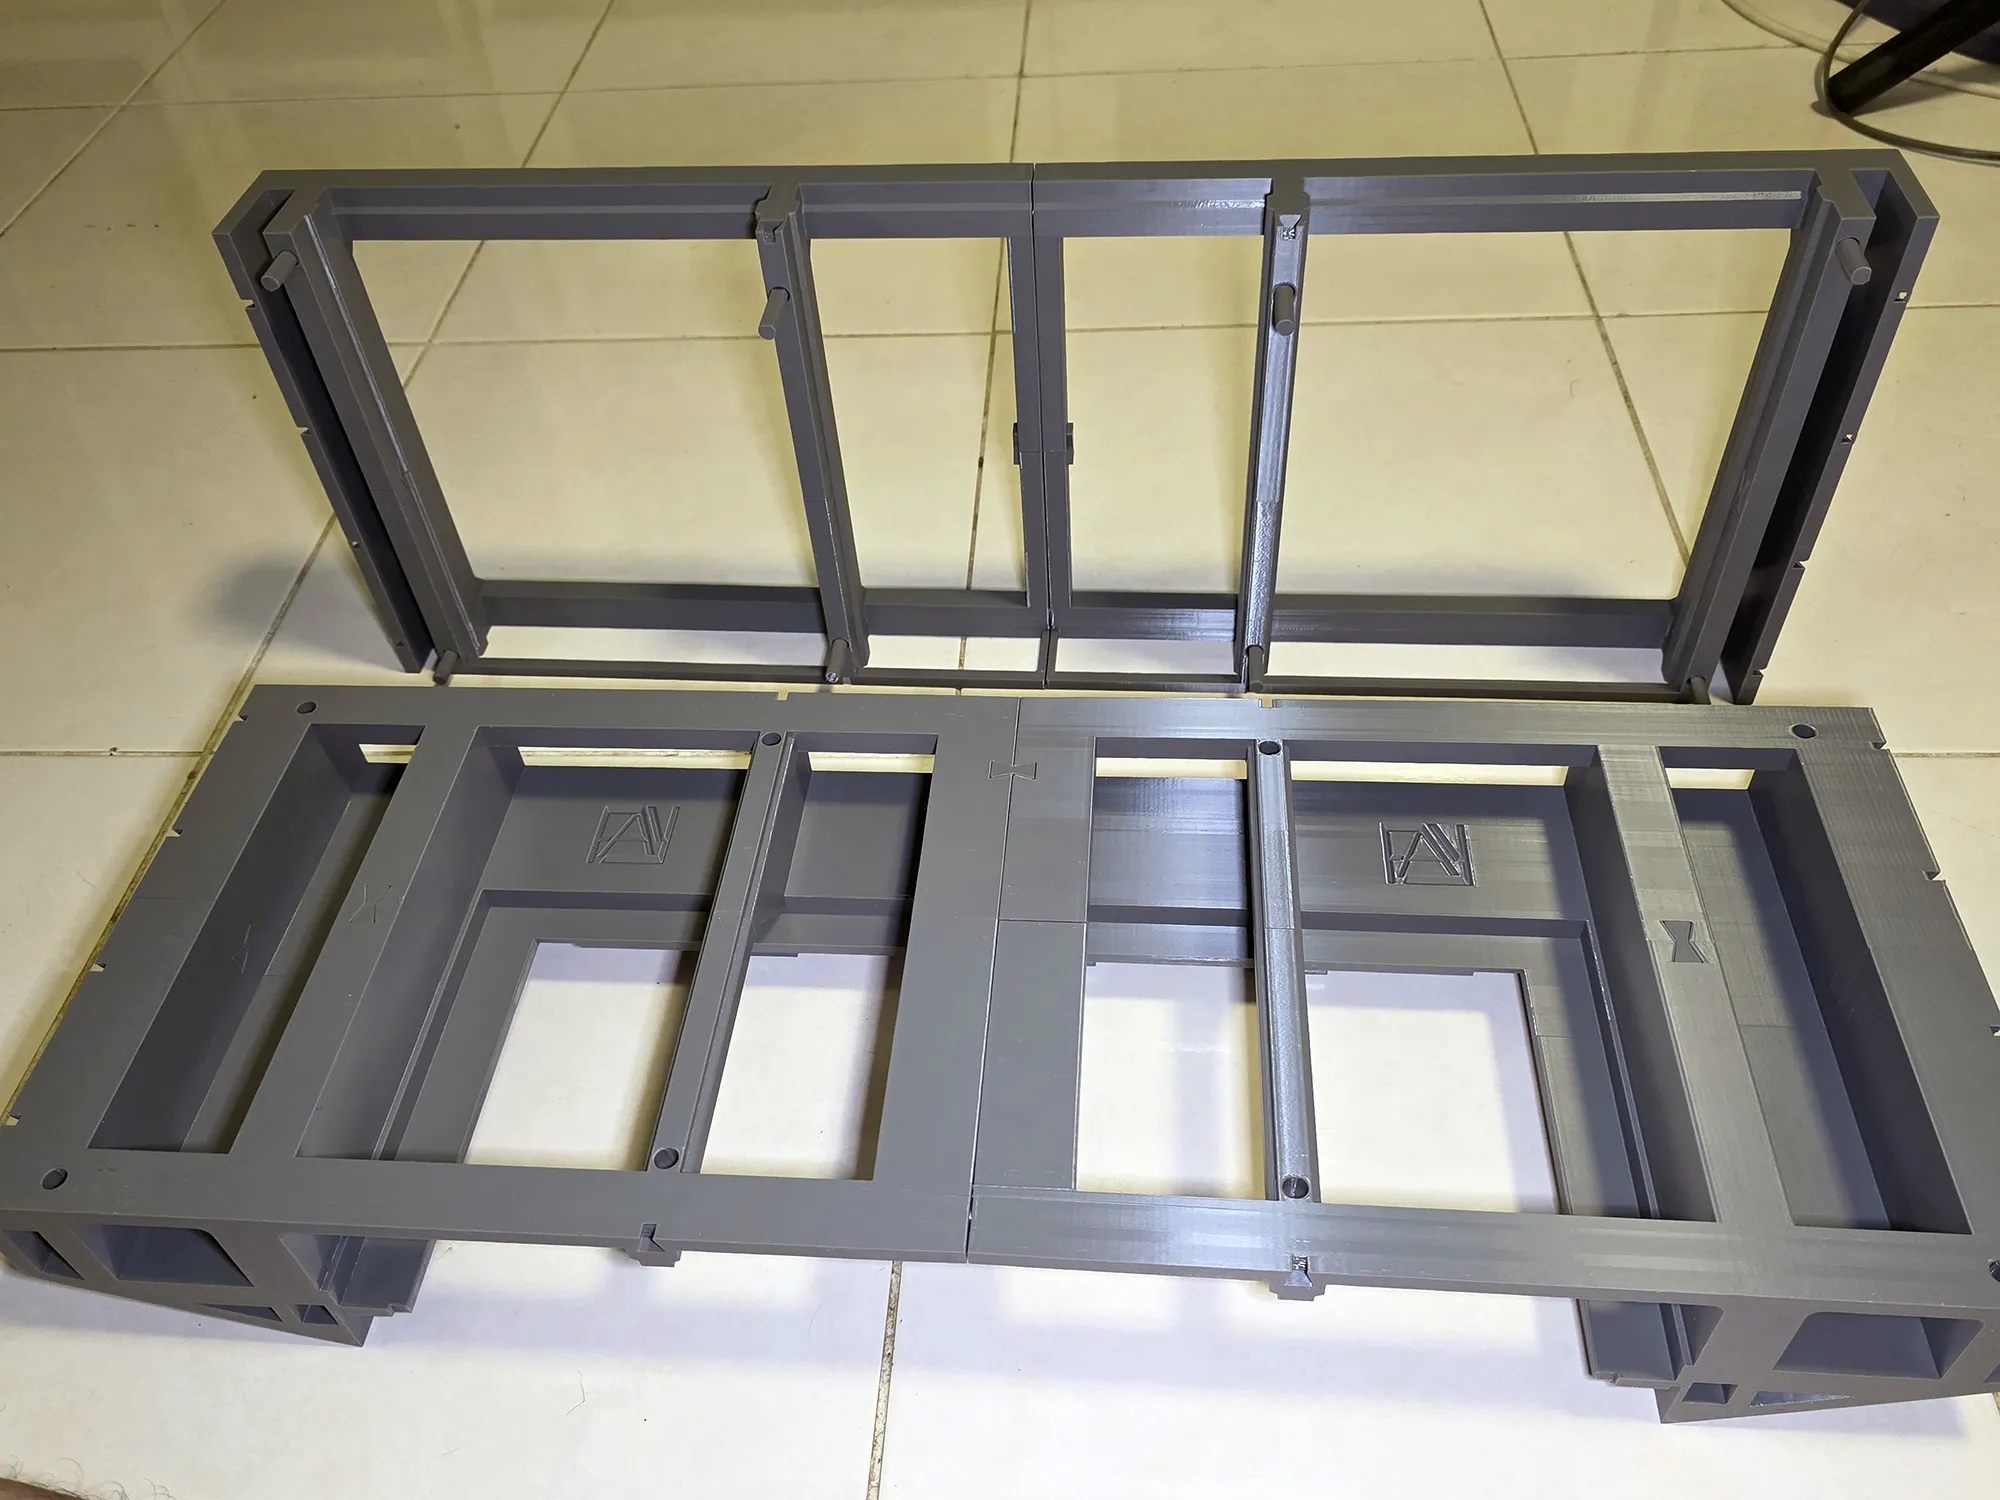
To connect the top and bottom of the AMS riser.. you can either use the same steel rod or 3d print them.. since it is only used to align the top to the bottom..
 |
 |
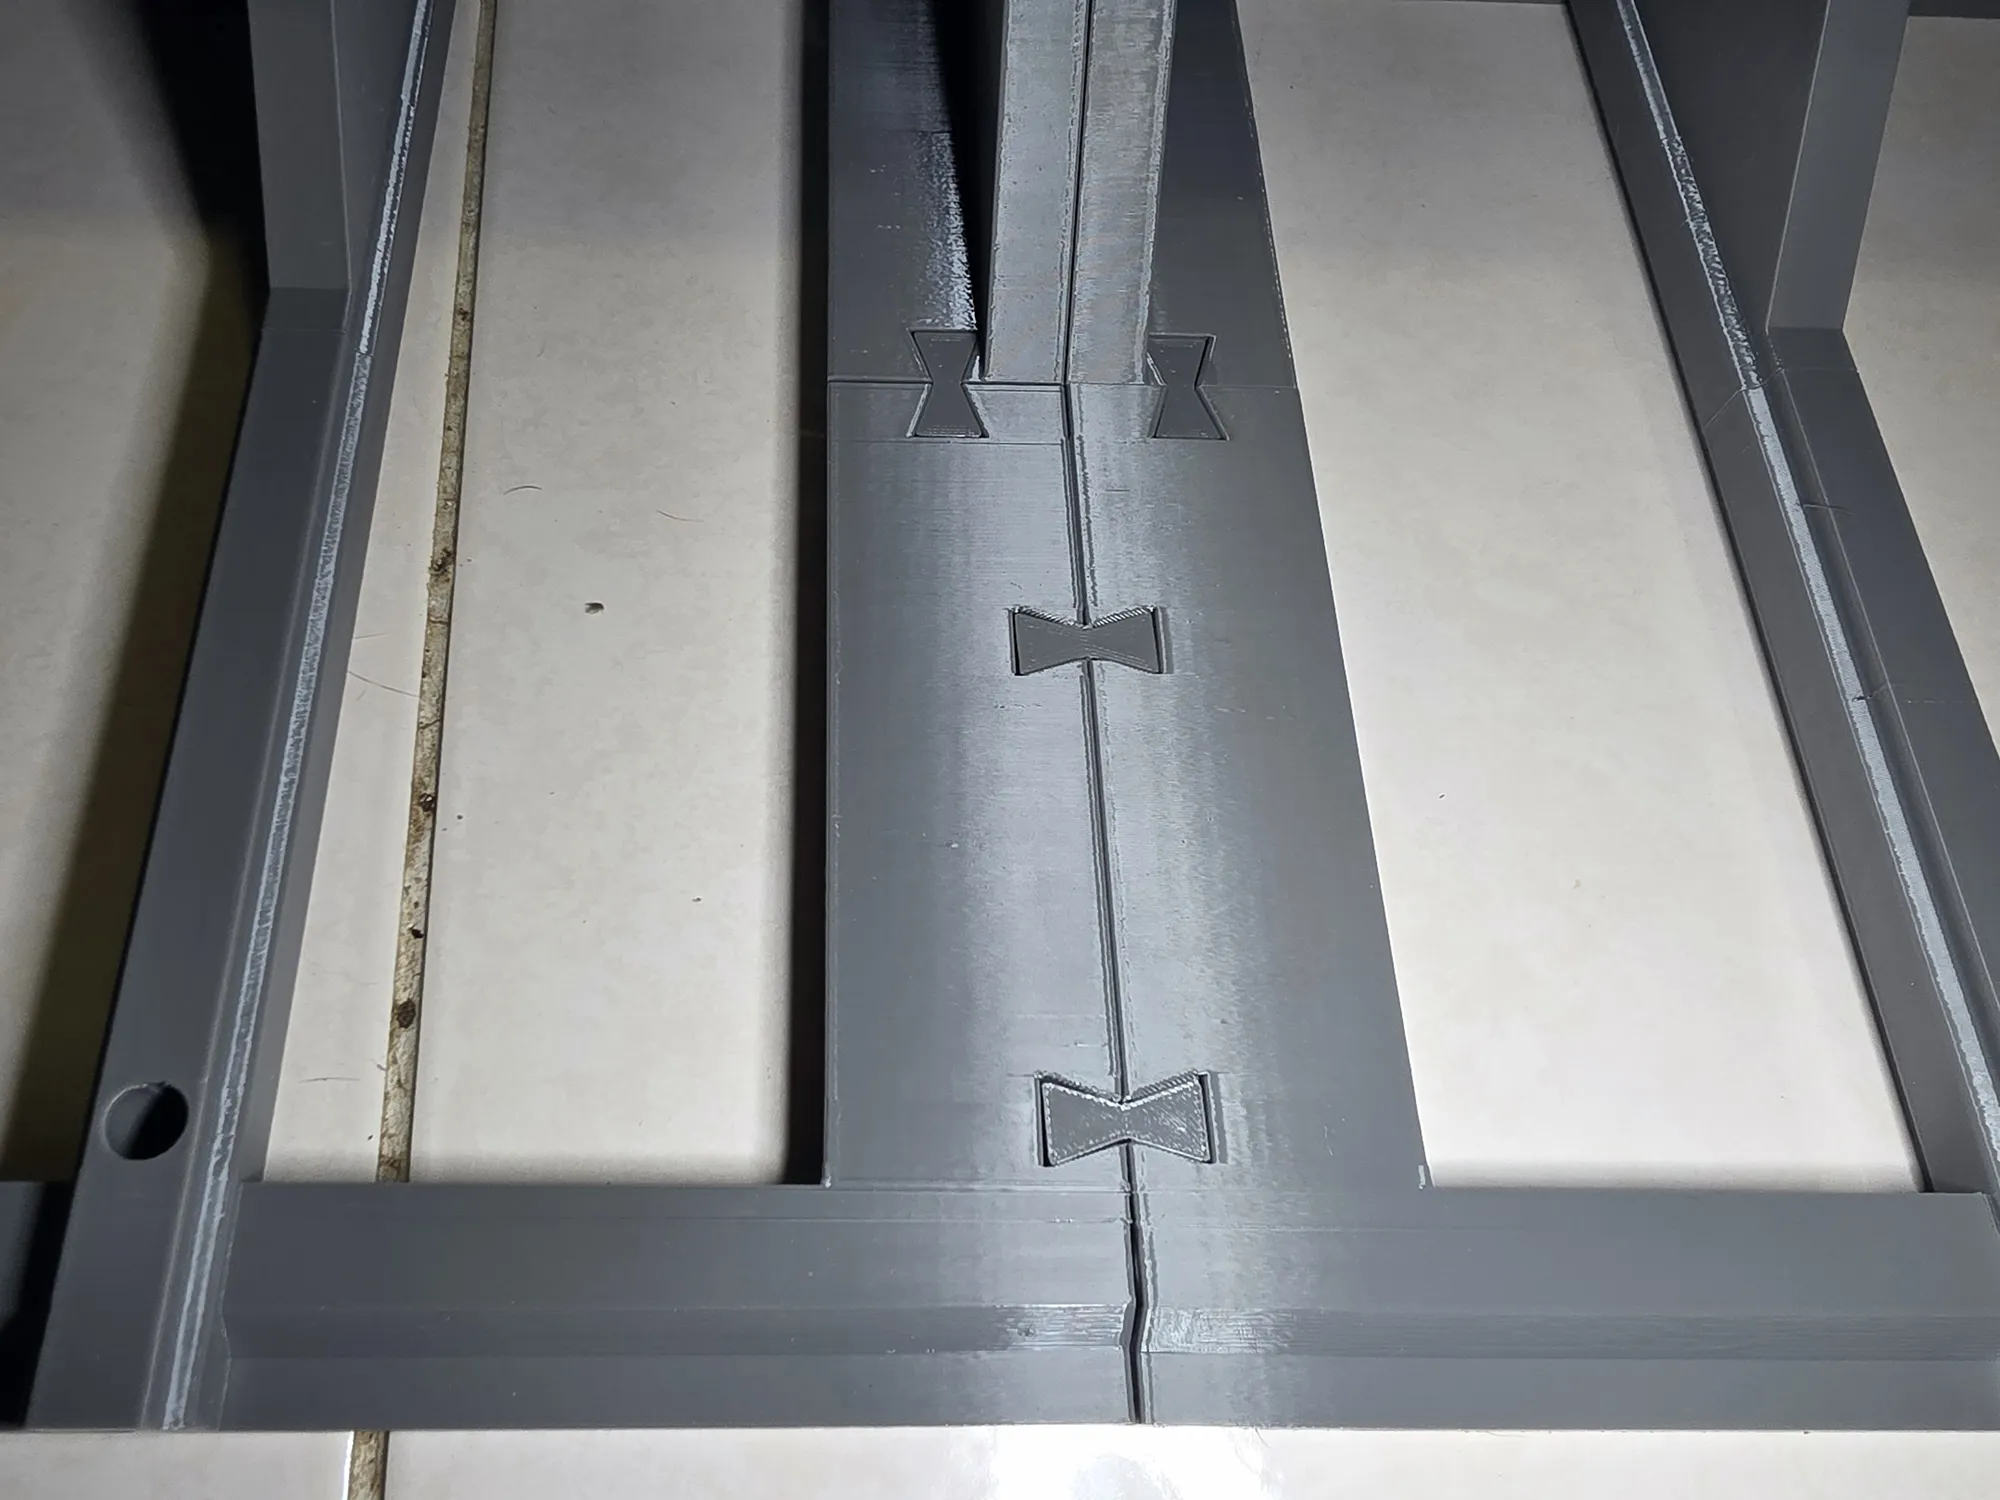
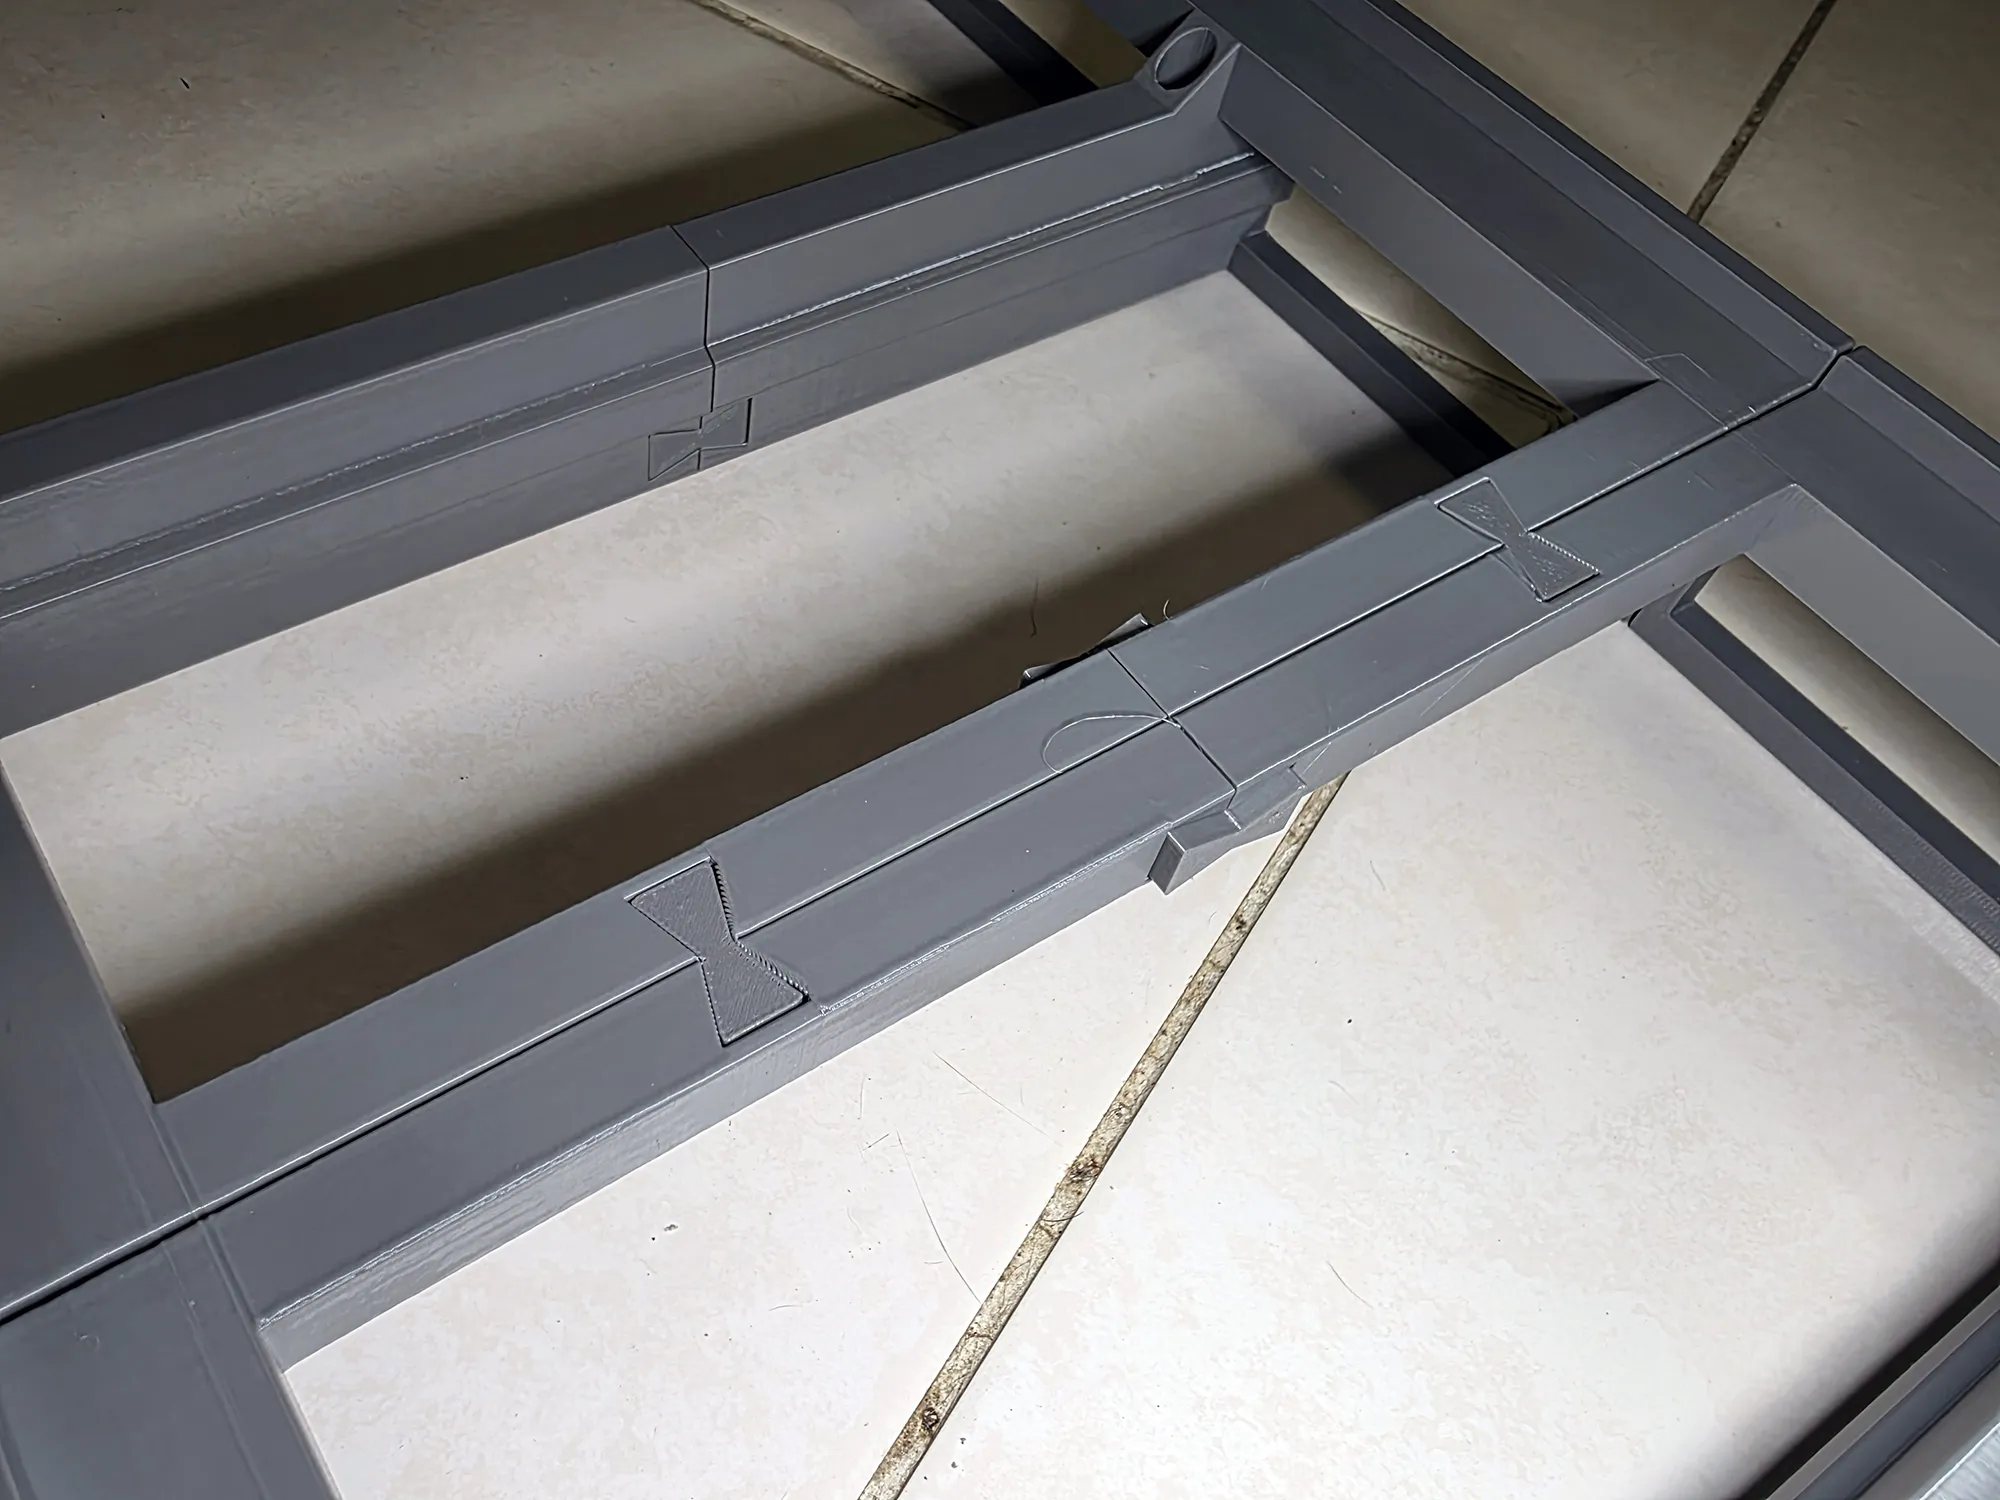
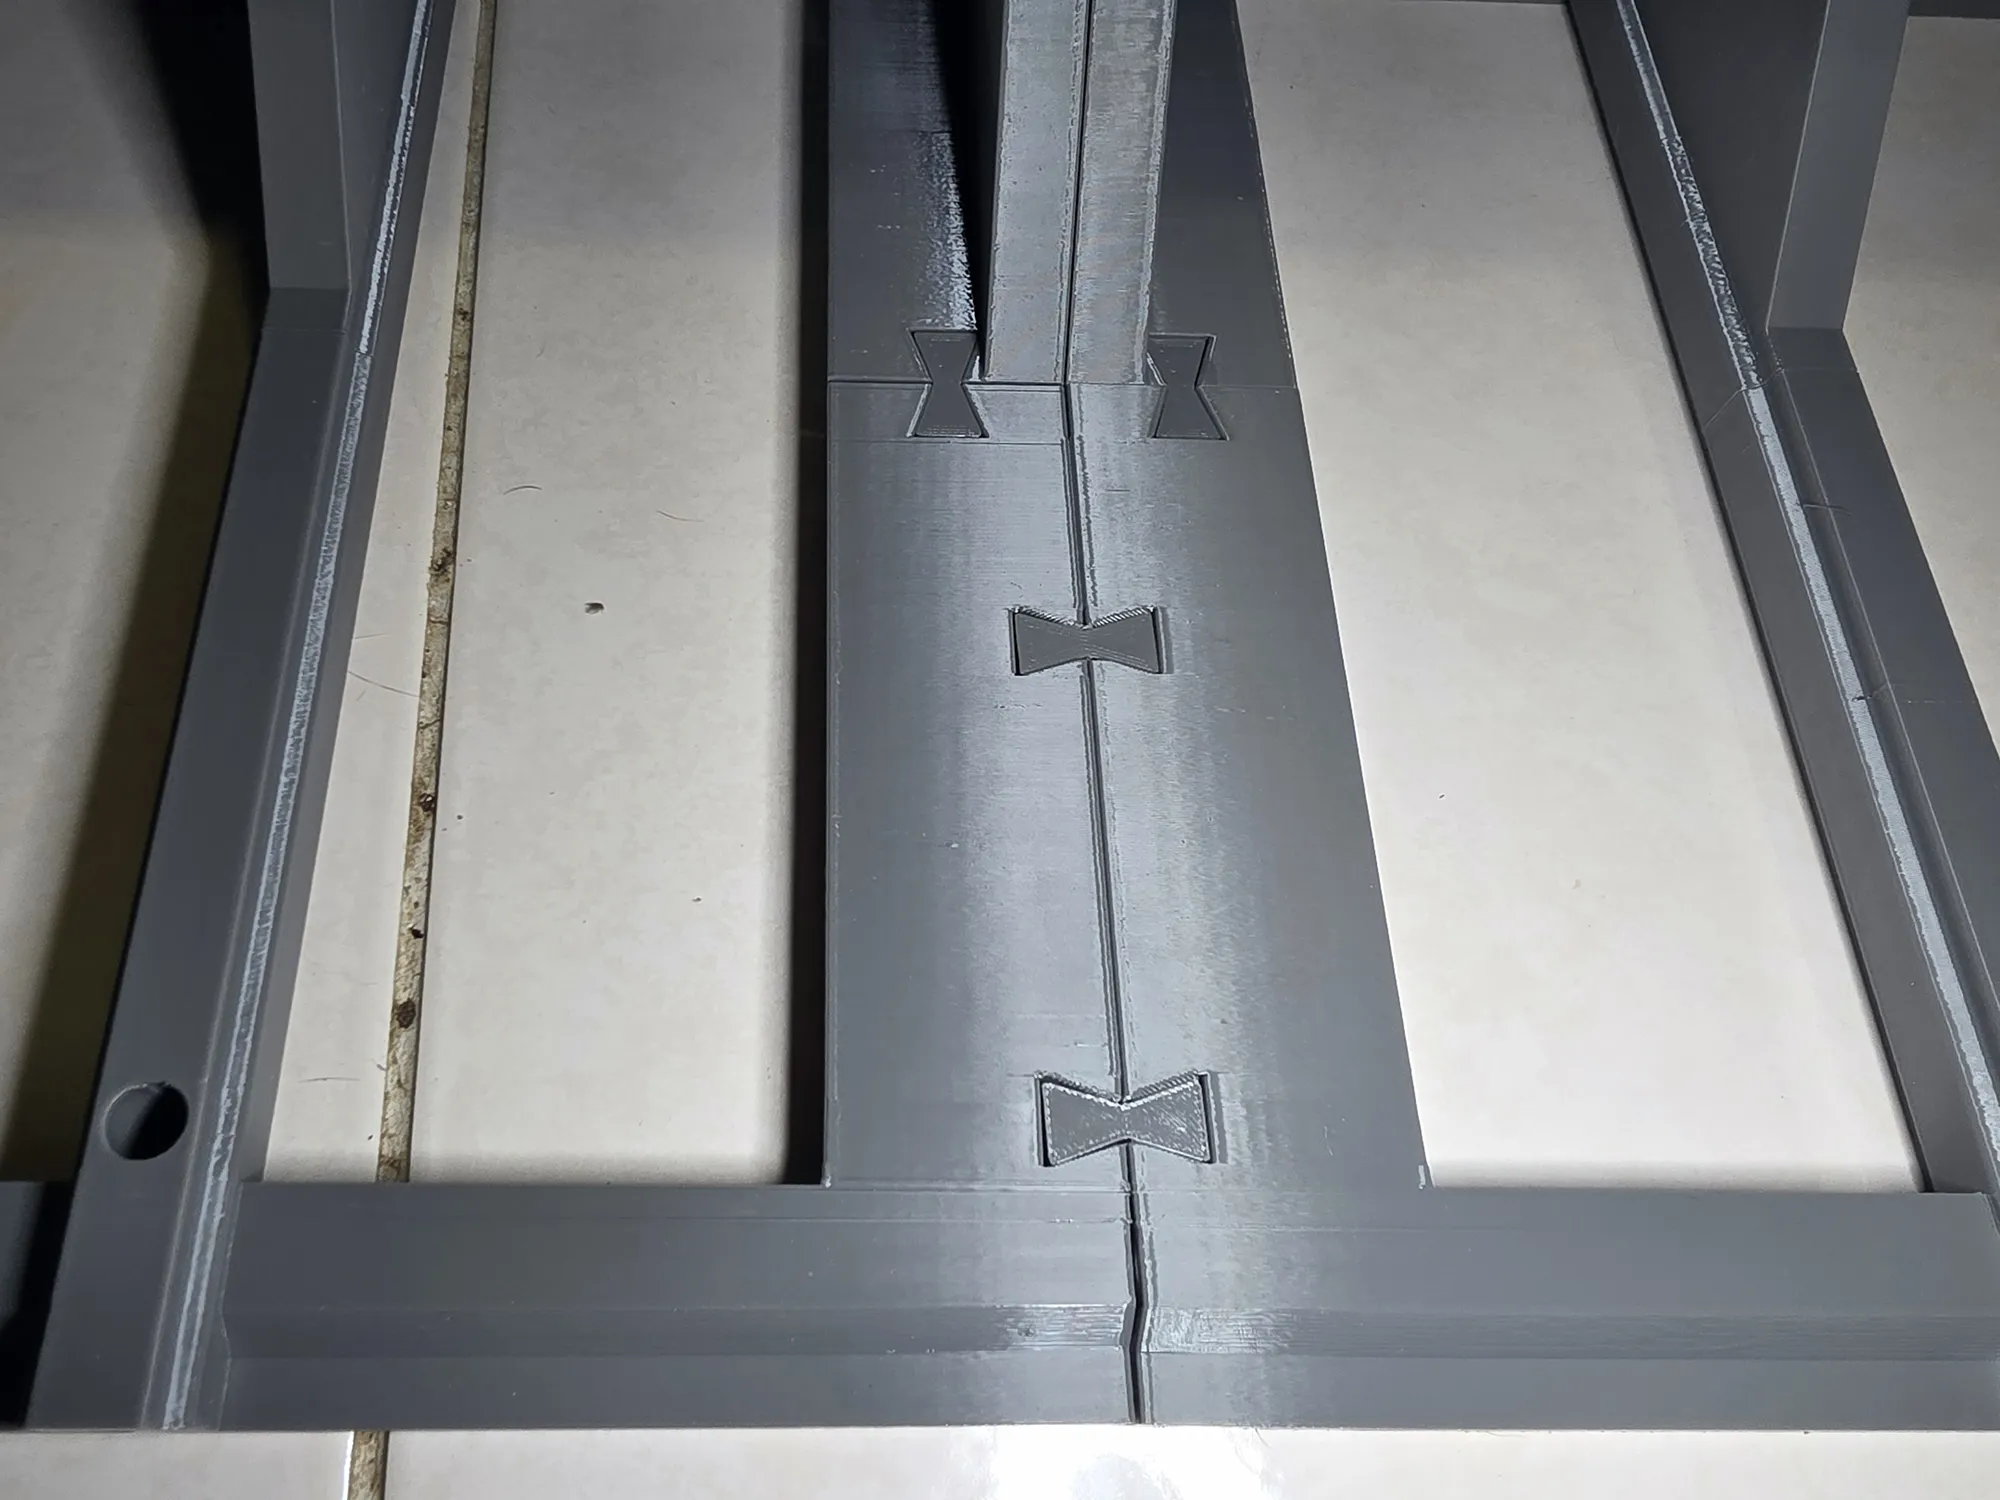
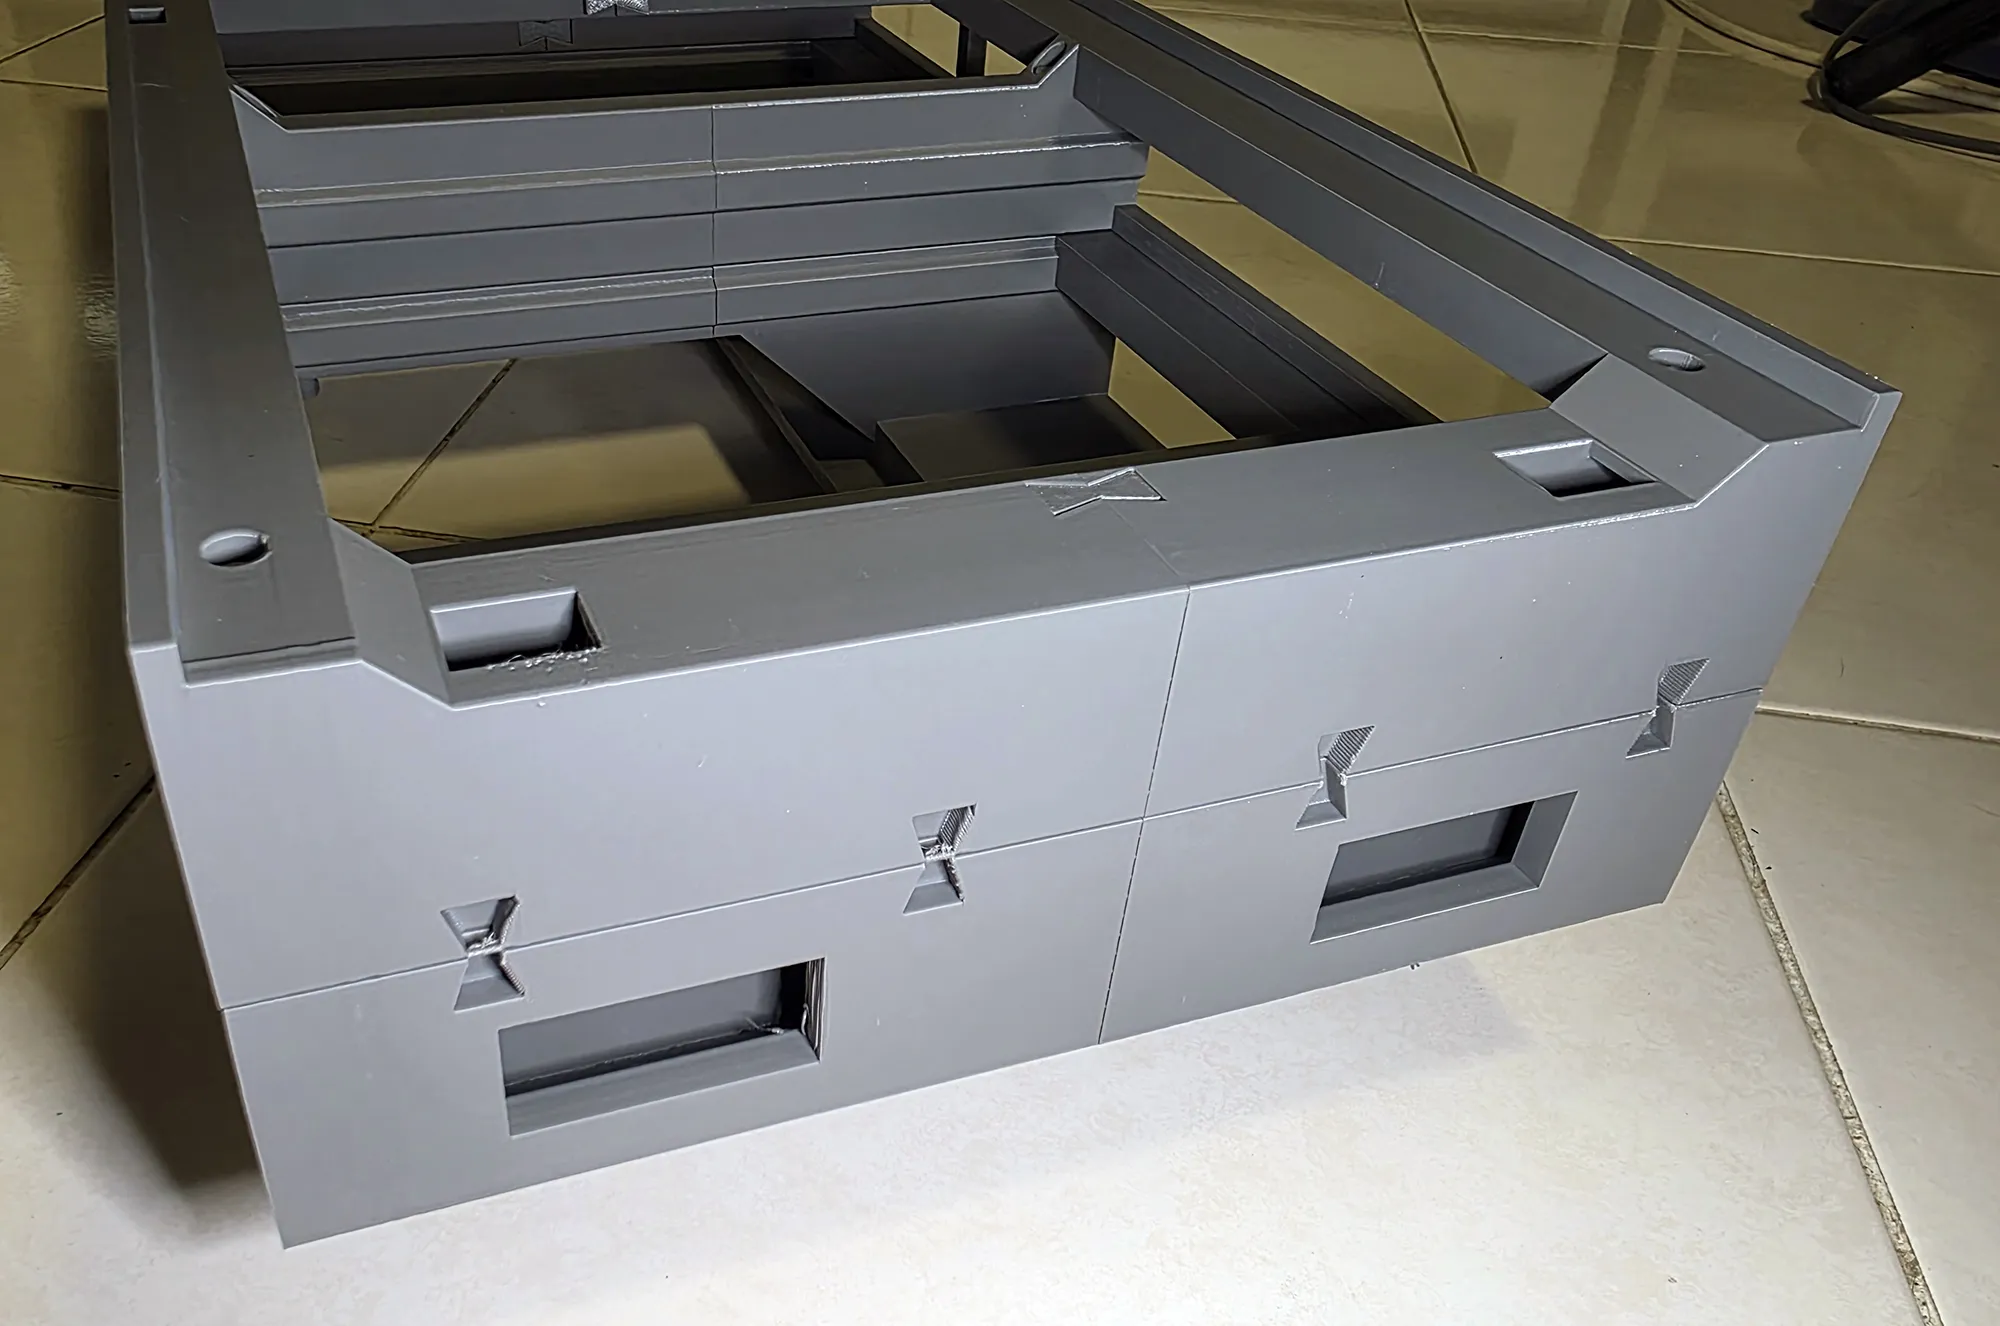
to keep all the parts together.. i made butterfly pegs to connect each parts.. some of the peg holes are slightly tighter than the others.. it is recommended to glue the pegs together..
 |
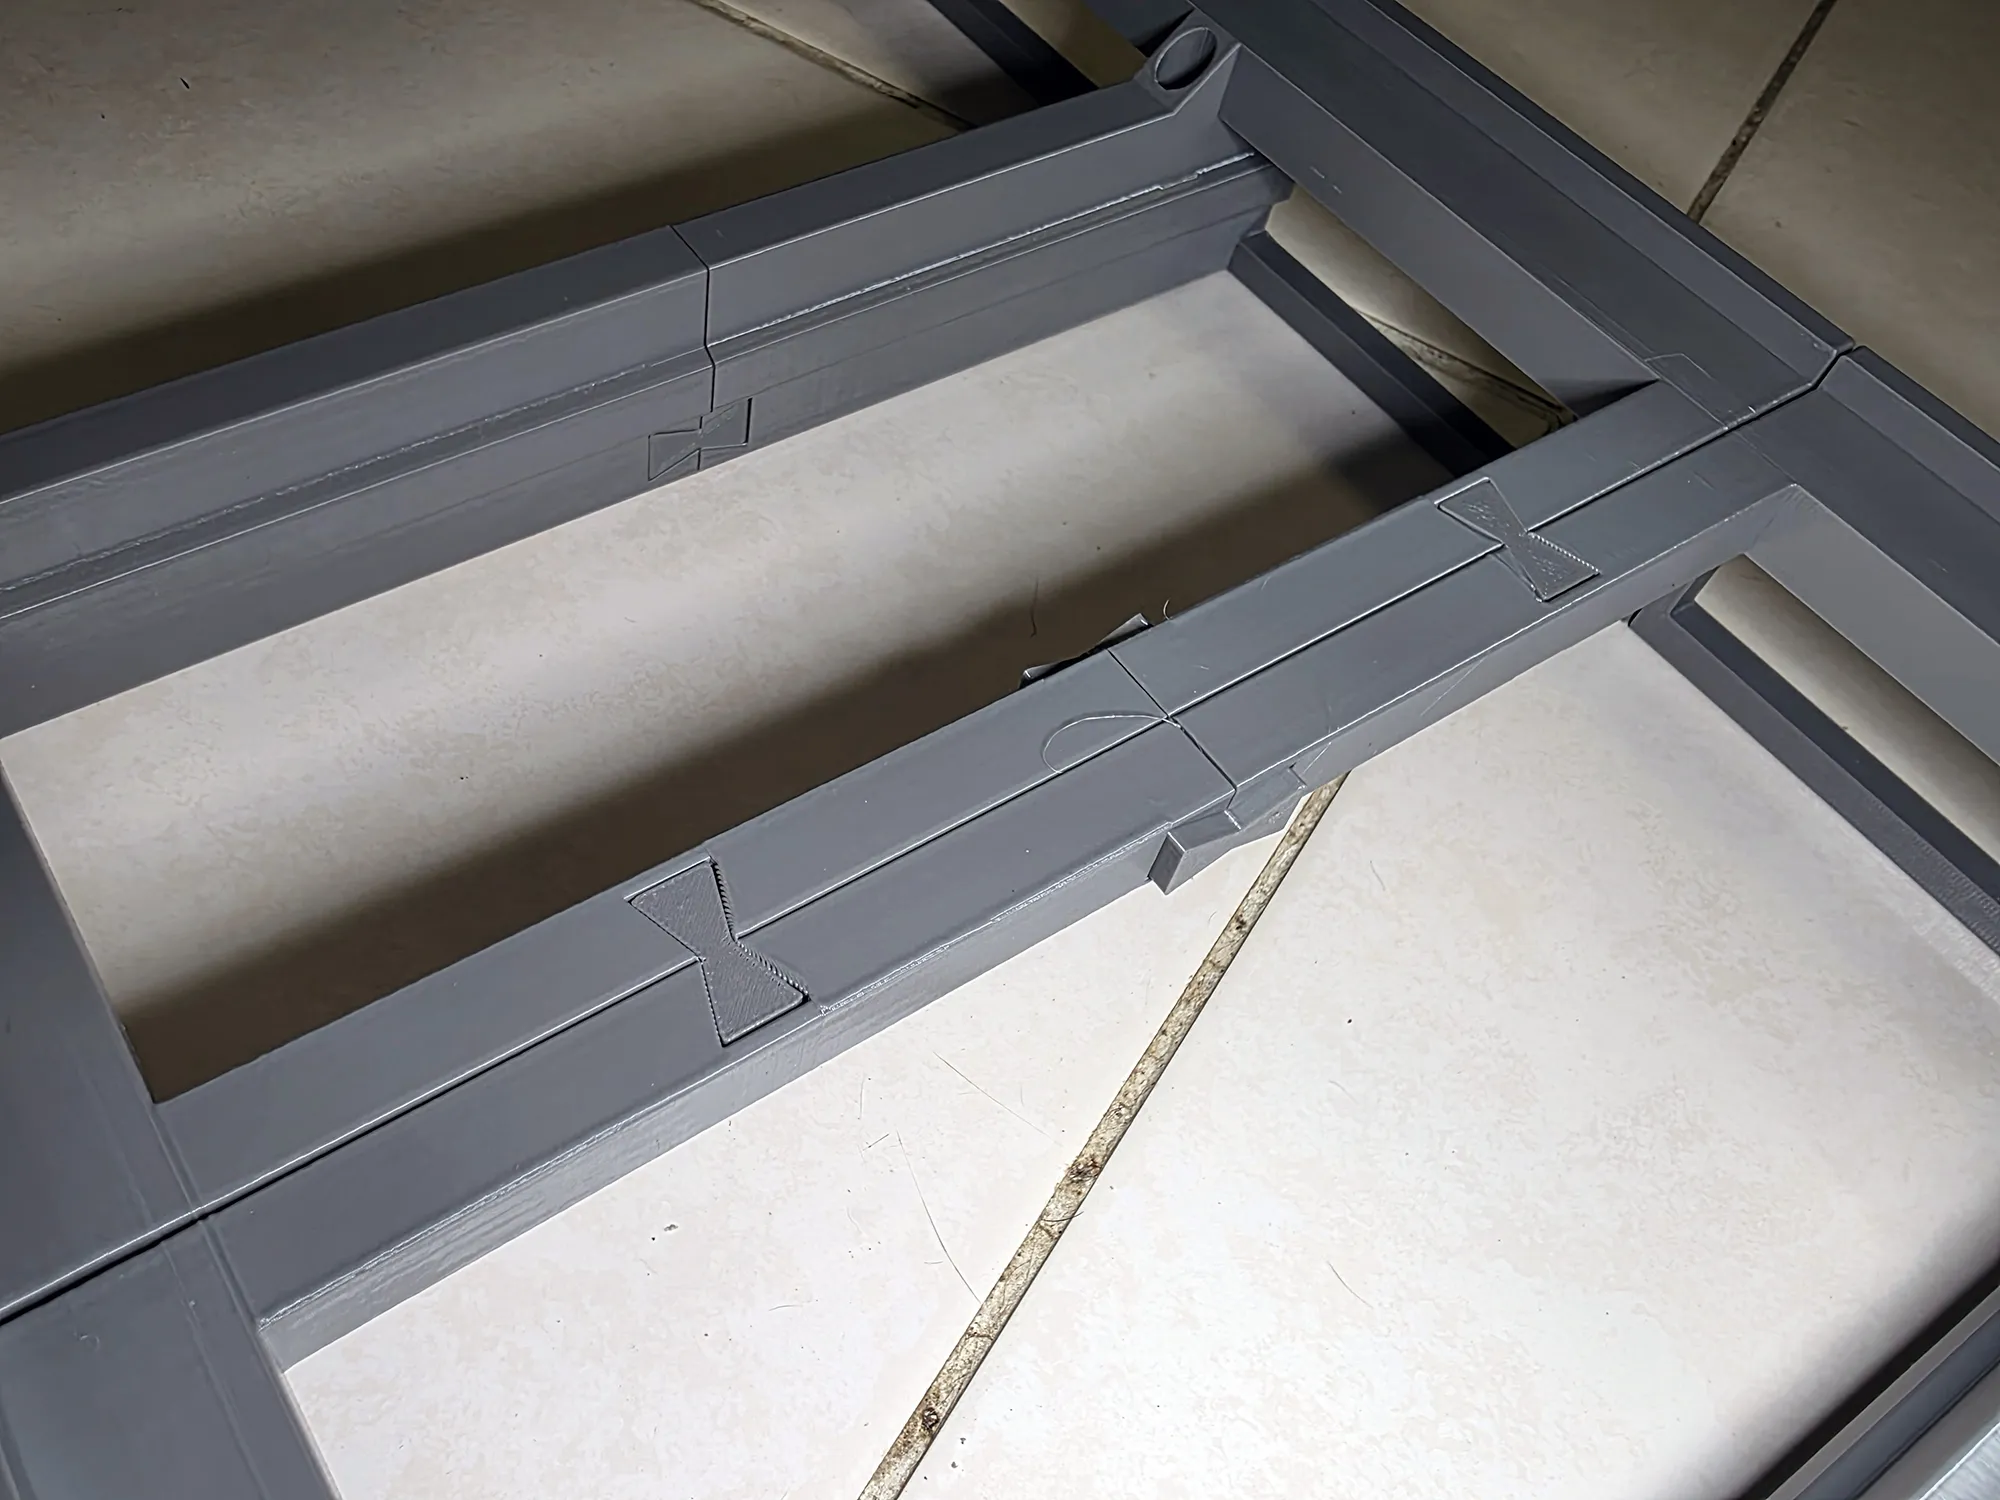 |
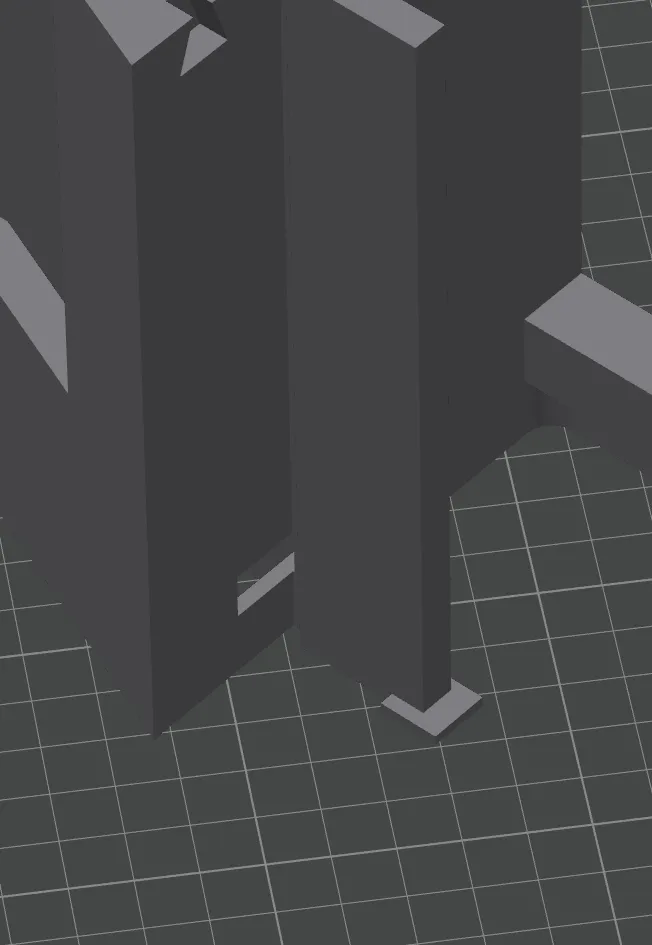
All parts are printed without turning on supports.. parts that need supports i have added it manually and have to be removed using a cutter..
 |
 |
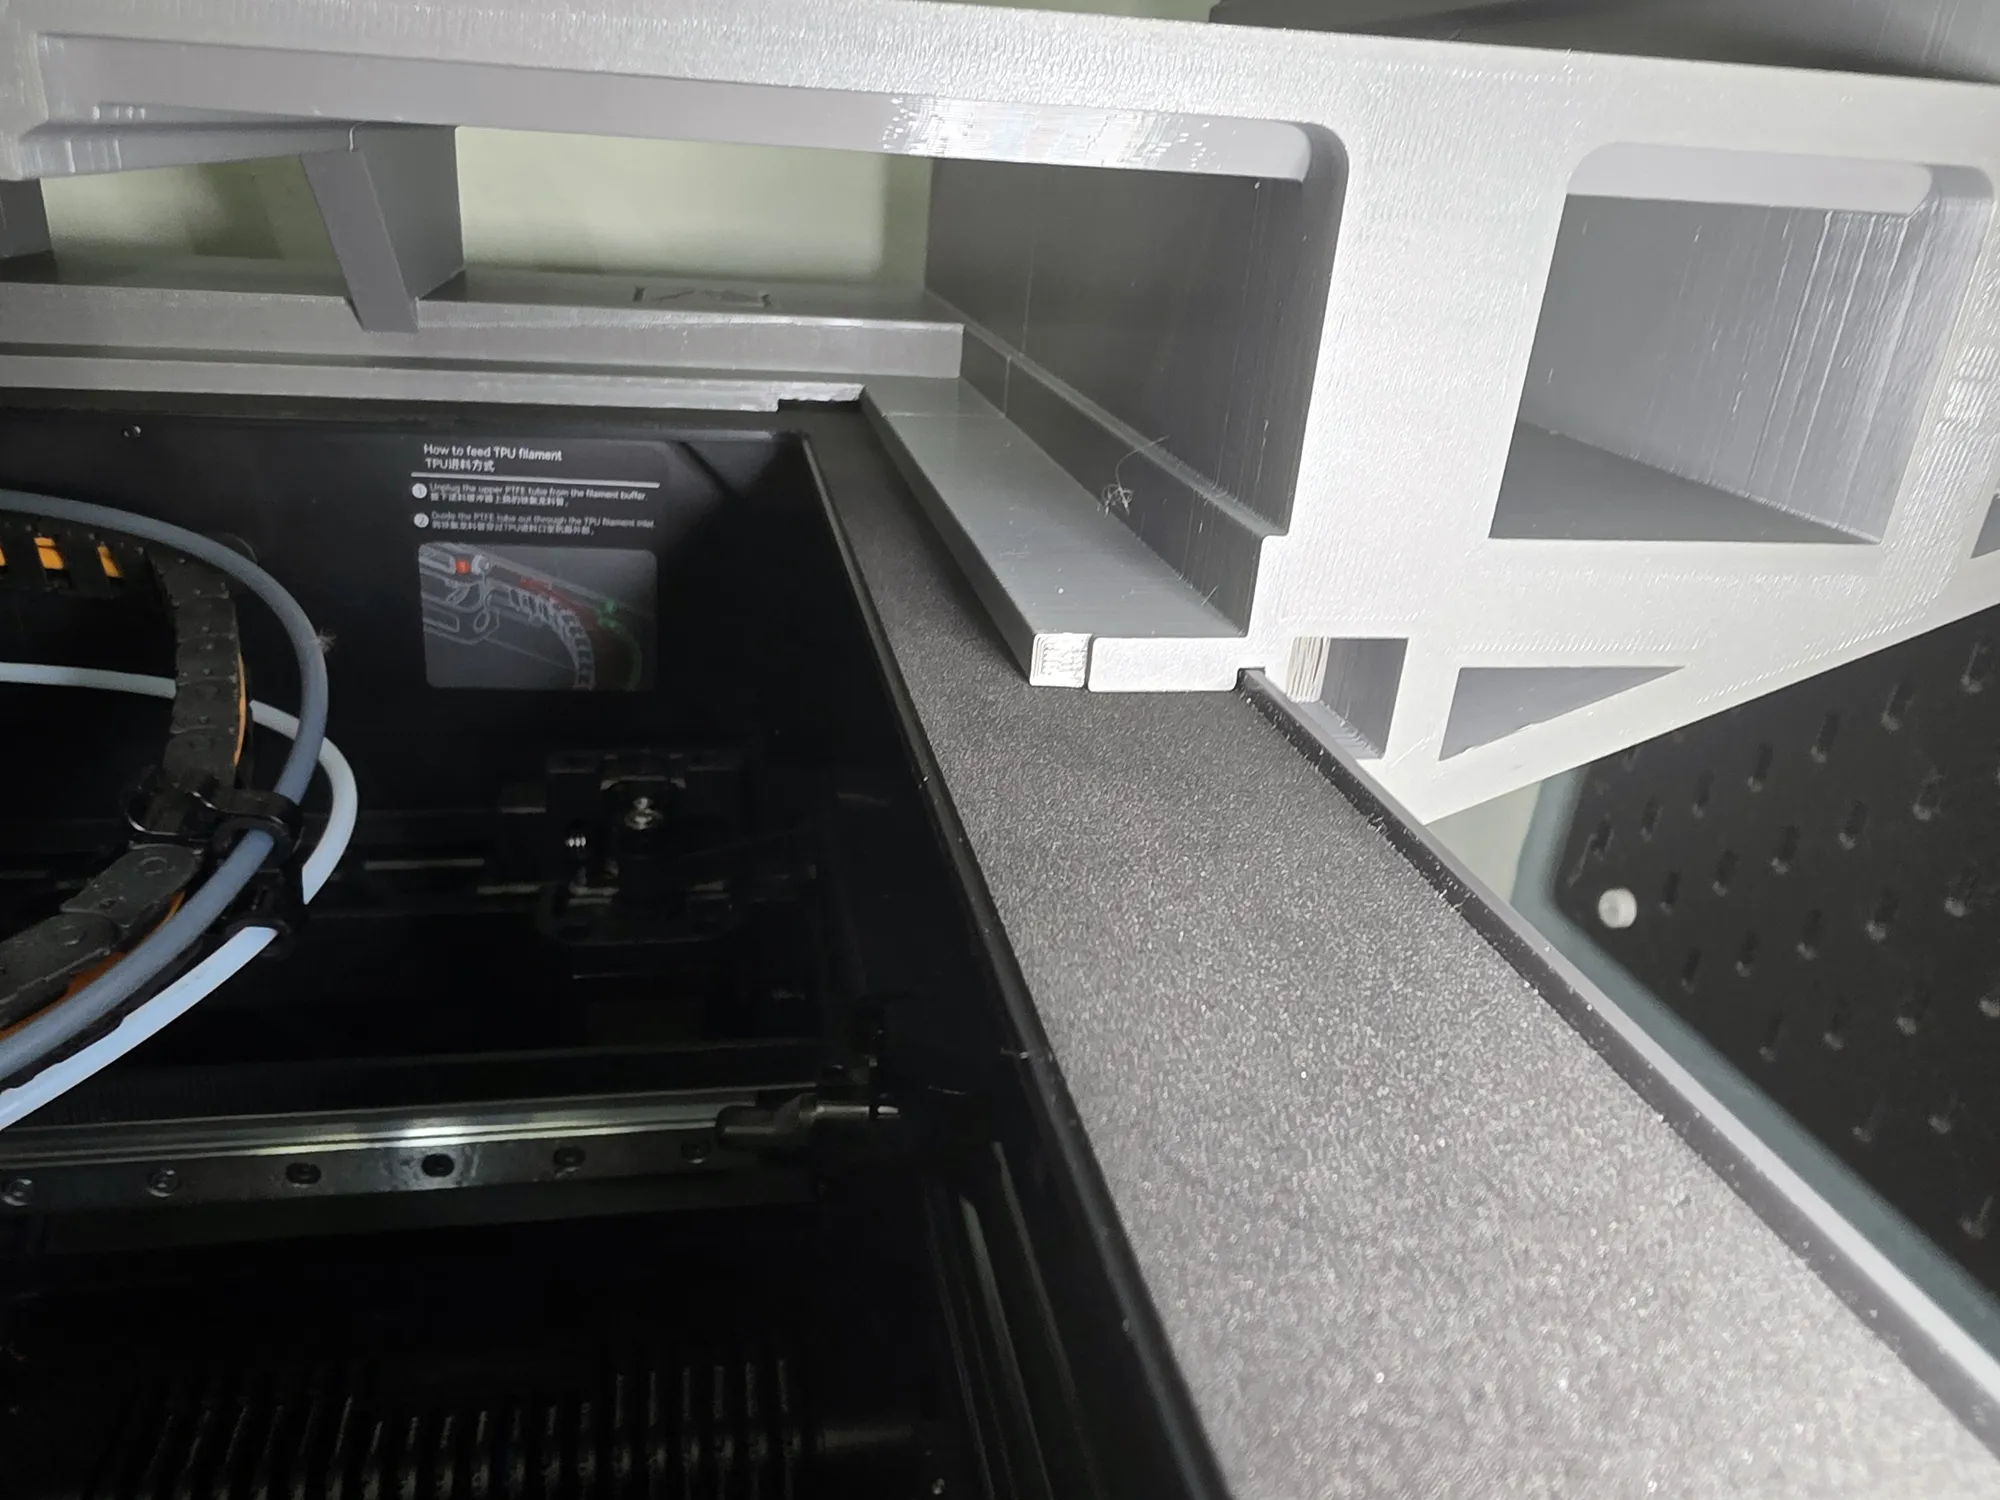
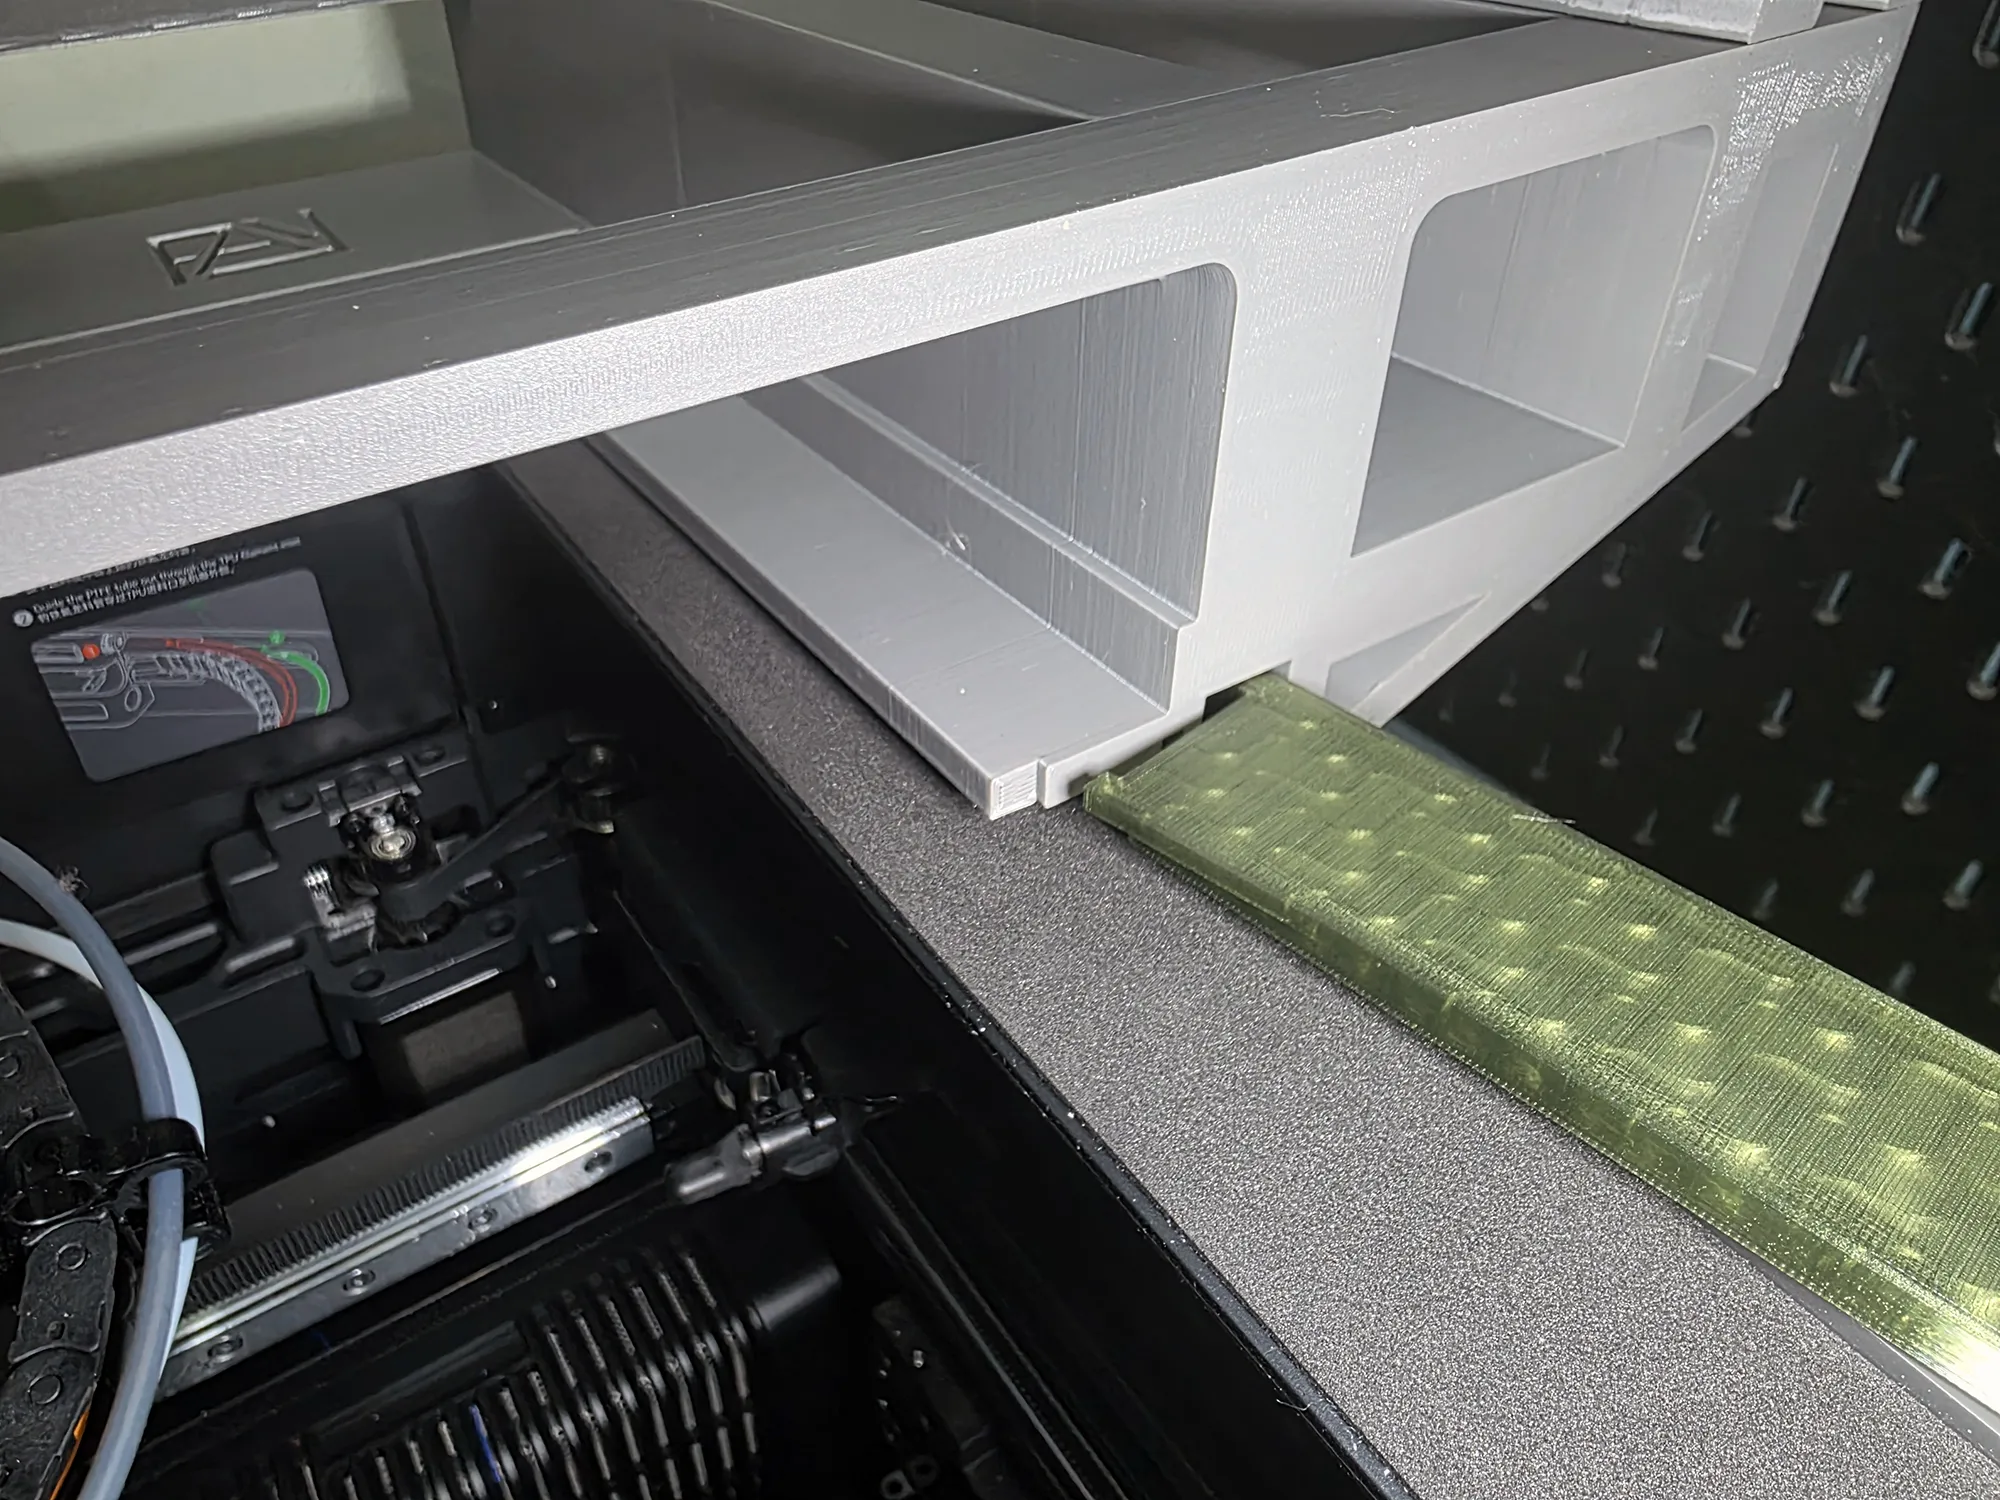
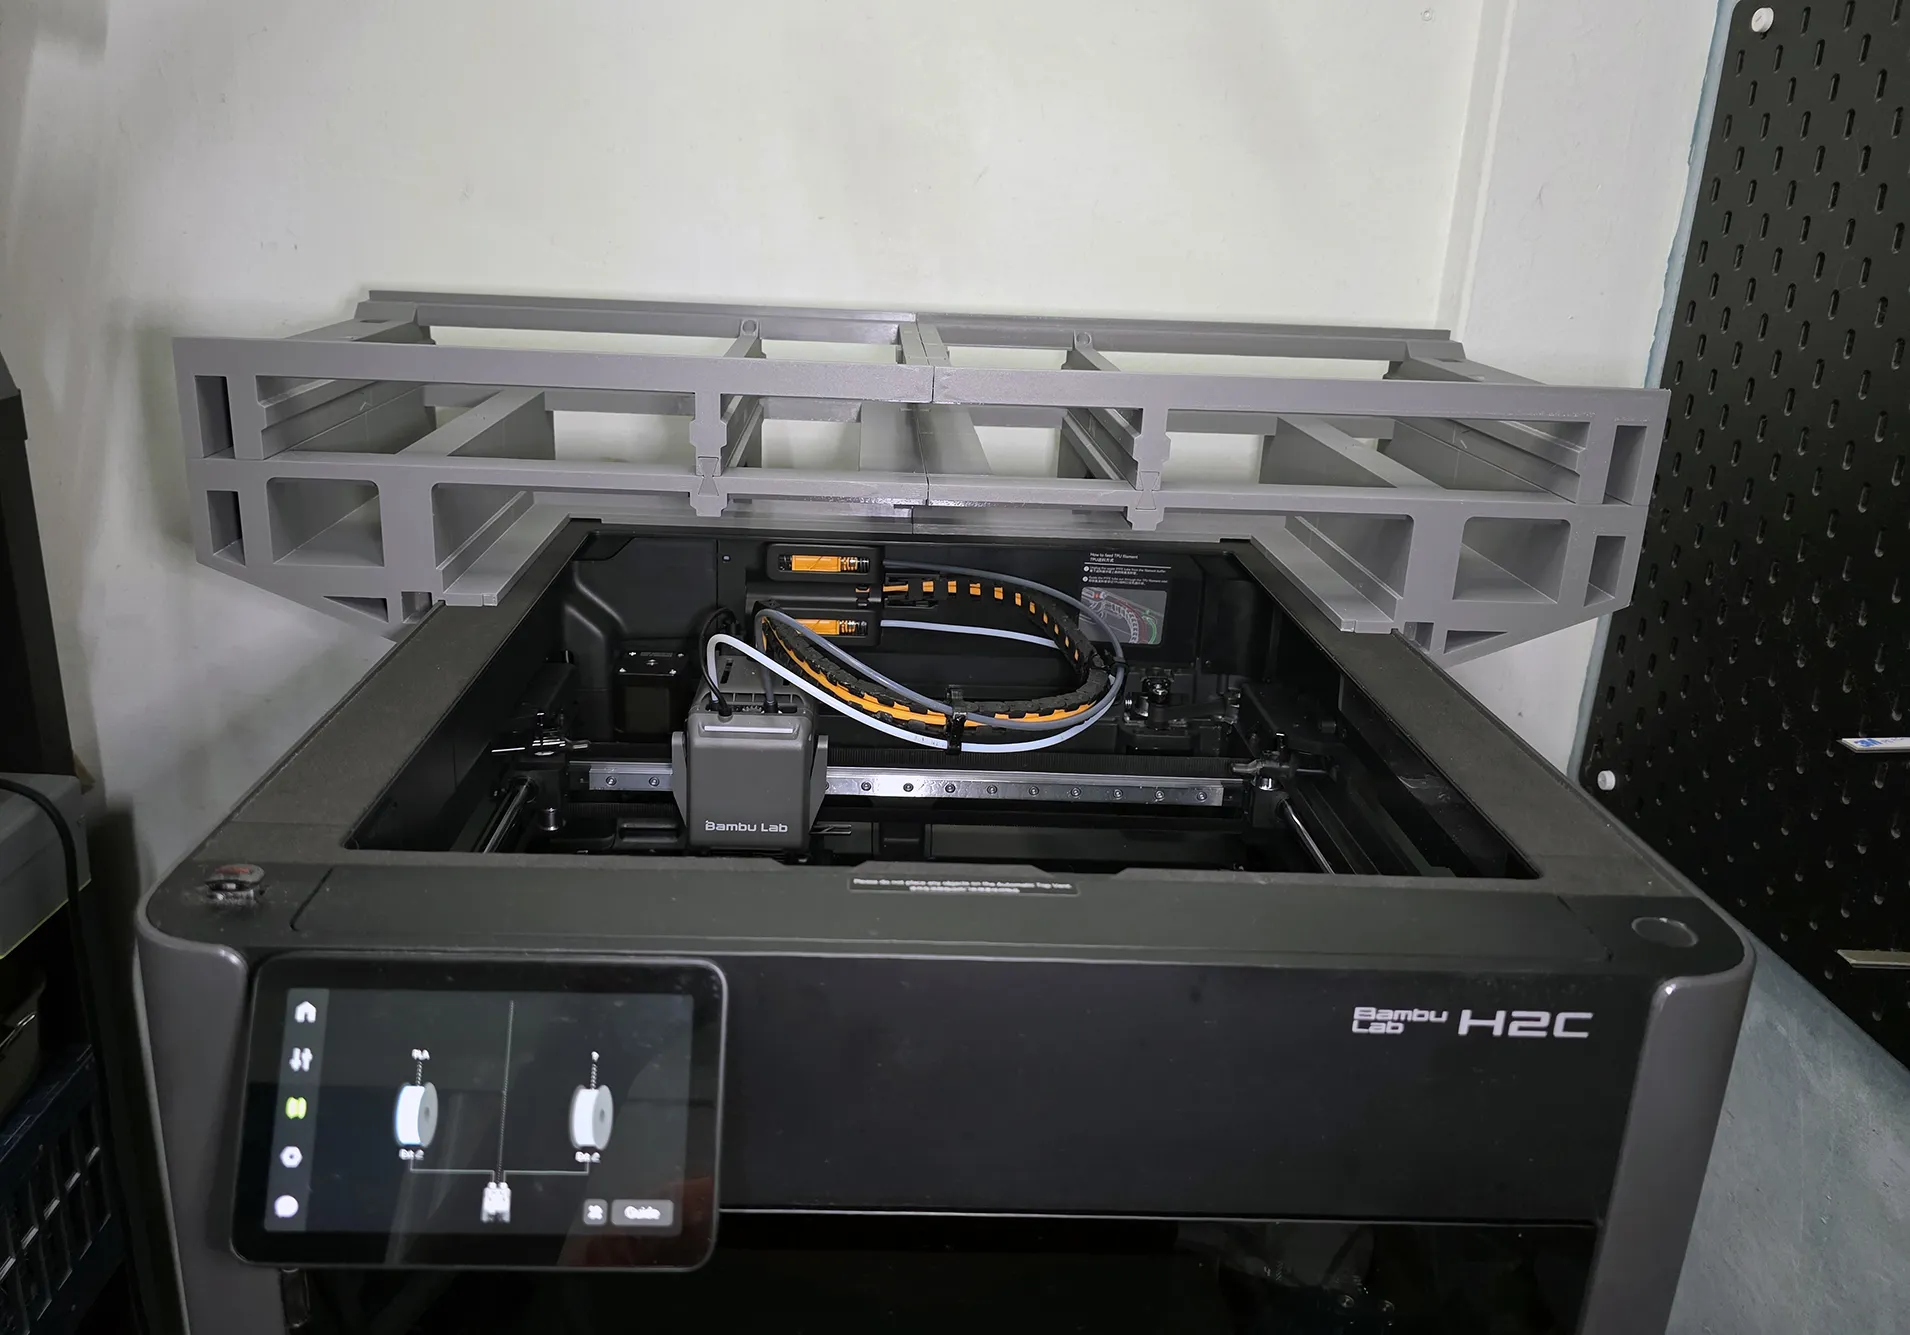
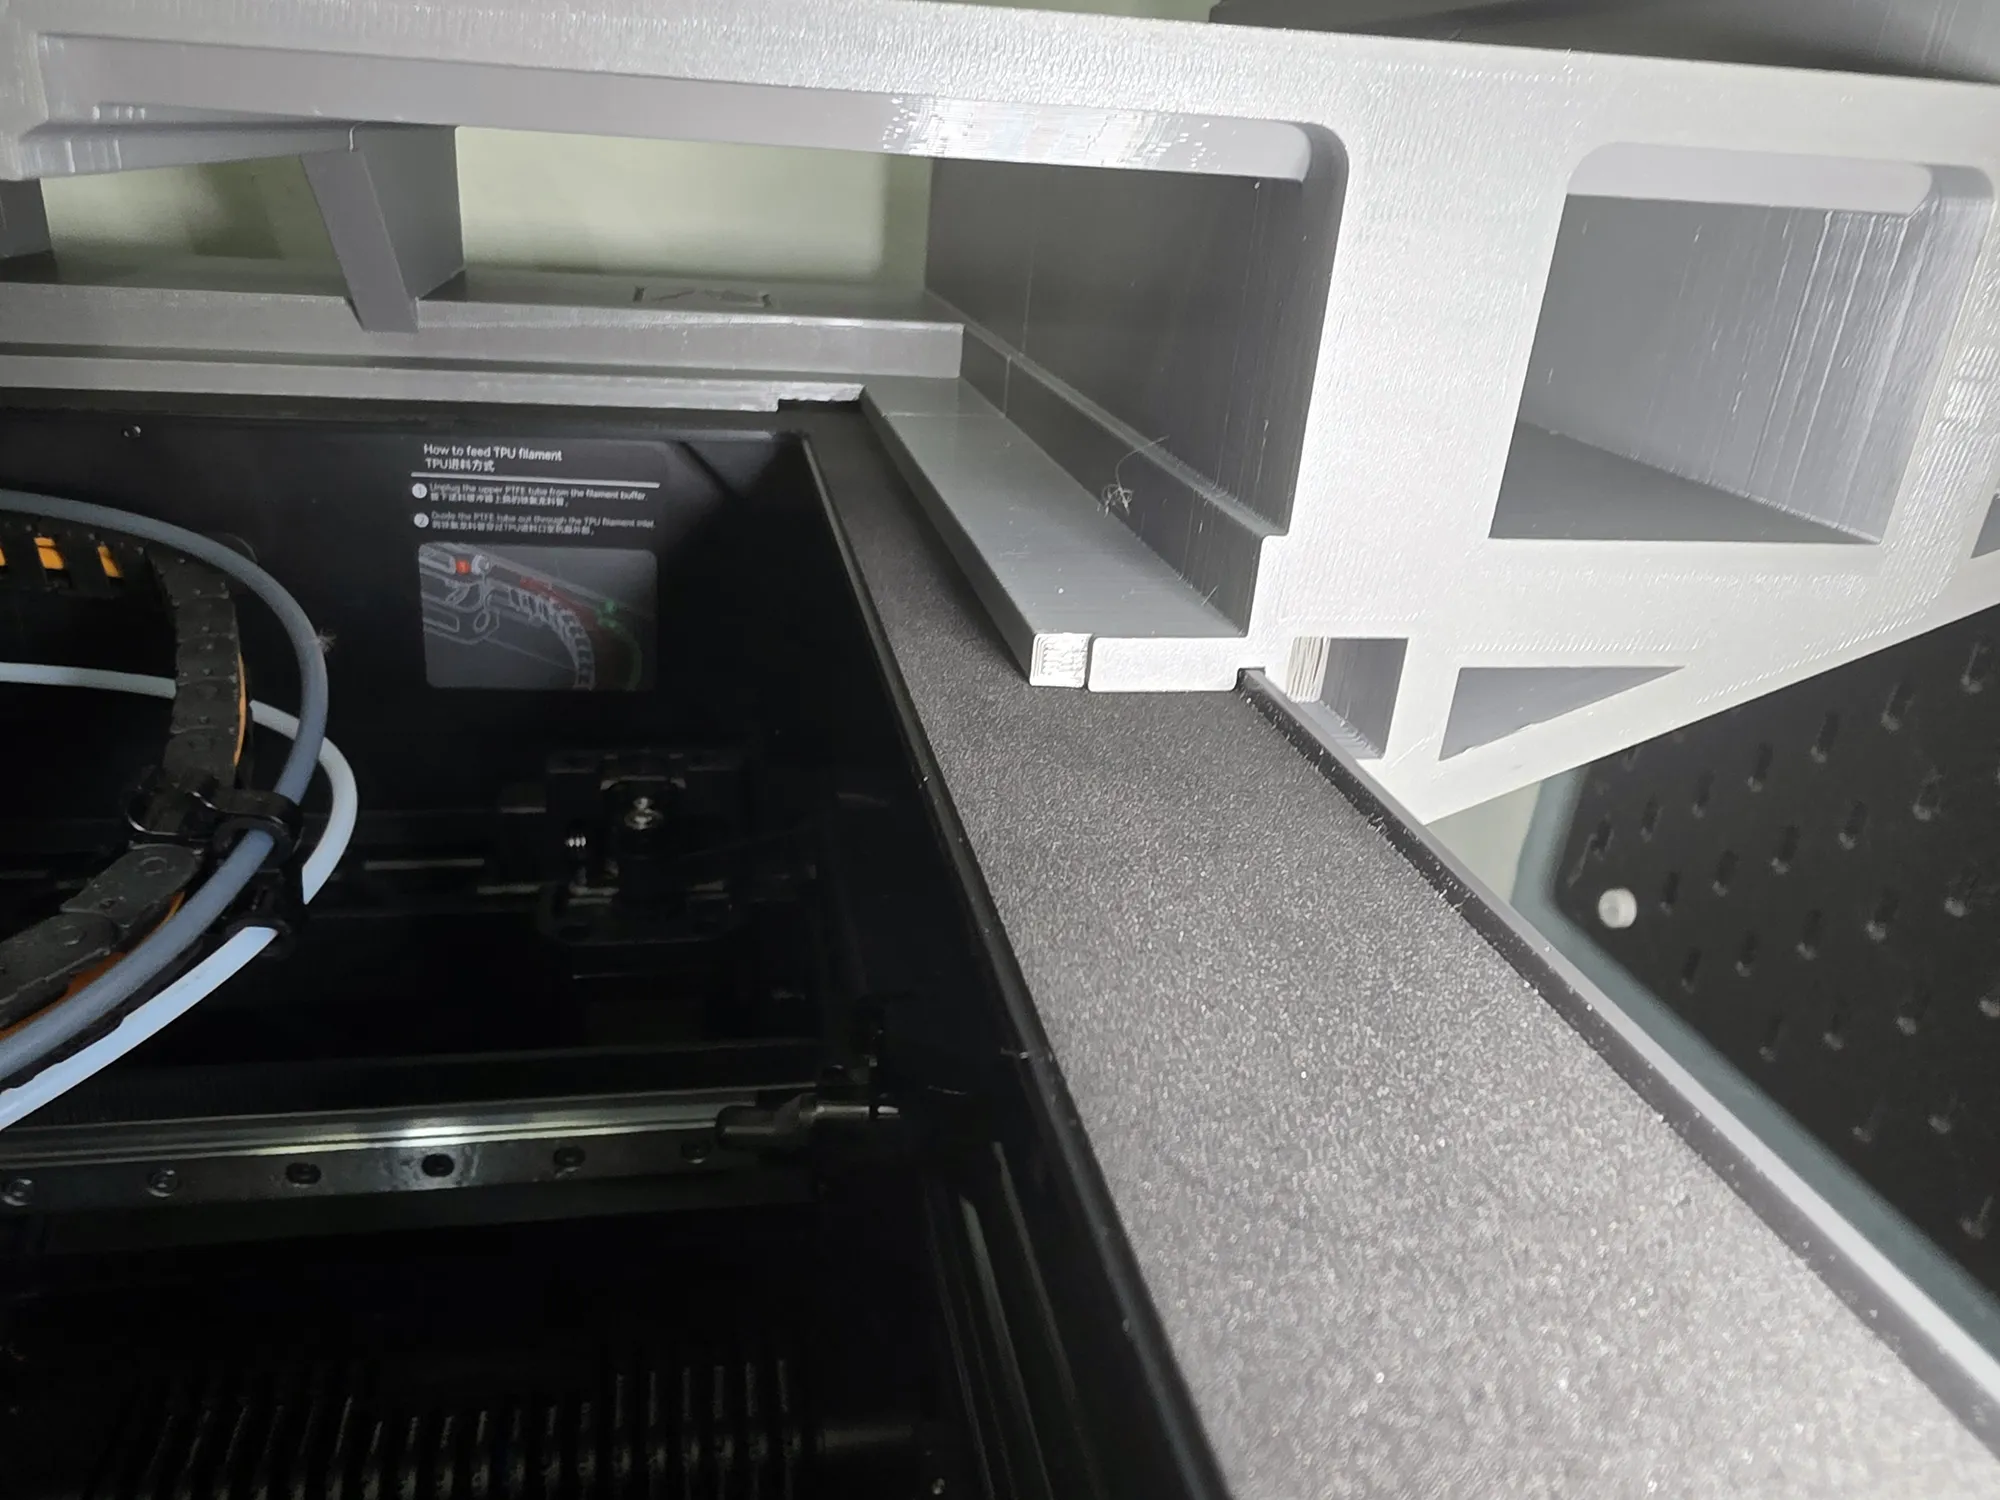
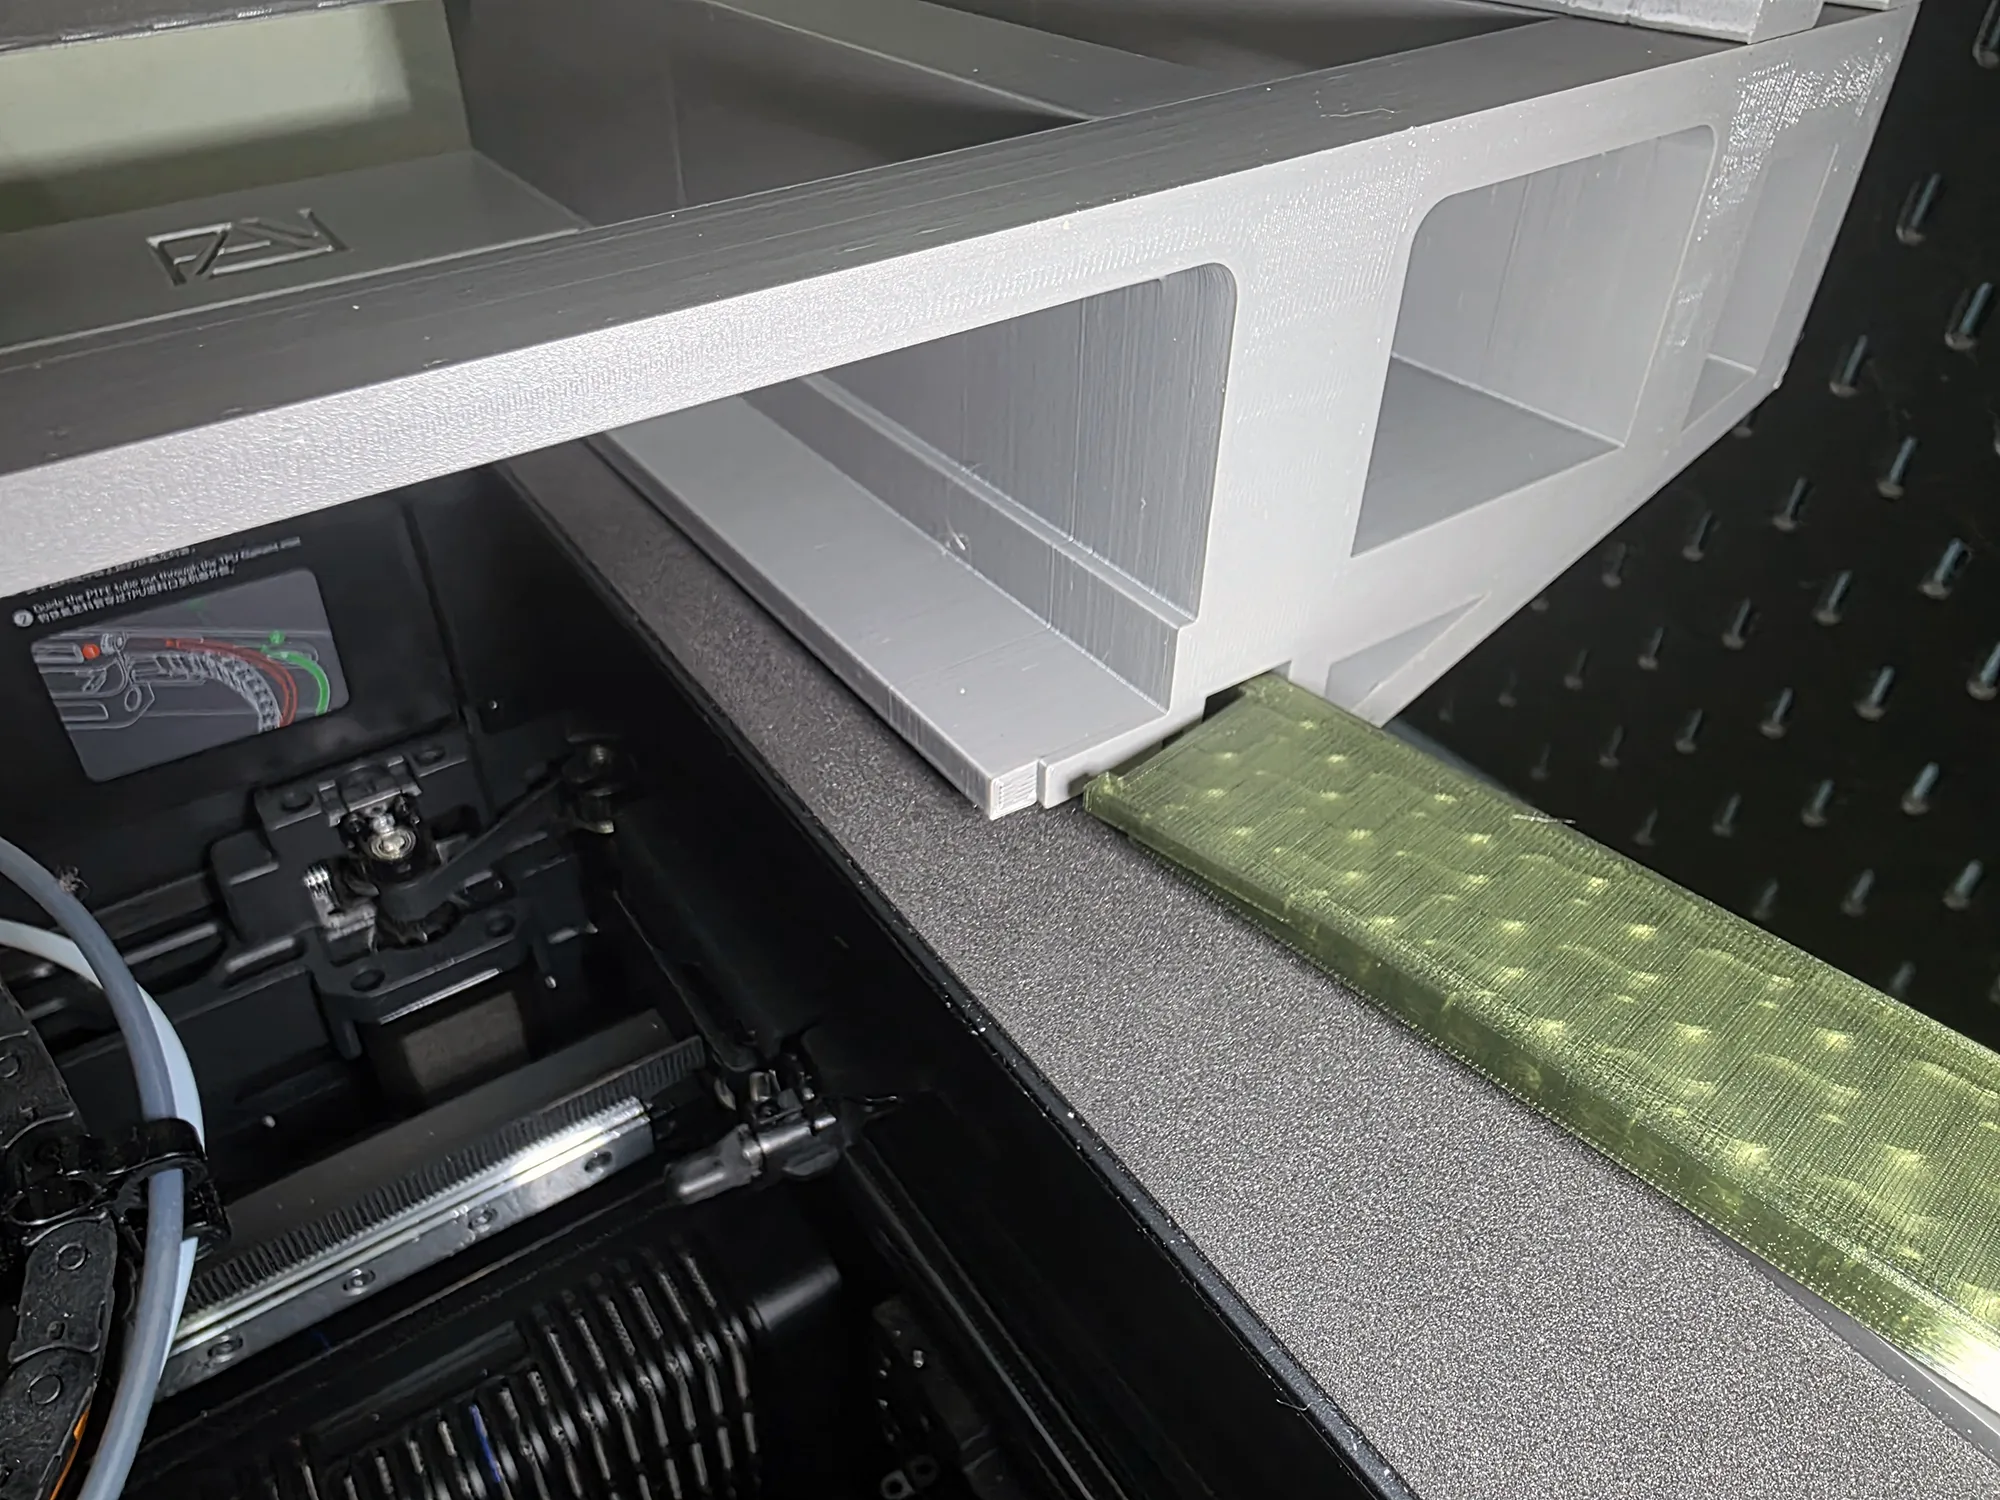
Once you put the riser in place.. it should fit into the channel and align with the top of the printer..
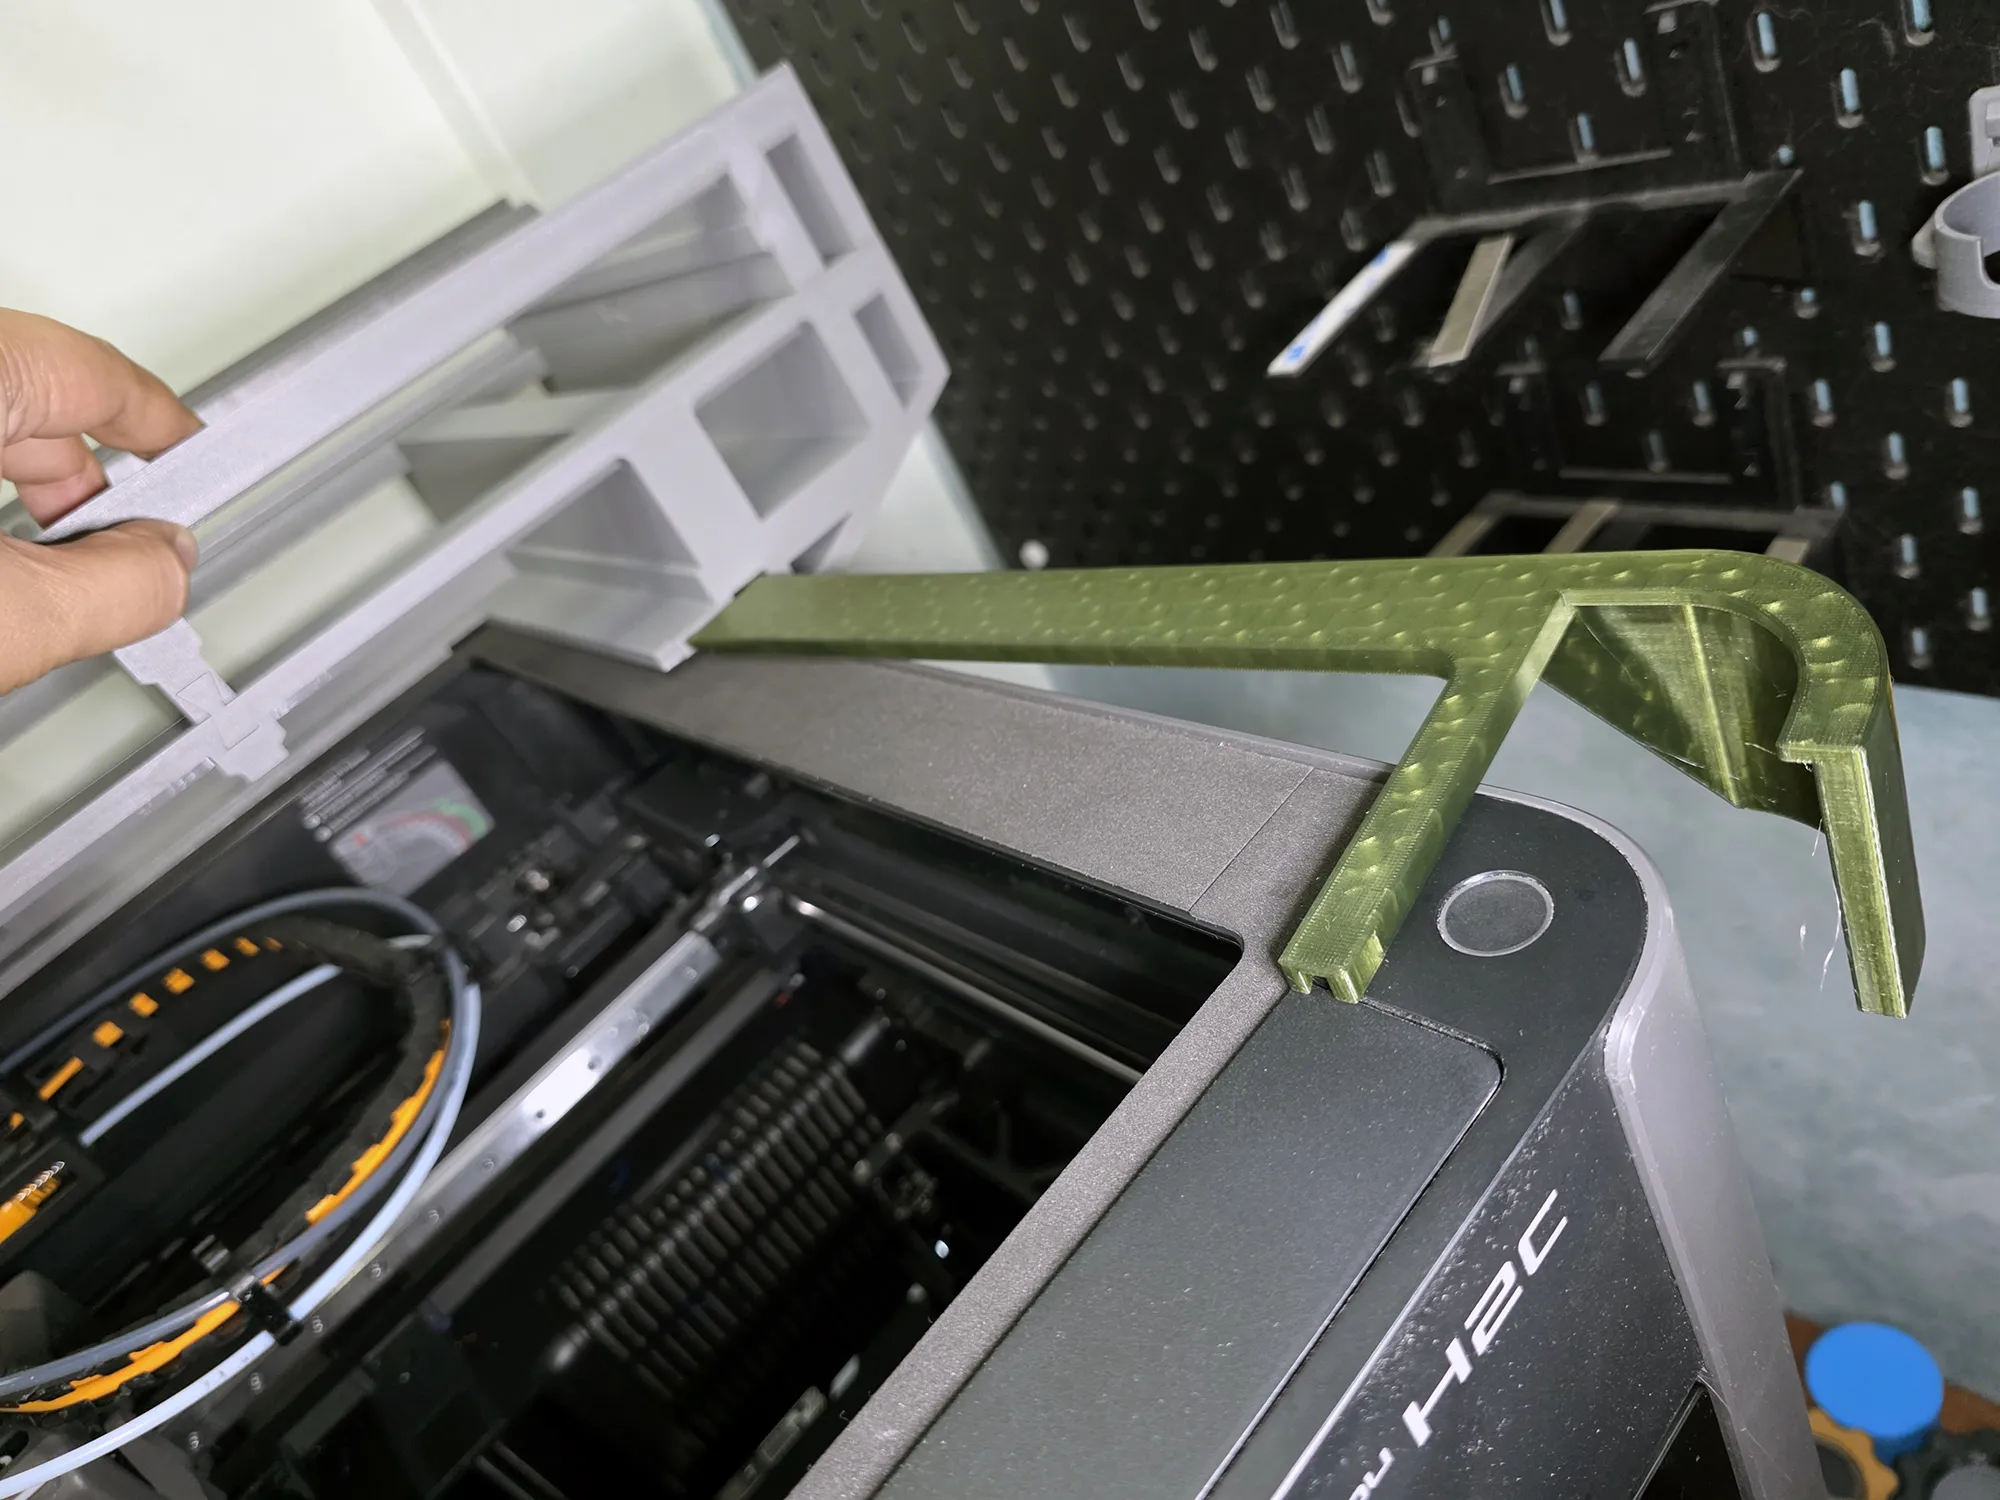
the 2 bracer holder just snaps into each top side of the printer.. there are also a channel in the bracer arms..
 |
 |
 |
 |
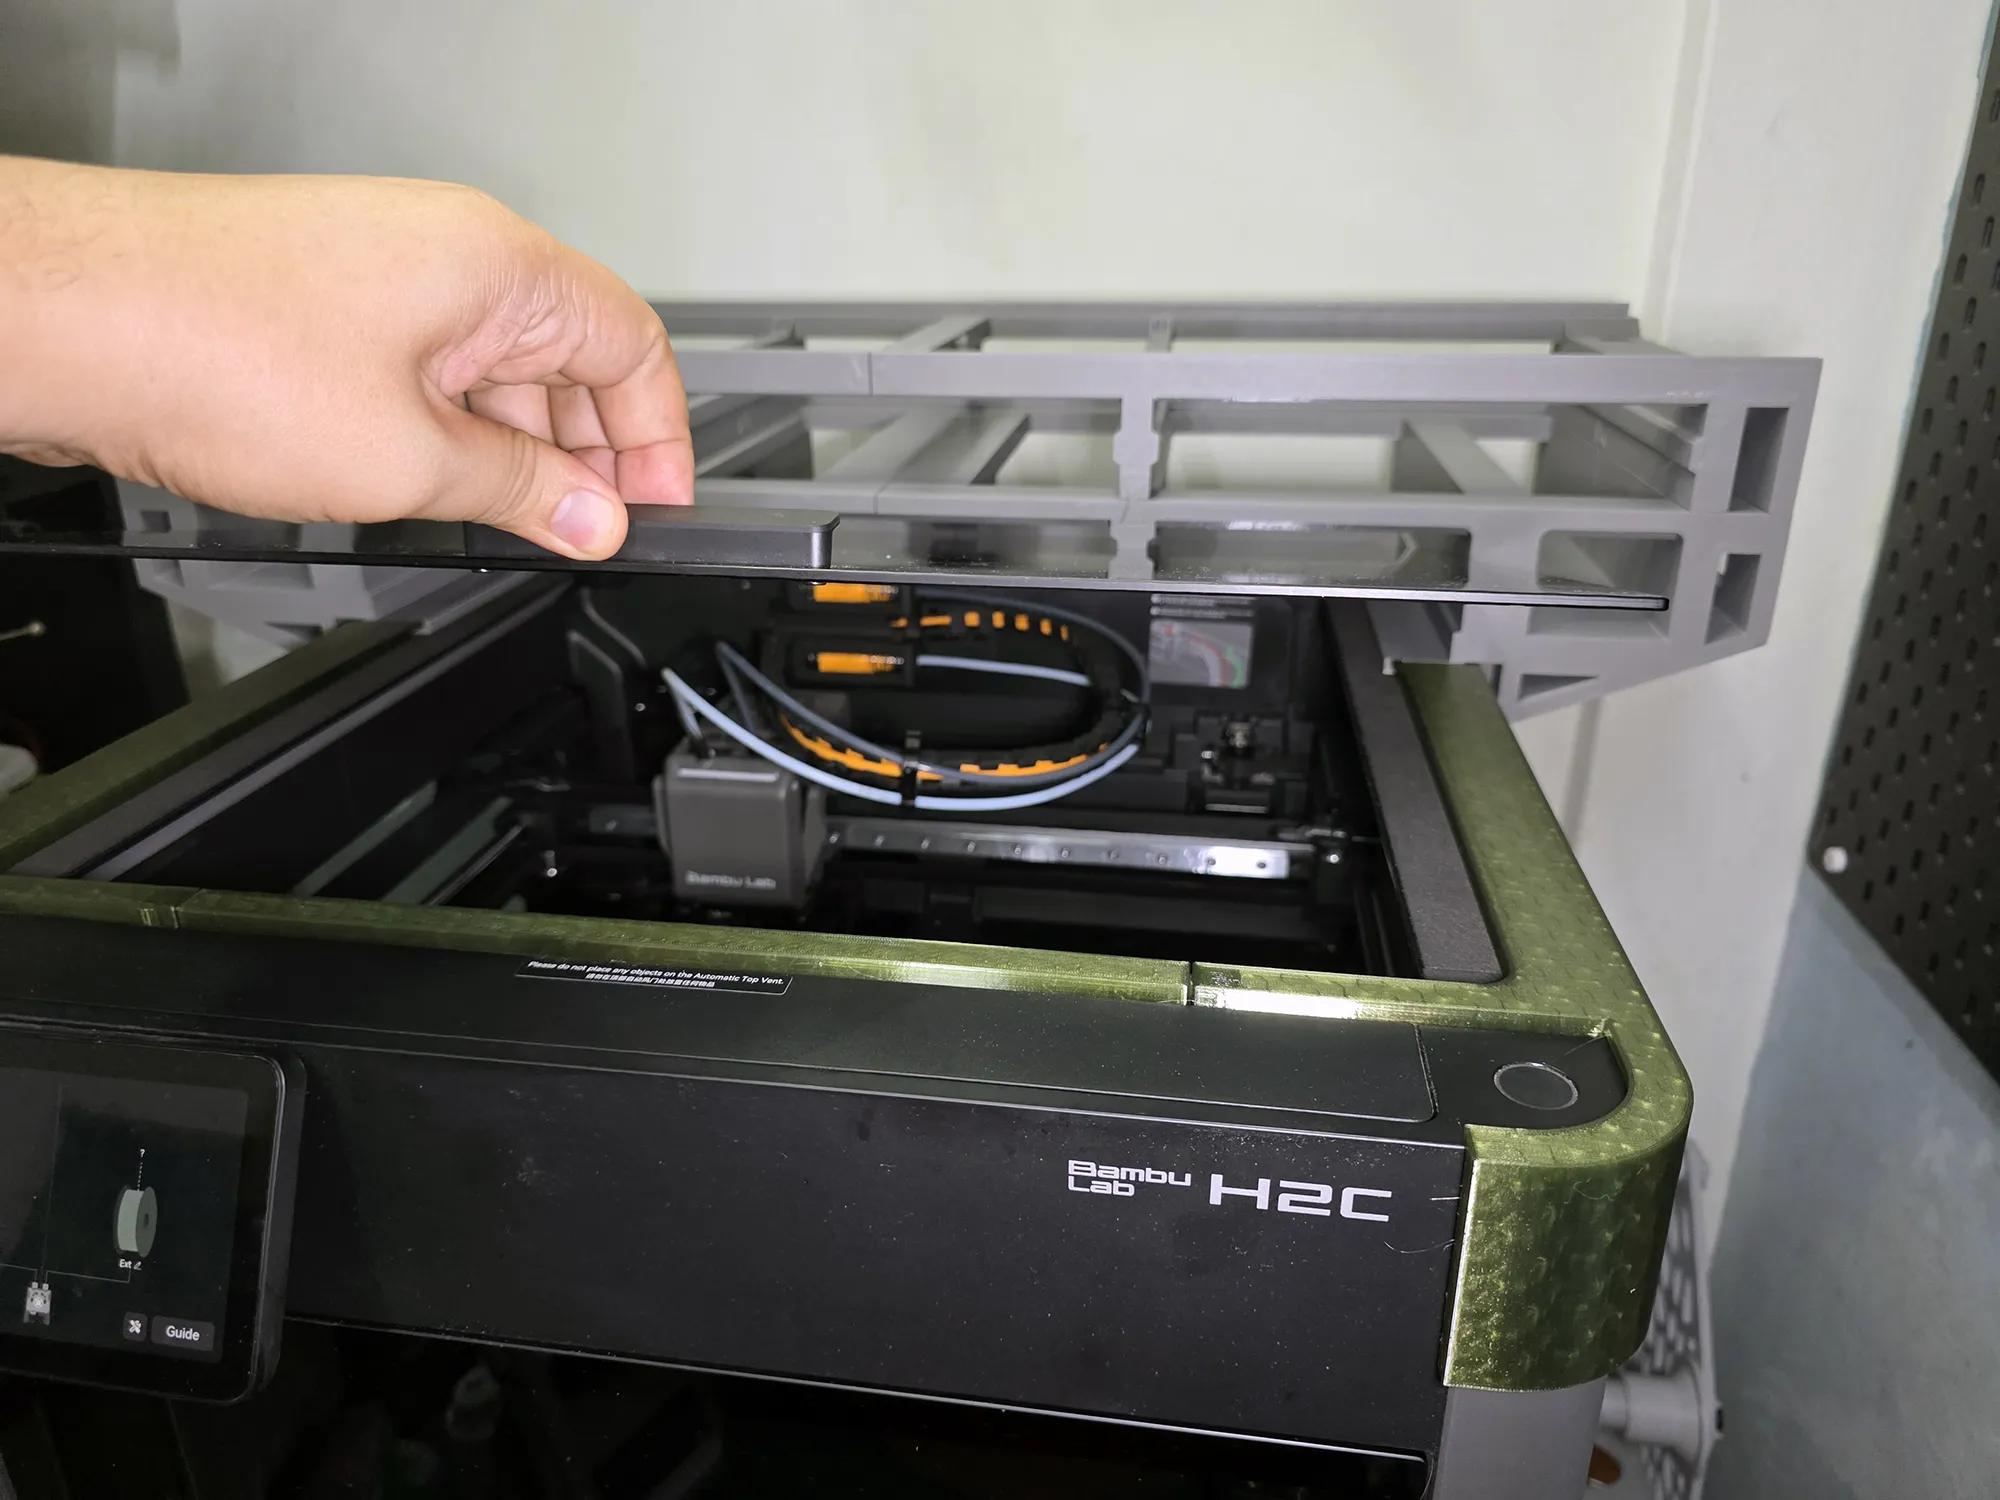
the lid should fit into the AMS riser.. i also add a small sticky tack on each side of the glass lid to stop it from sliding on top of the AMS riser..
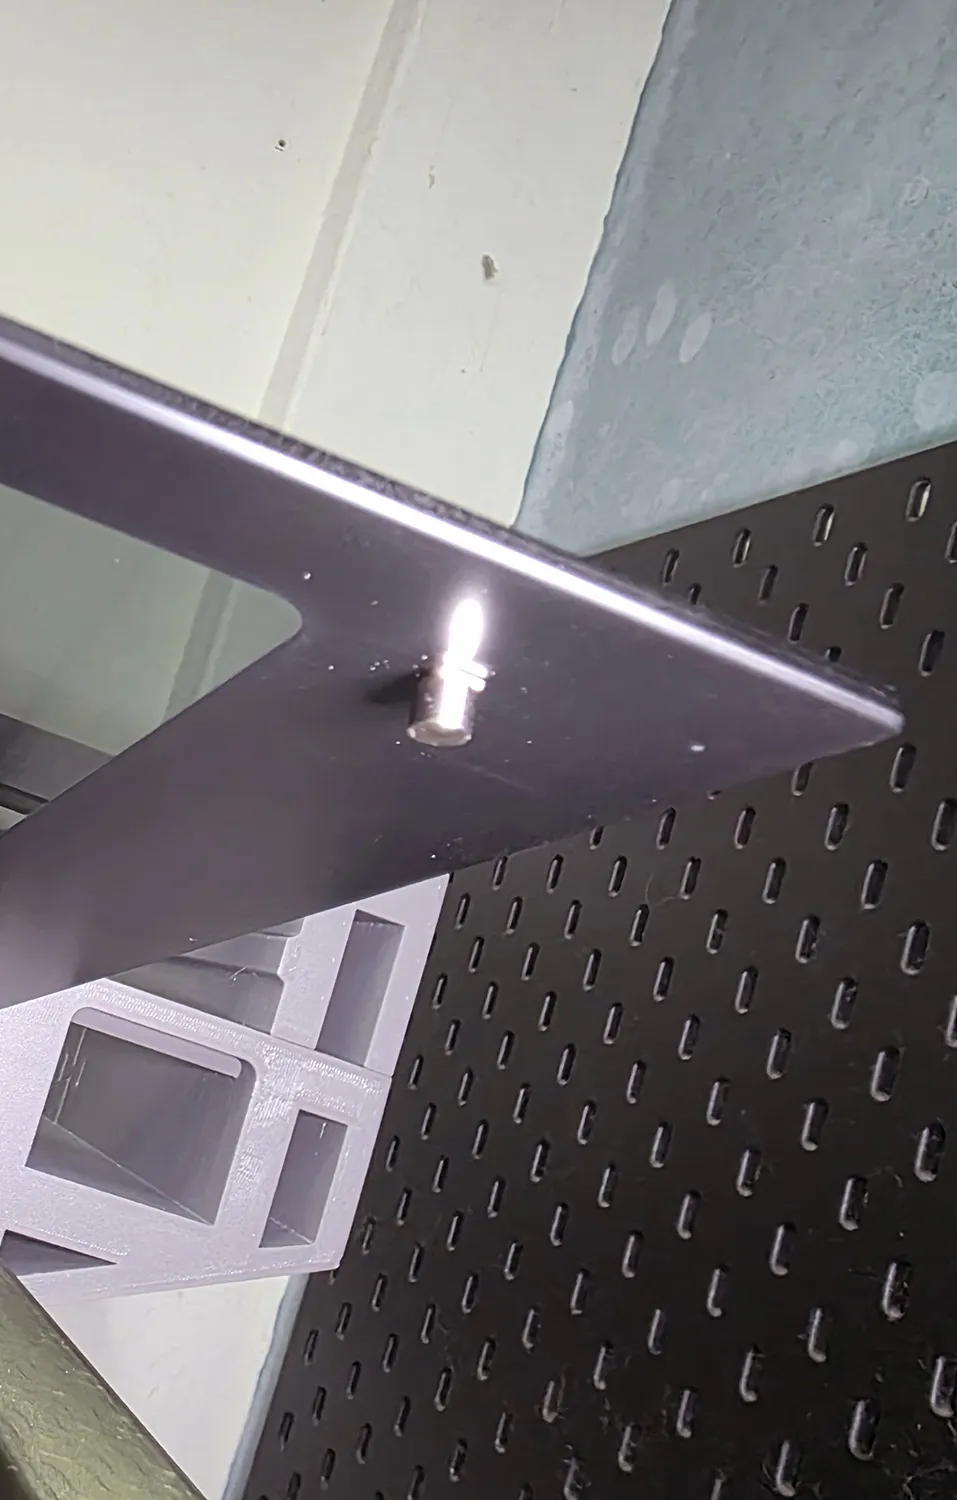
If you want to stop the printer from giving you “top glass lid open notification”.. you will need to add a magnet to the top glass lid on the top front right..
that should trigger the sensors that the glass top lid is closed..
There are 2 configuration for the AMS riser drawers..
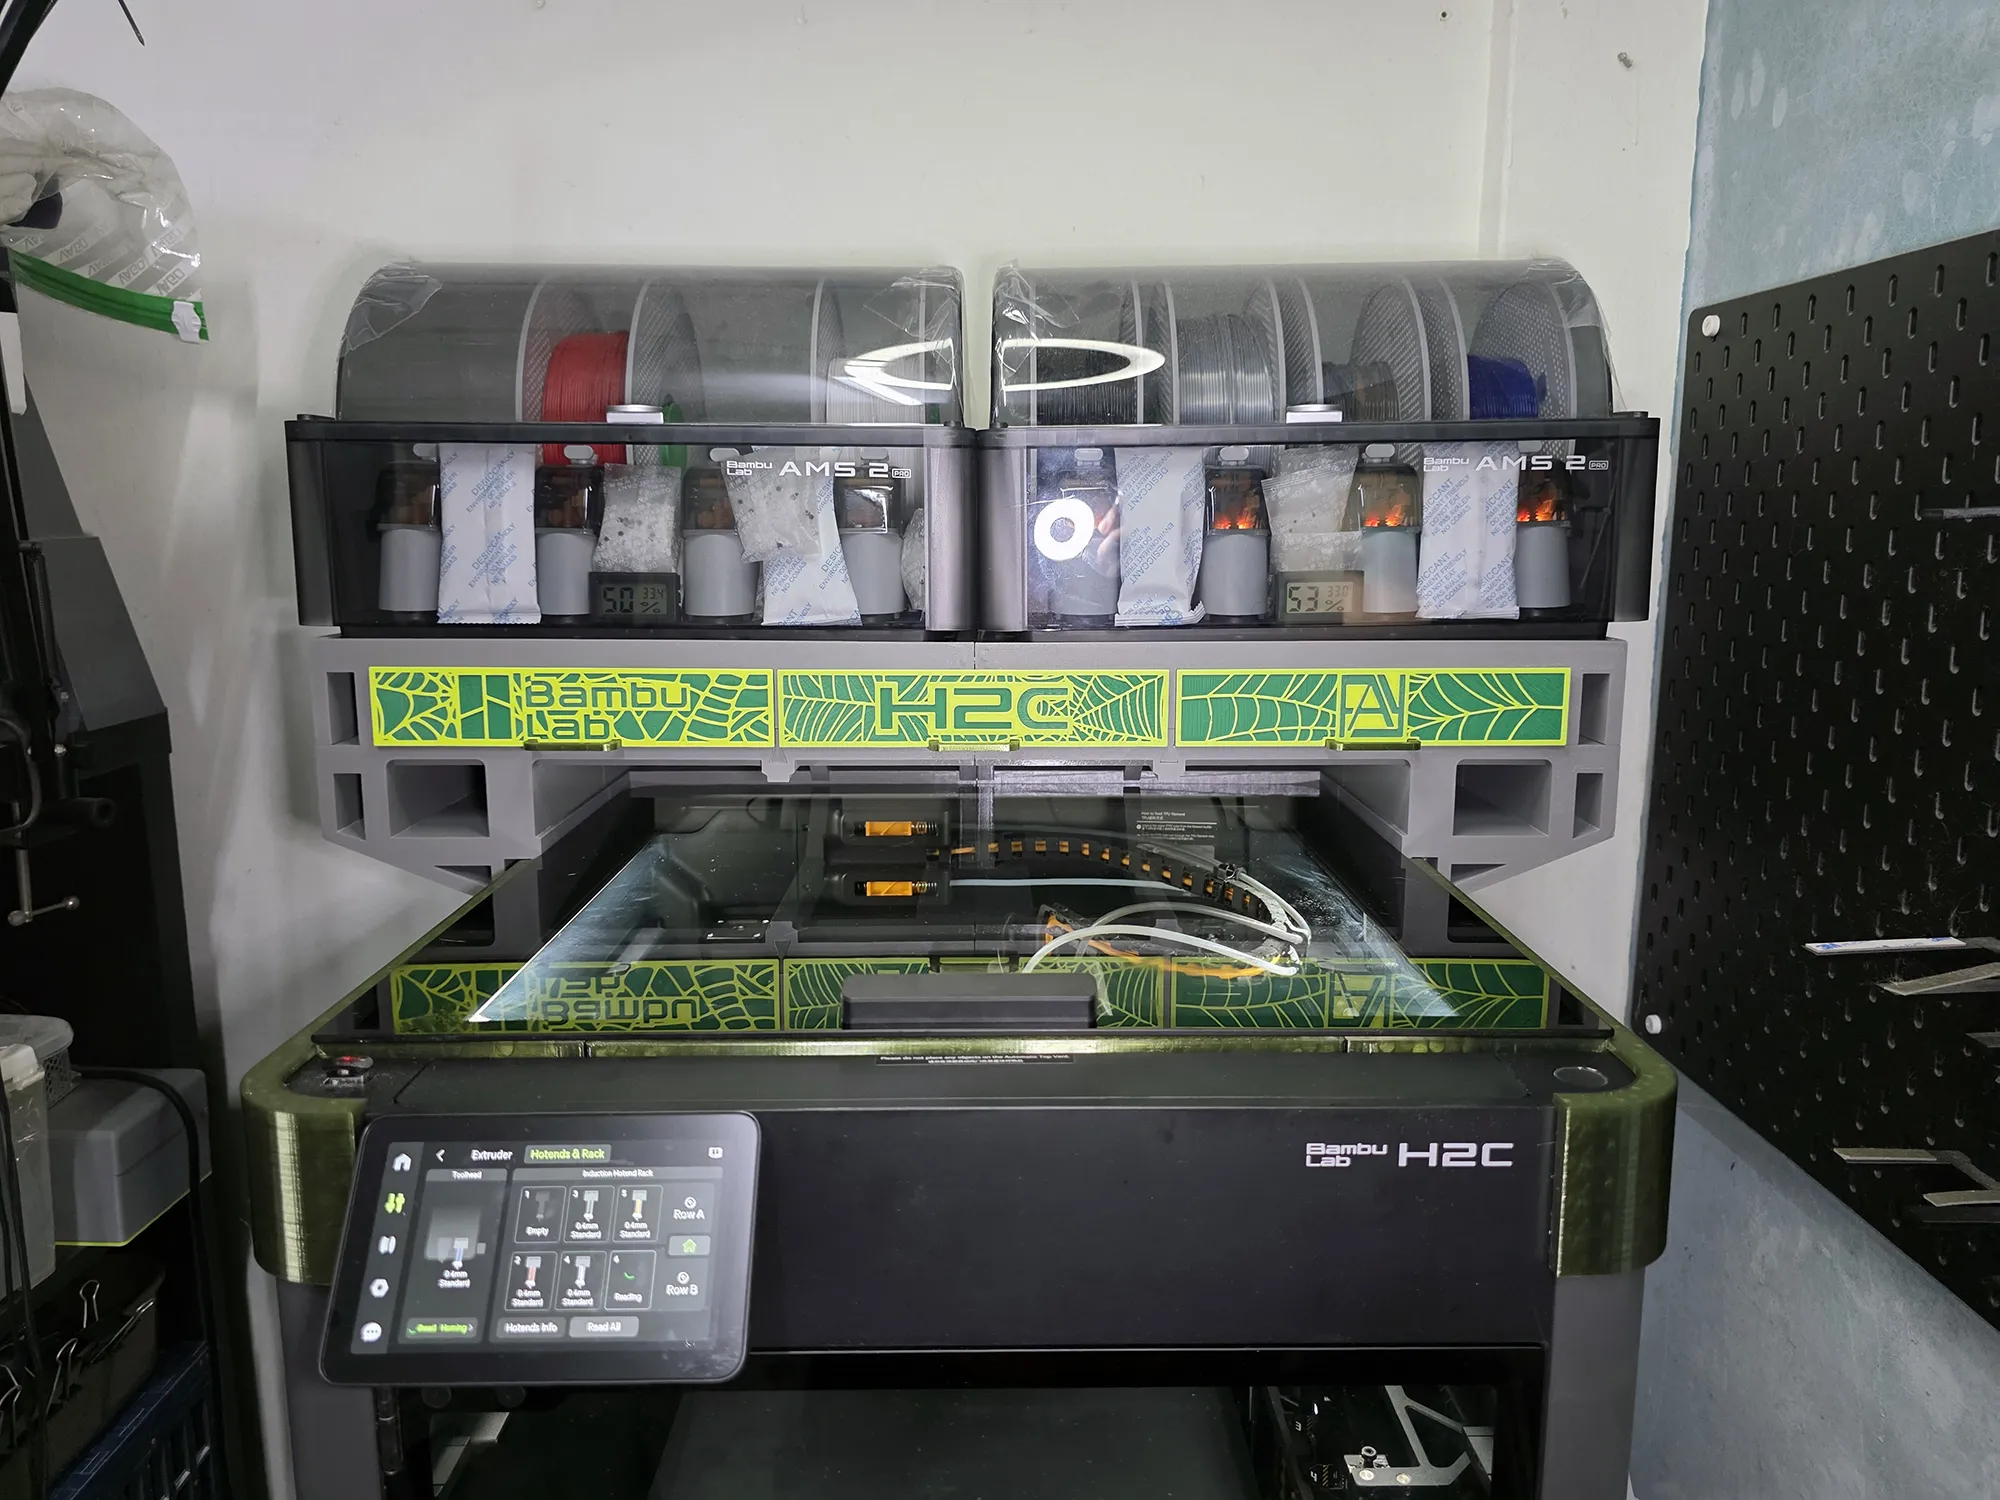 2x AMS |
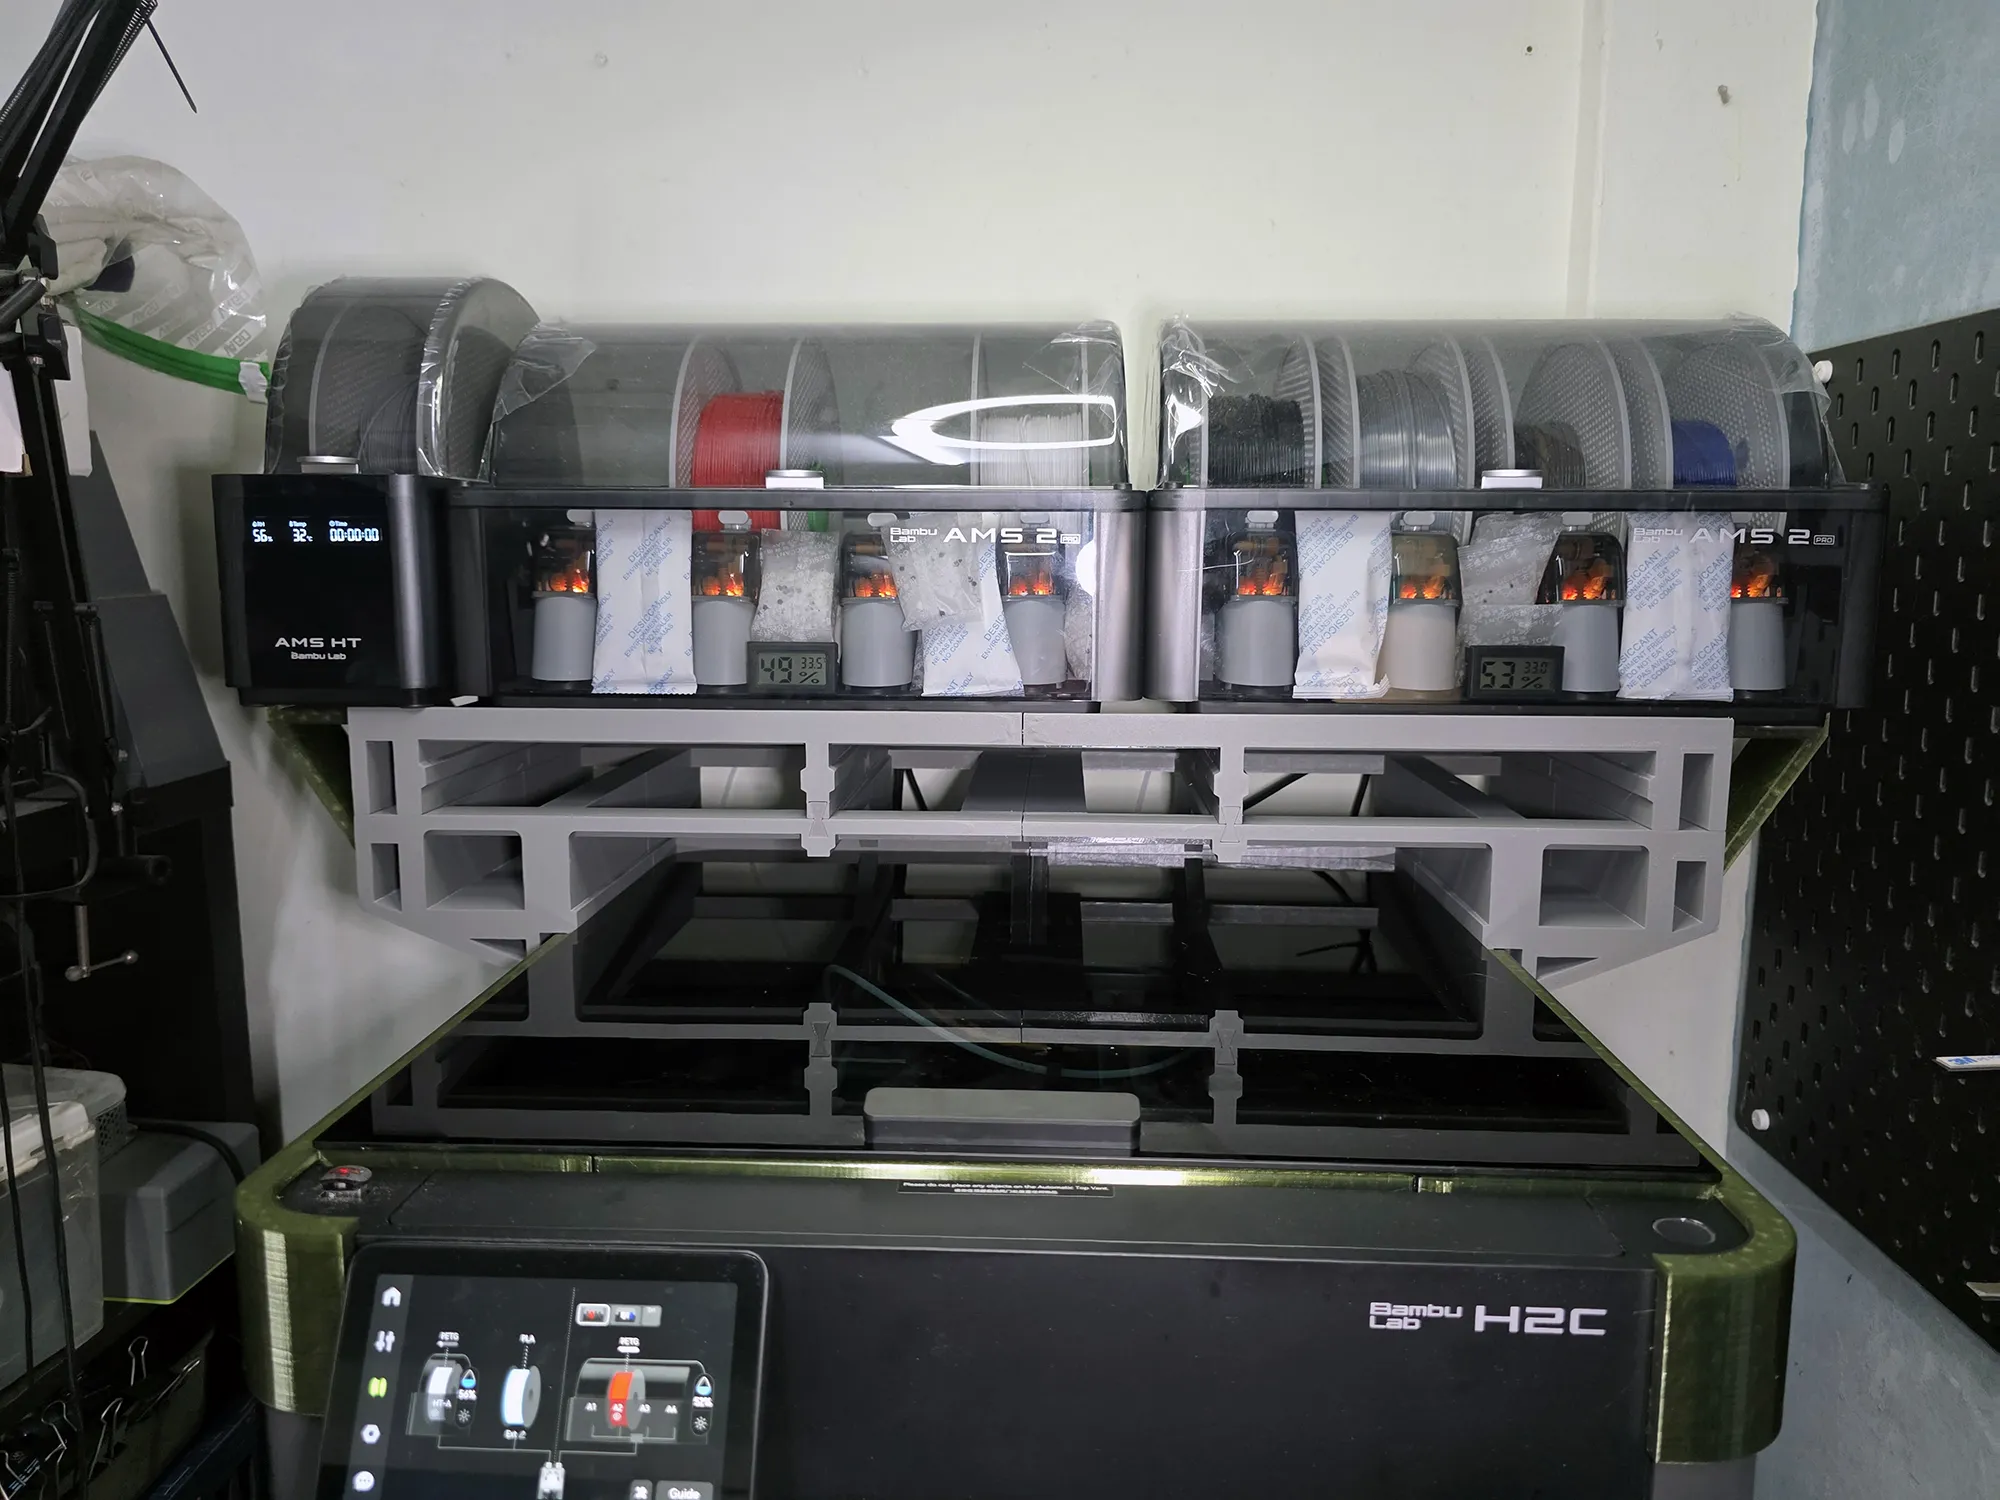 2x AMS + AMS HT |
in order to use either configuration.. all you have to do is change the side stopper of the AMS riser.. chose the short stopper for 2 AMS and long stopper for 2+1 AMS
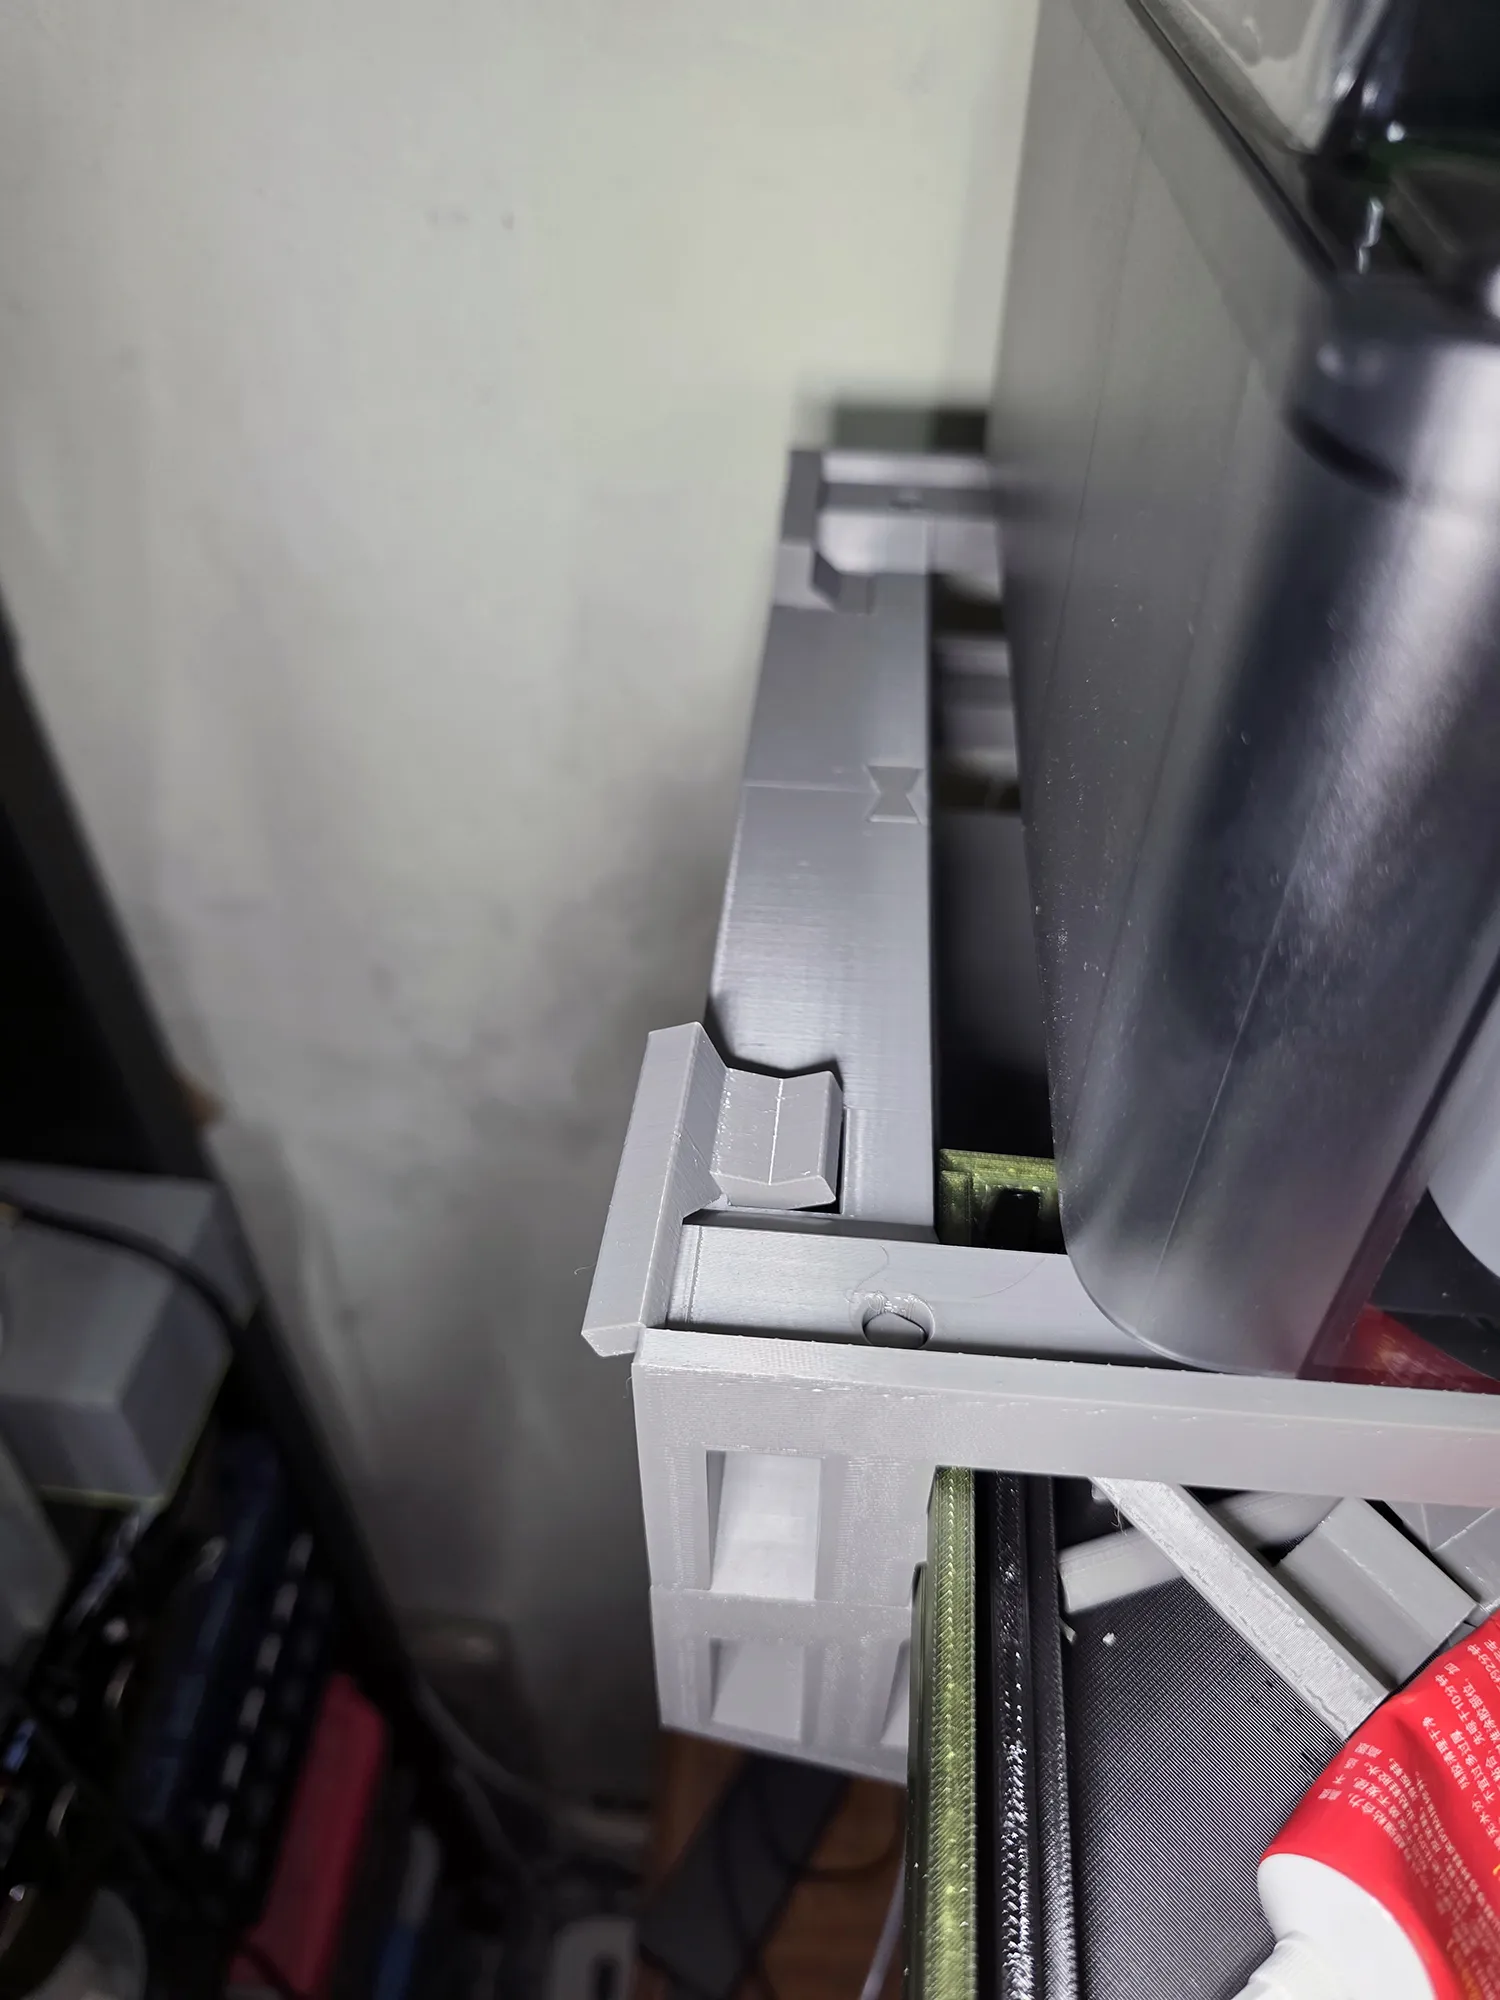 |
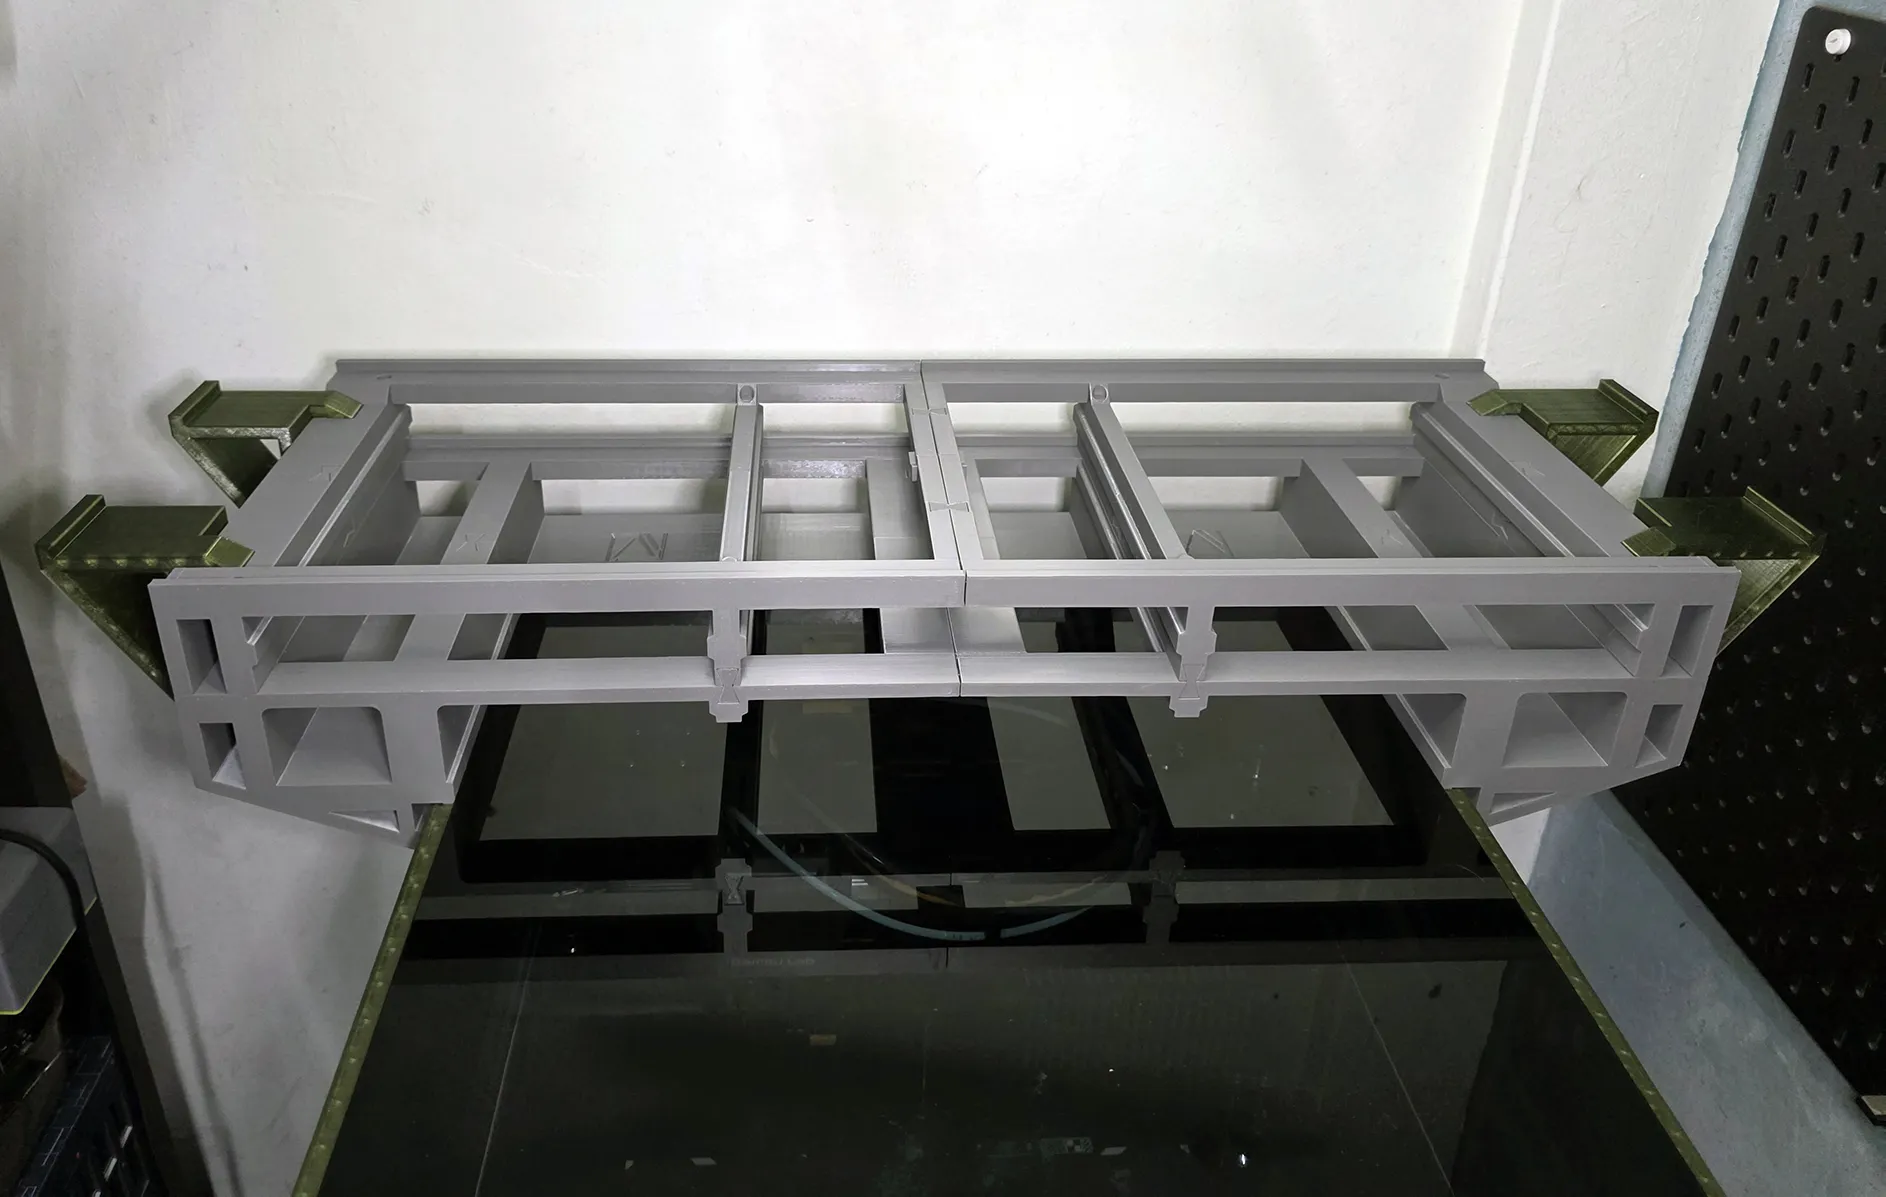 The longer stopper will extend the AMS riser to include a AMS HT.. |
FYI.. if you want to add the AMS HT to the AMS riser.. make sure the power cable is long enough to reach your plug.. mine didnt.. so i didnt use the 2+1 configuration.. and just put my AMS HT on the side of the printer..
I have also made a few front panel designs for the drawers.. as usual i added all 3 version of the H2 series as well.. you can choose whichever design you’d like to use..
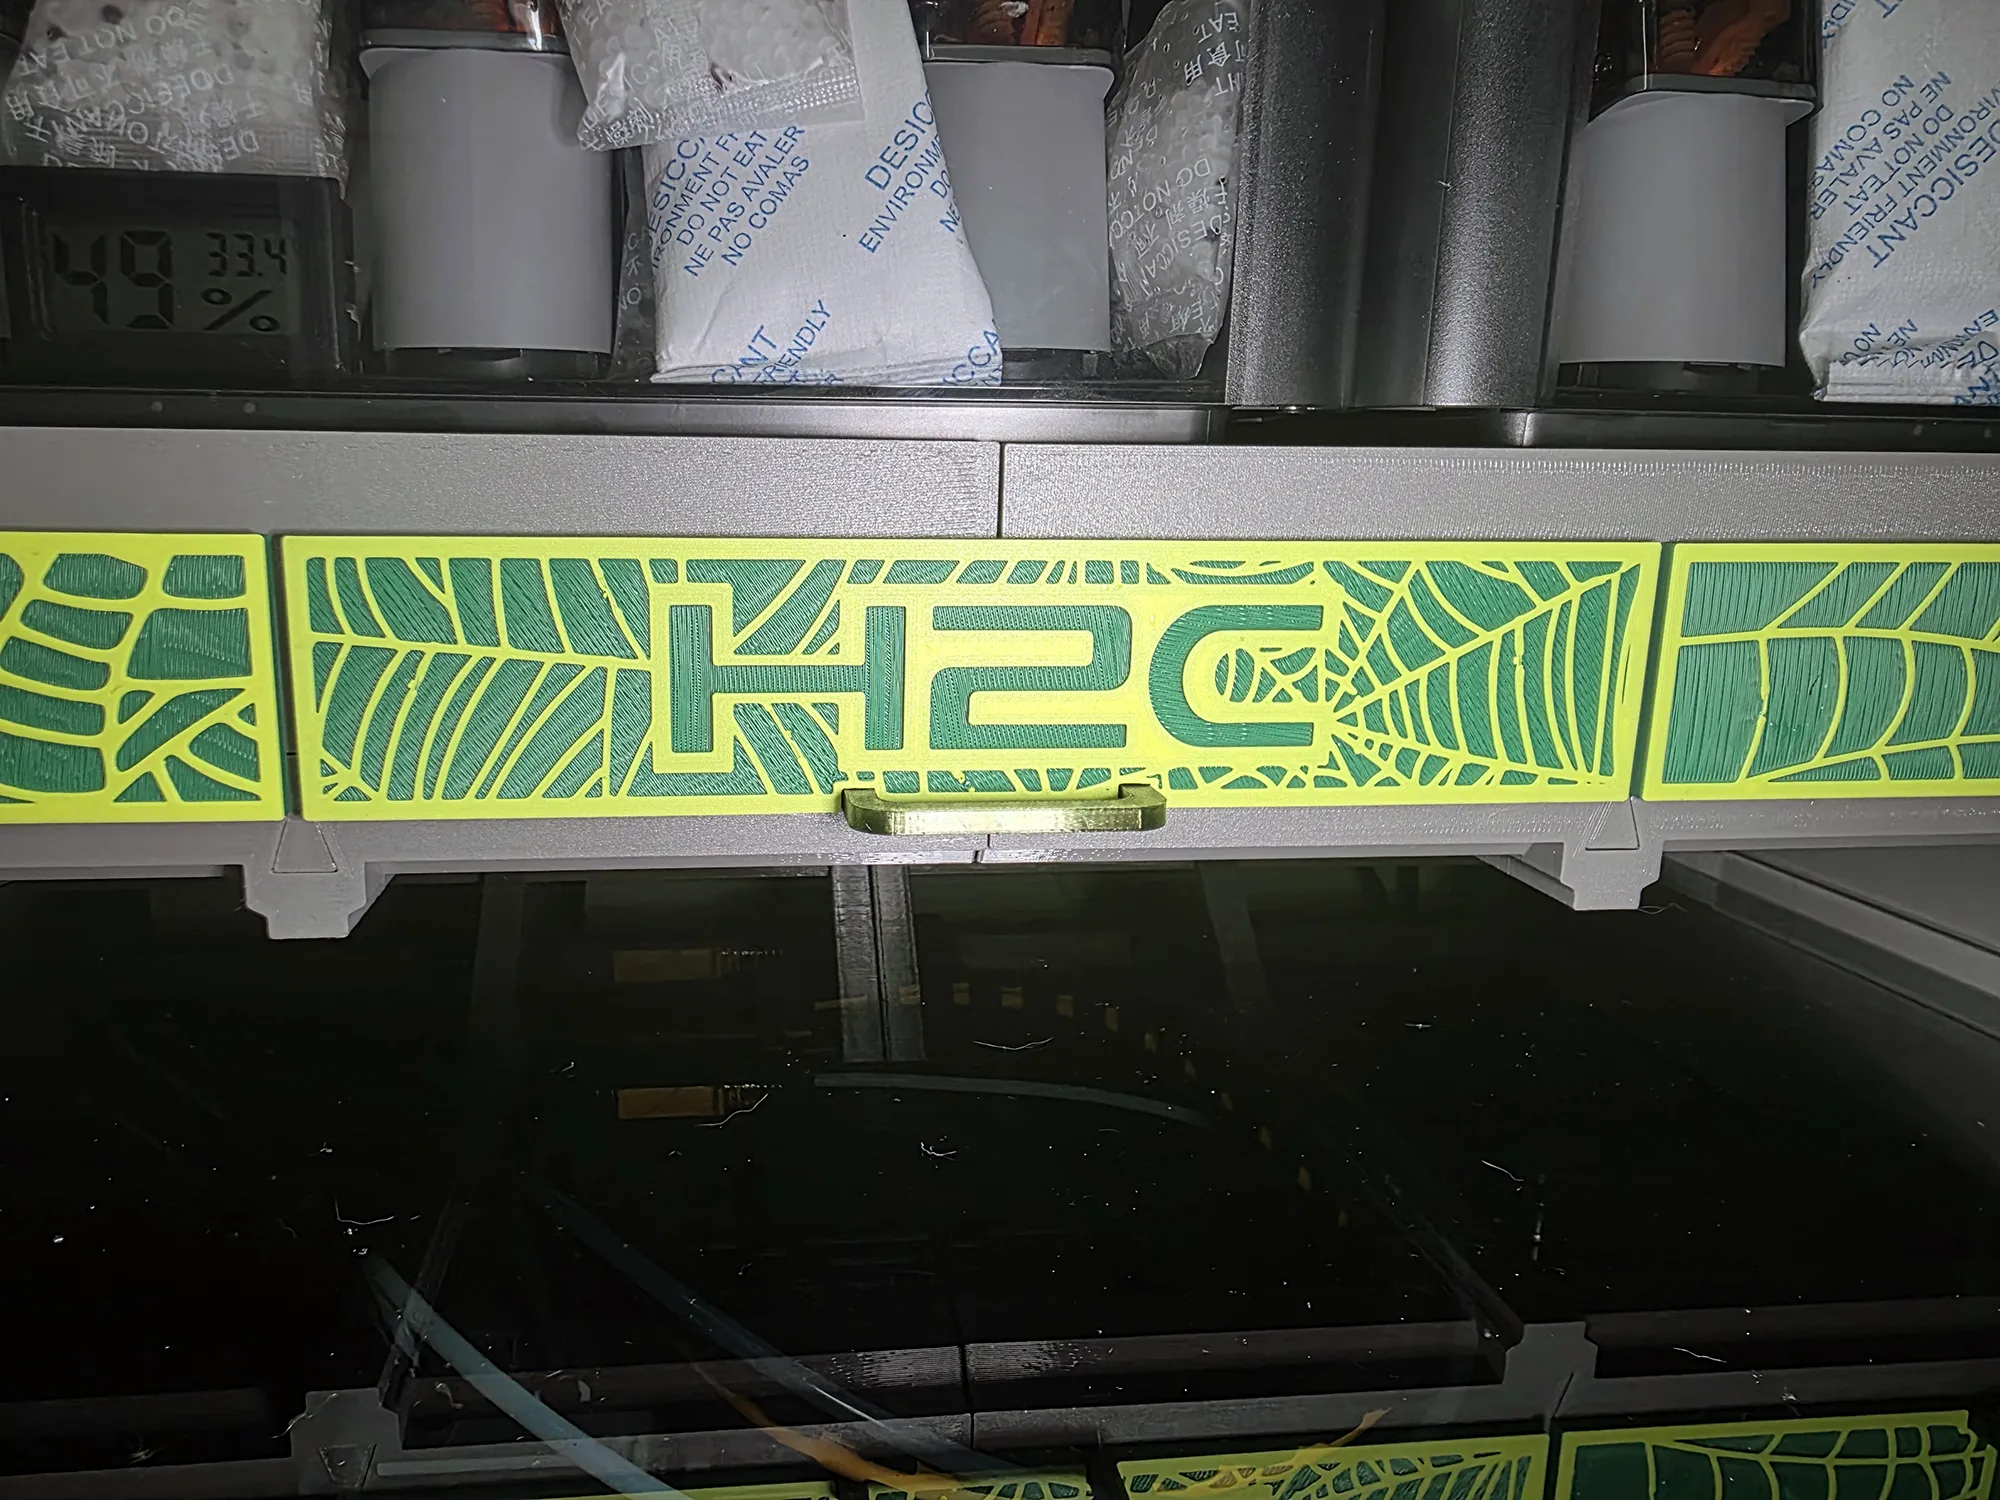 |
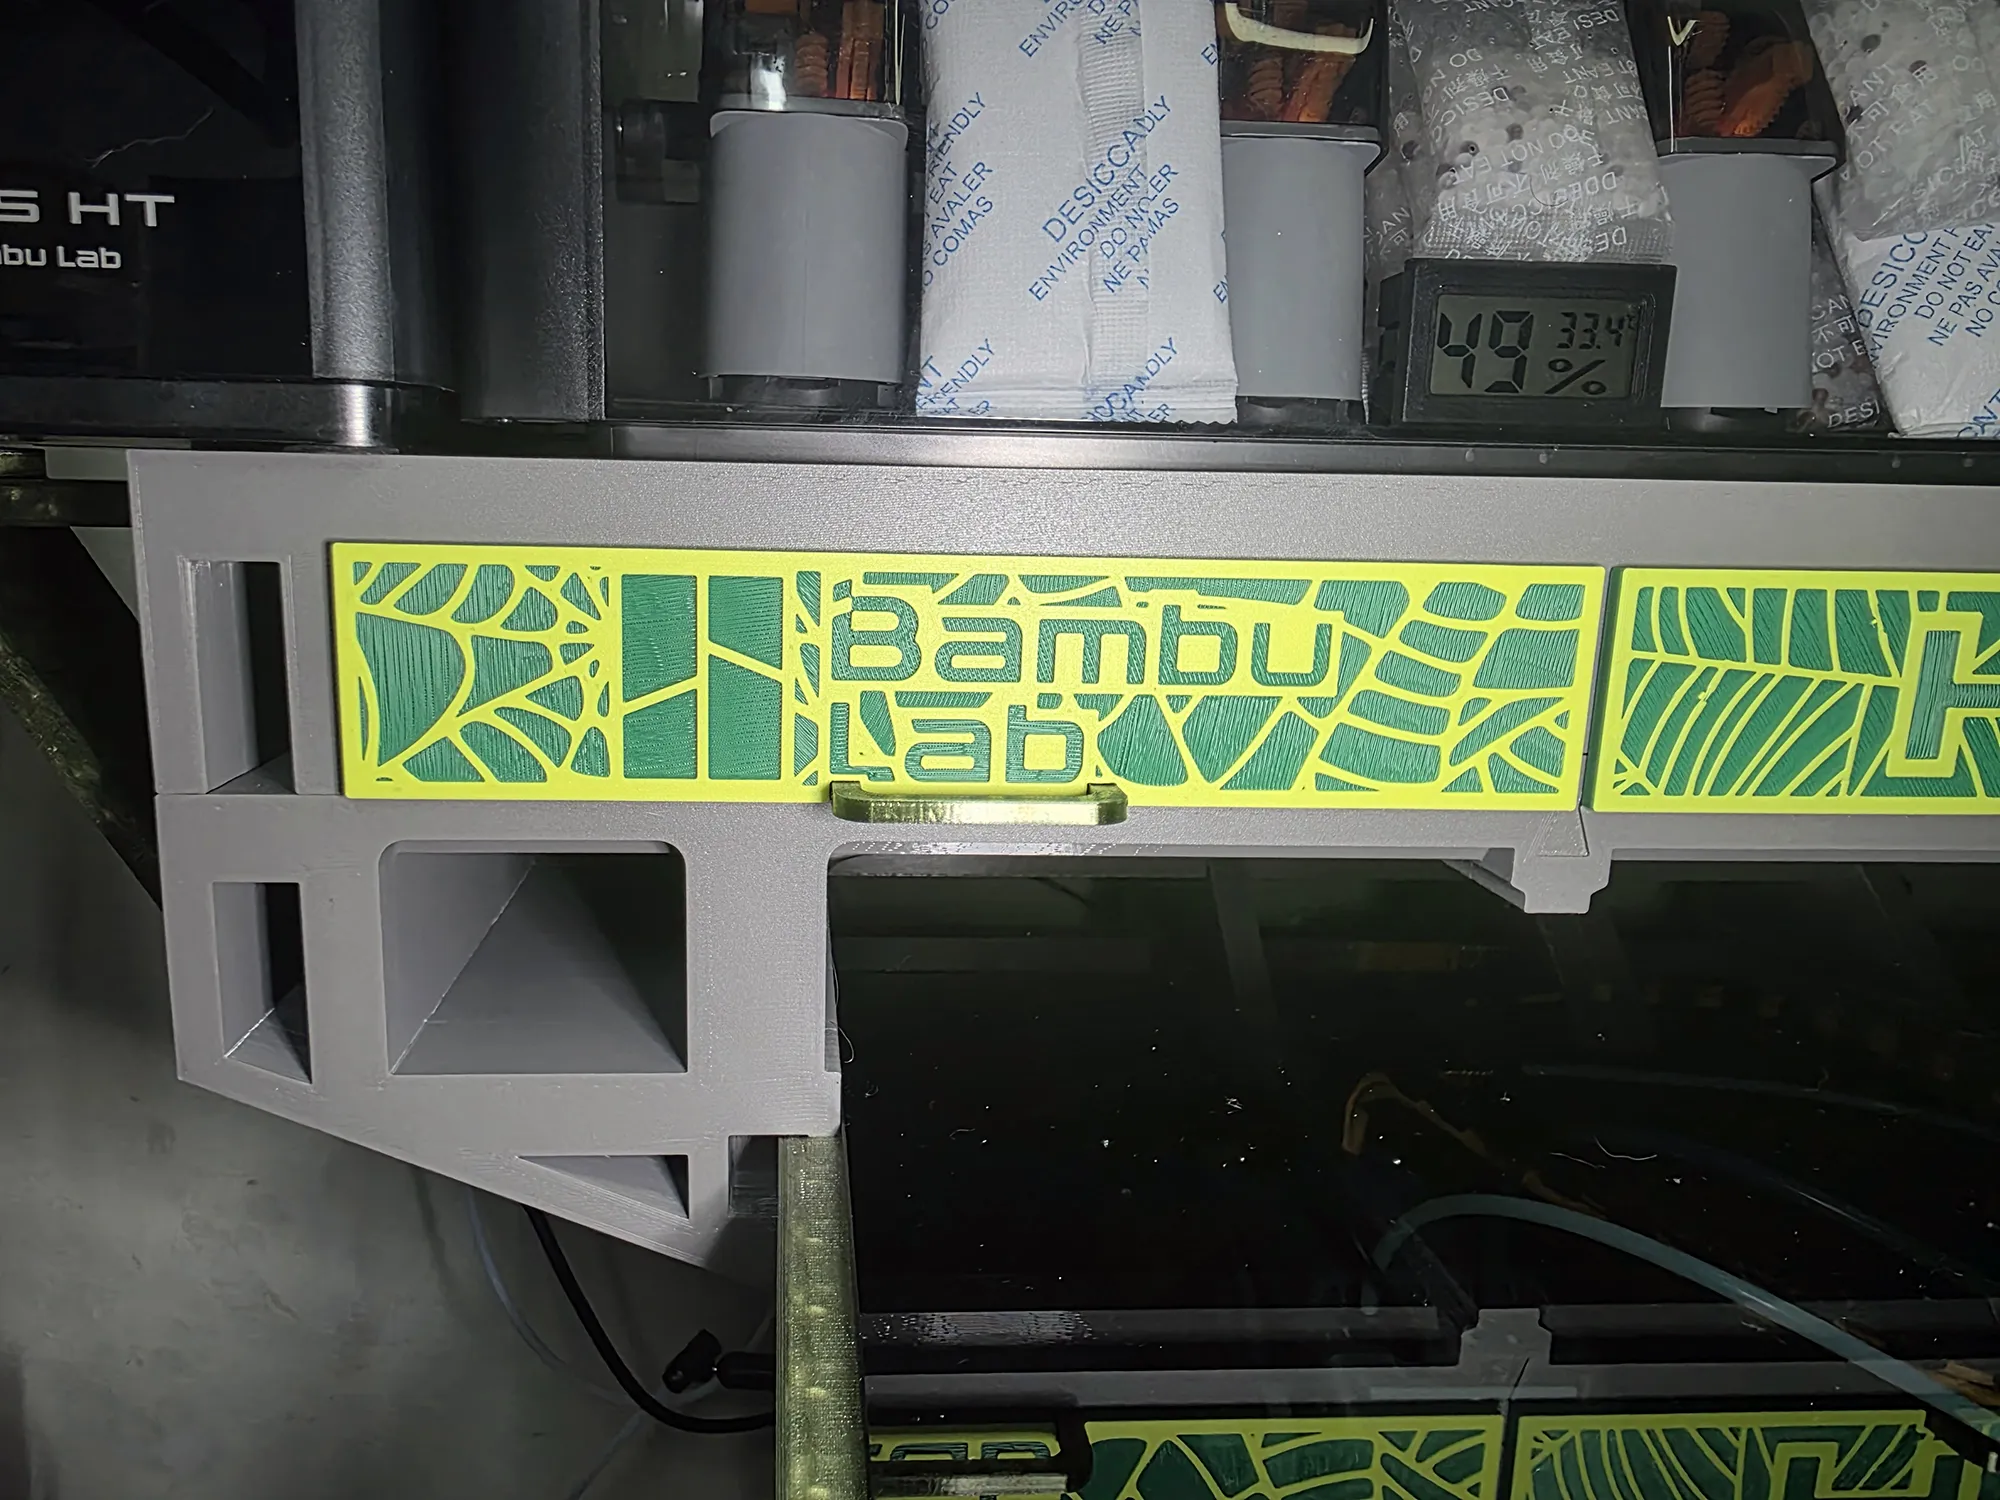 |
I also made a few design configuration for the drawers.. with specific nozzle for all H2 series printer.. You can also use the original panel drawers from the AMS riser and drawers V1
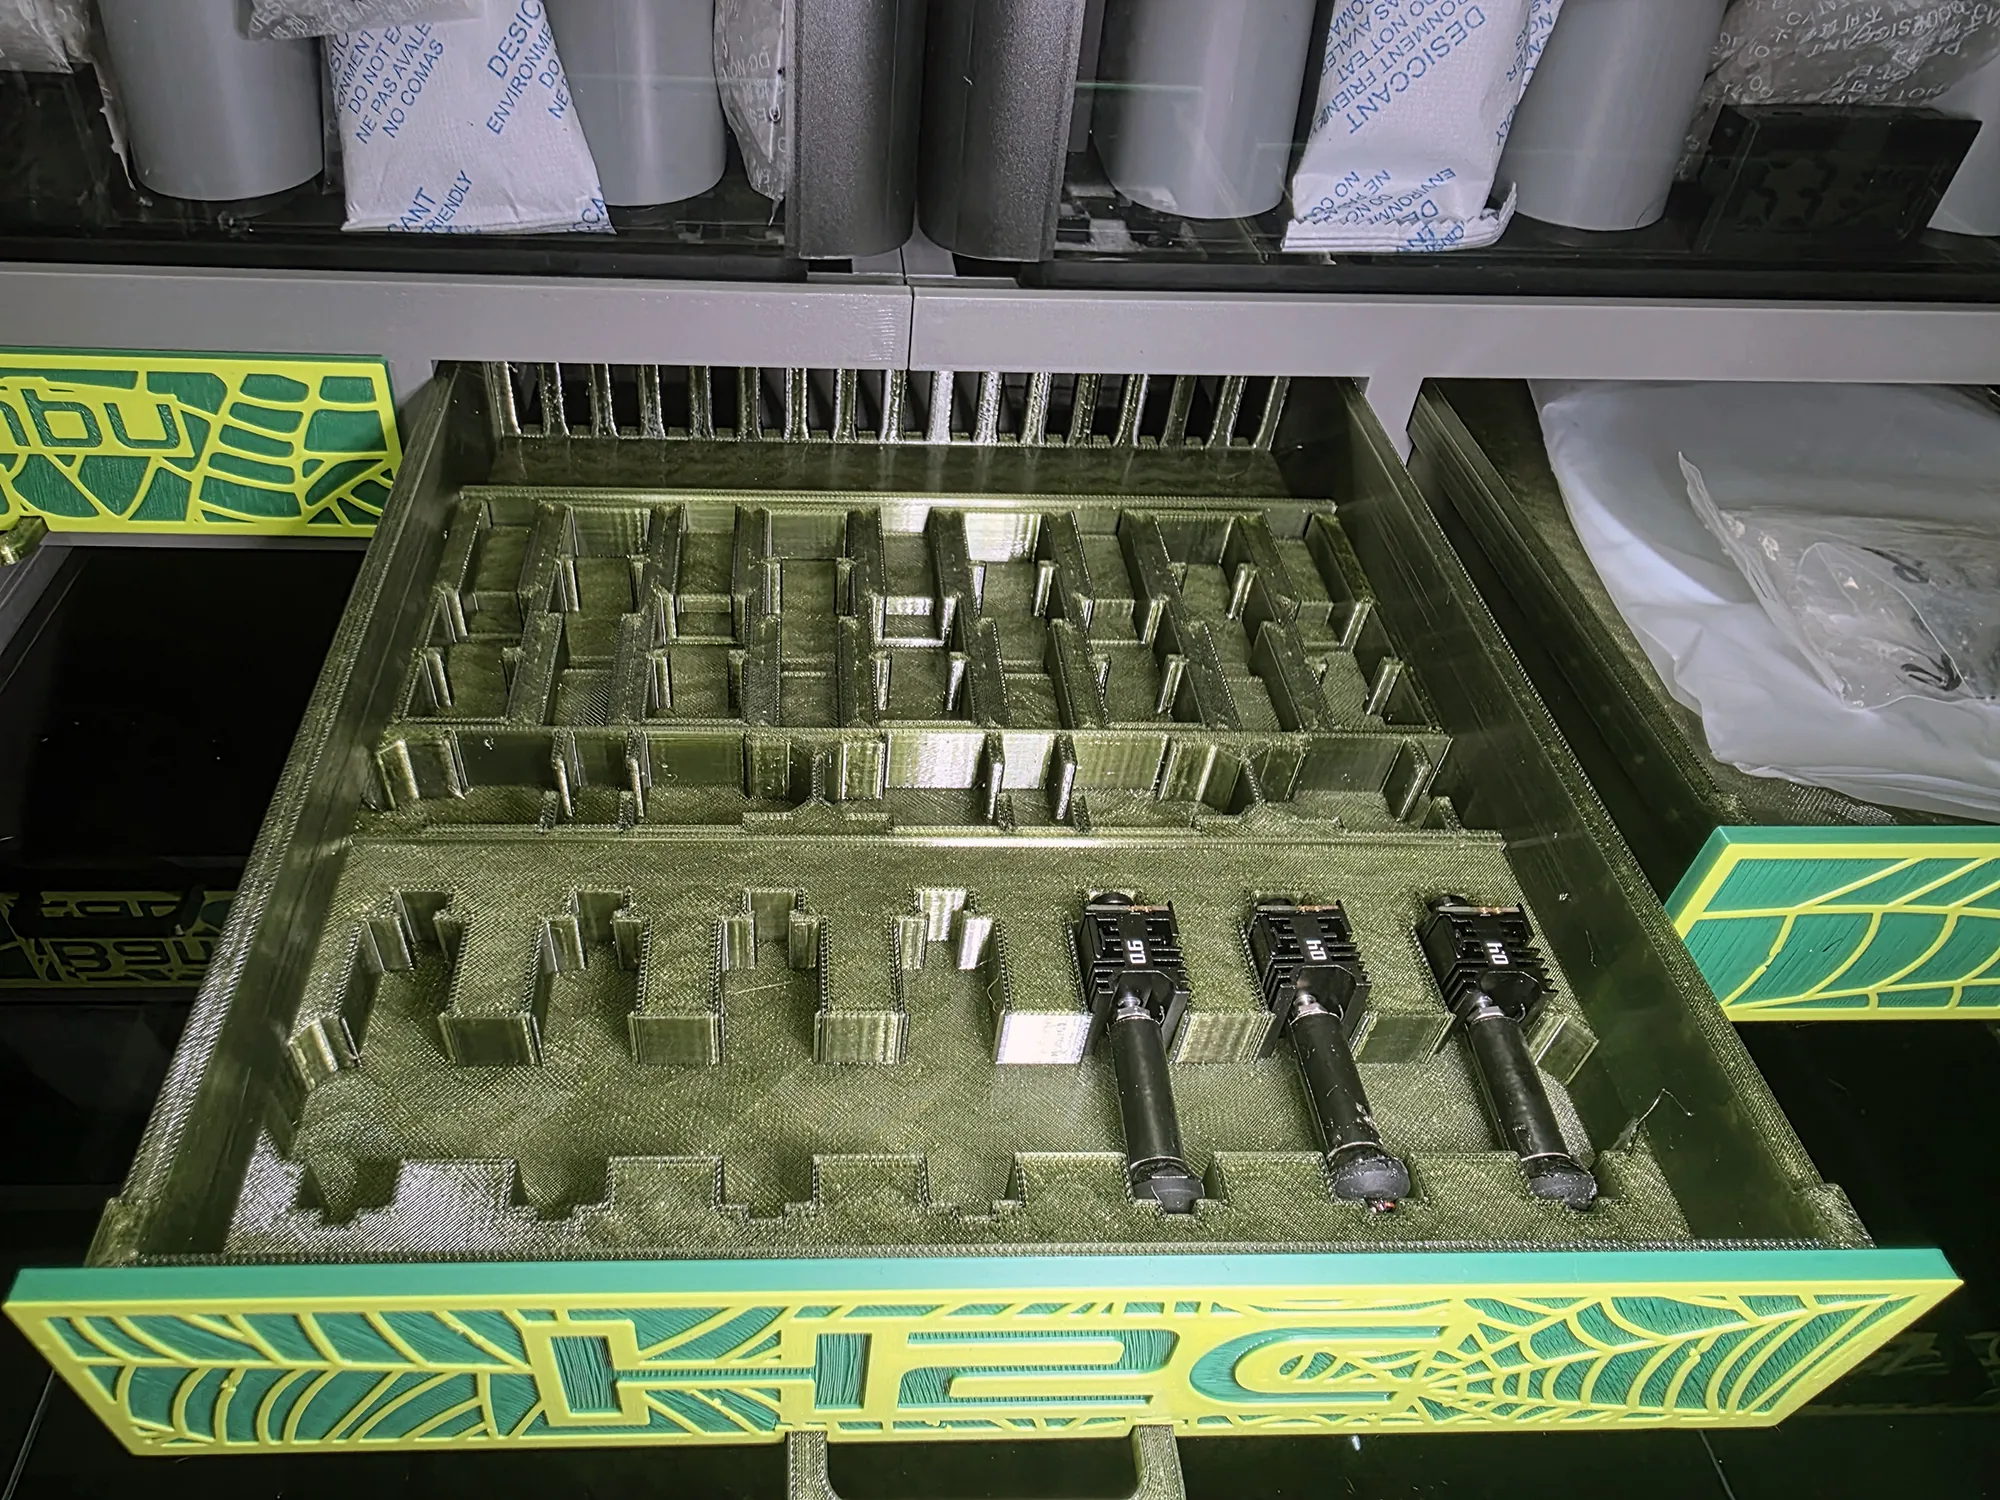




Reviews
There are no reviews yet.