
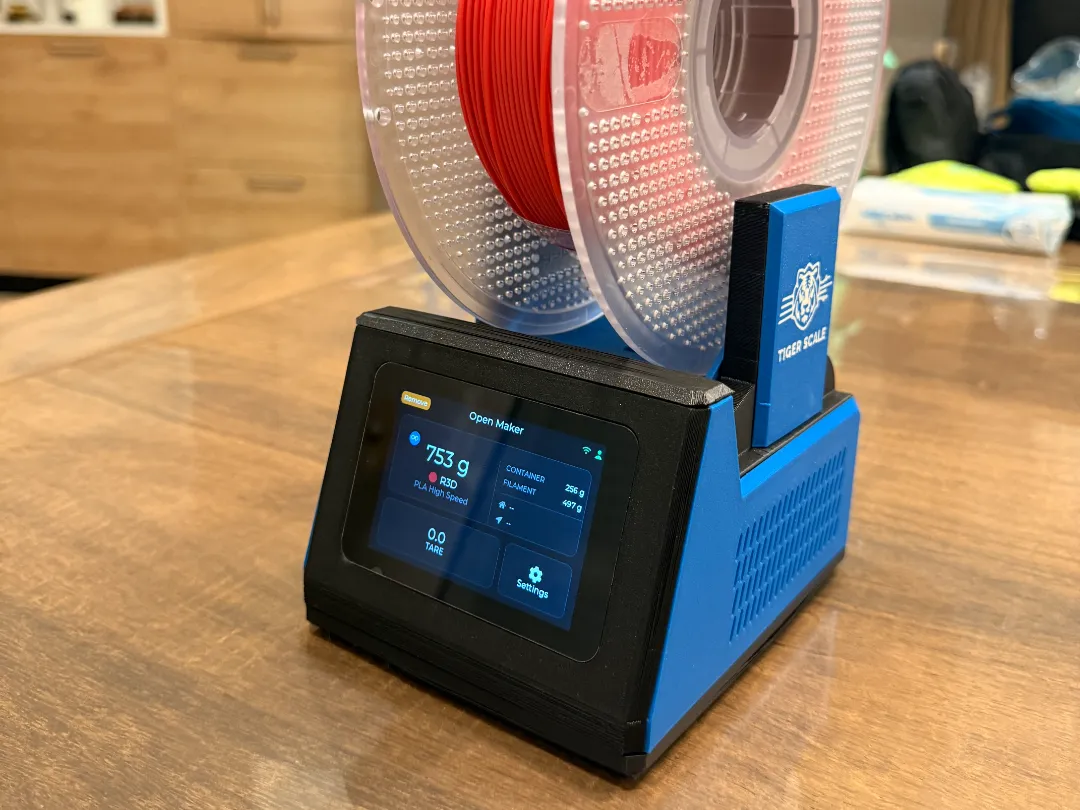
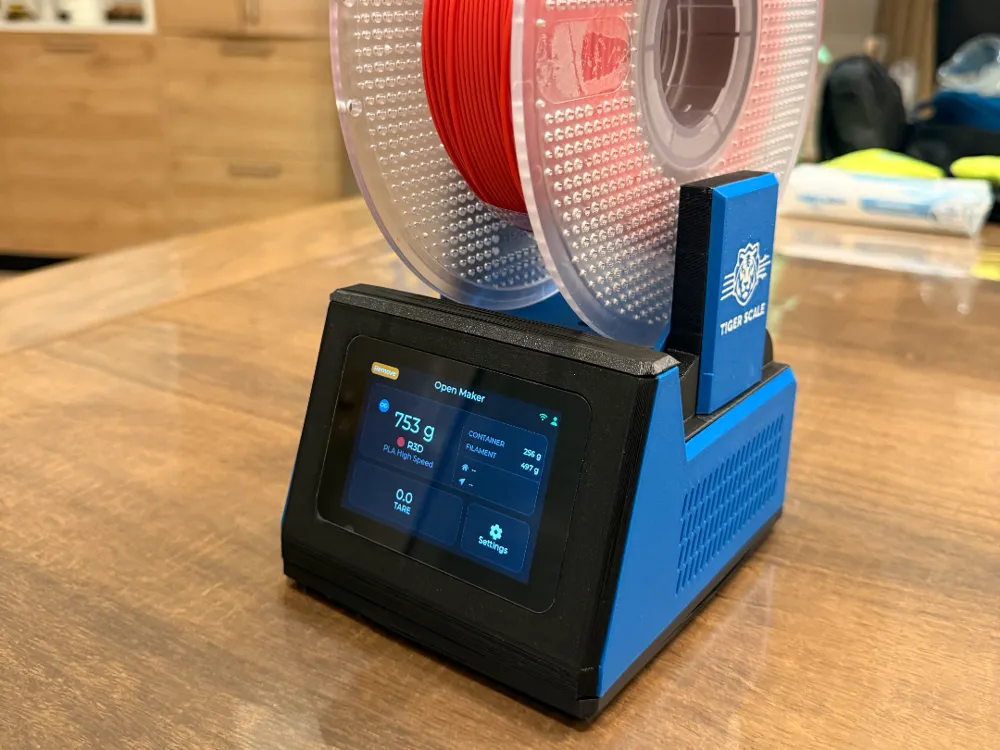
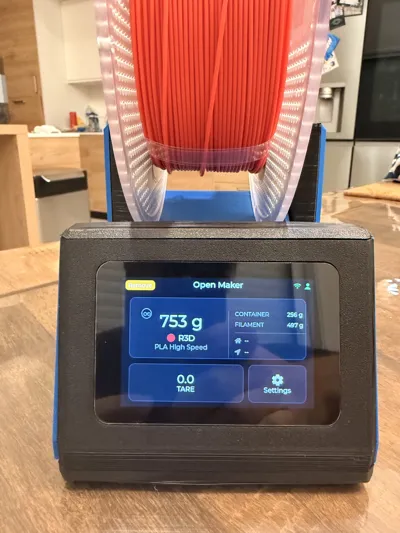
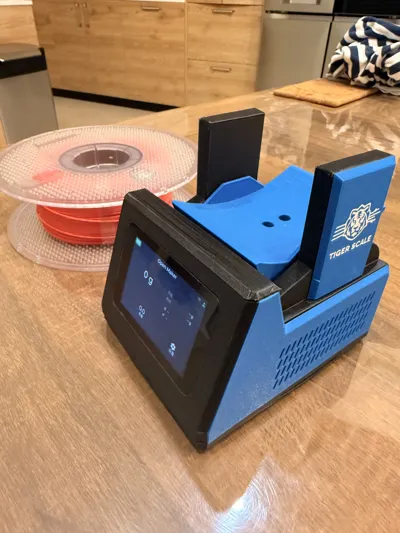
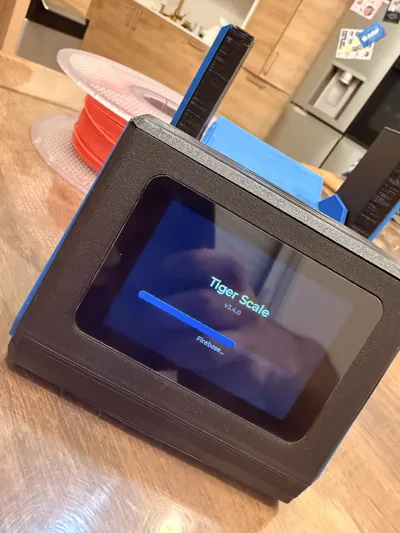
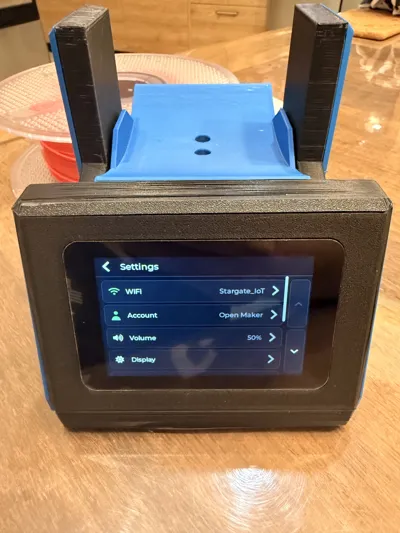
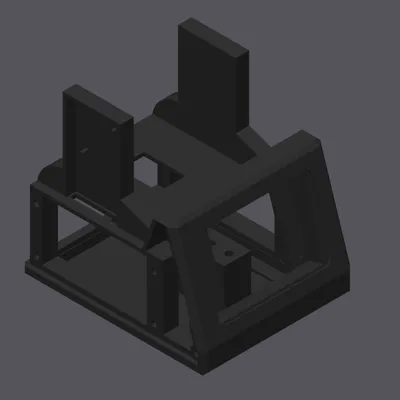
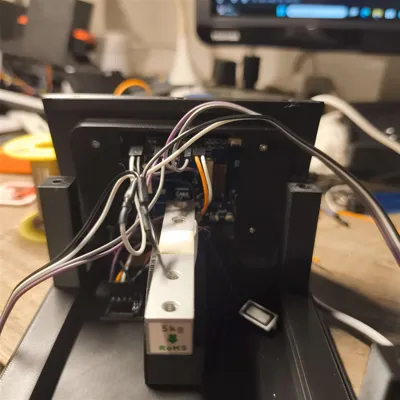
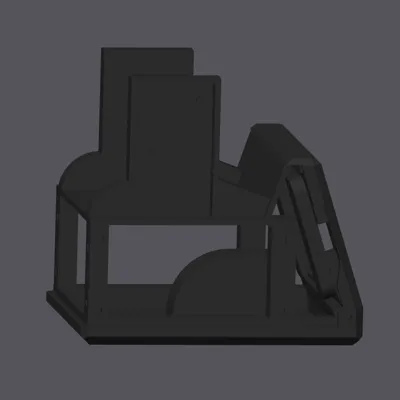
TigerScale V3 is a connected filament scale for 3D printing. Put a spool carrying a TigerTag NFC tag on the platform and it does the rest: it reads the tag, weighs the spool, subtracts the empty spool’s tare weight, and shows you how much filament is actually left.
No typing in spool weights. No squinting at the reel trying to guess. No sticky notes on the shelf. Put it down, read it, done.
The remaining weight syncs to your TigerTag account, so your phone, your desktop and your other scales all agree on what you have in stock.
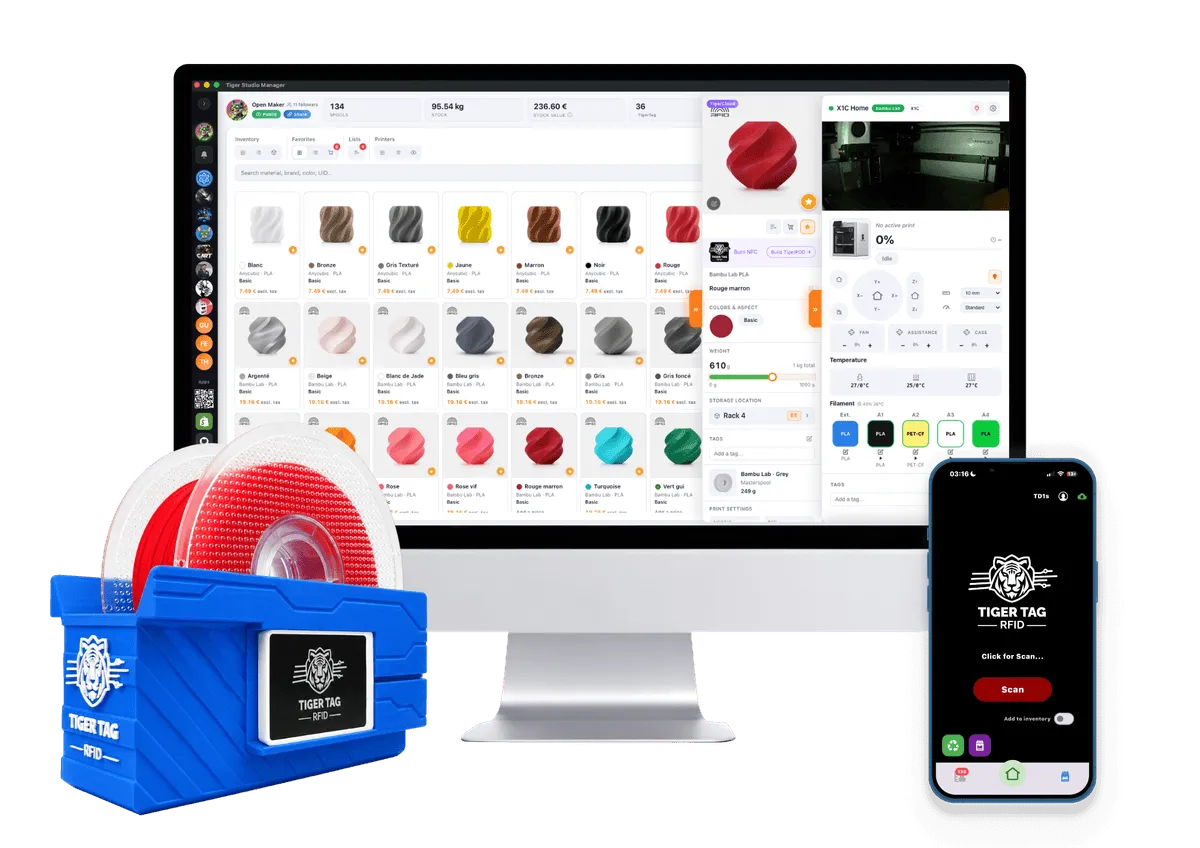
A normal scale tells you a number. It has no idea which spool is on it, so you still have to remember whether that number includes a 250 g cardboard spool or a 180 g plastic one.
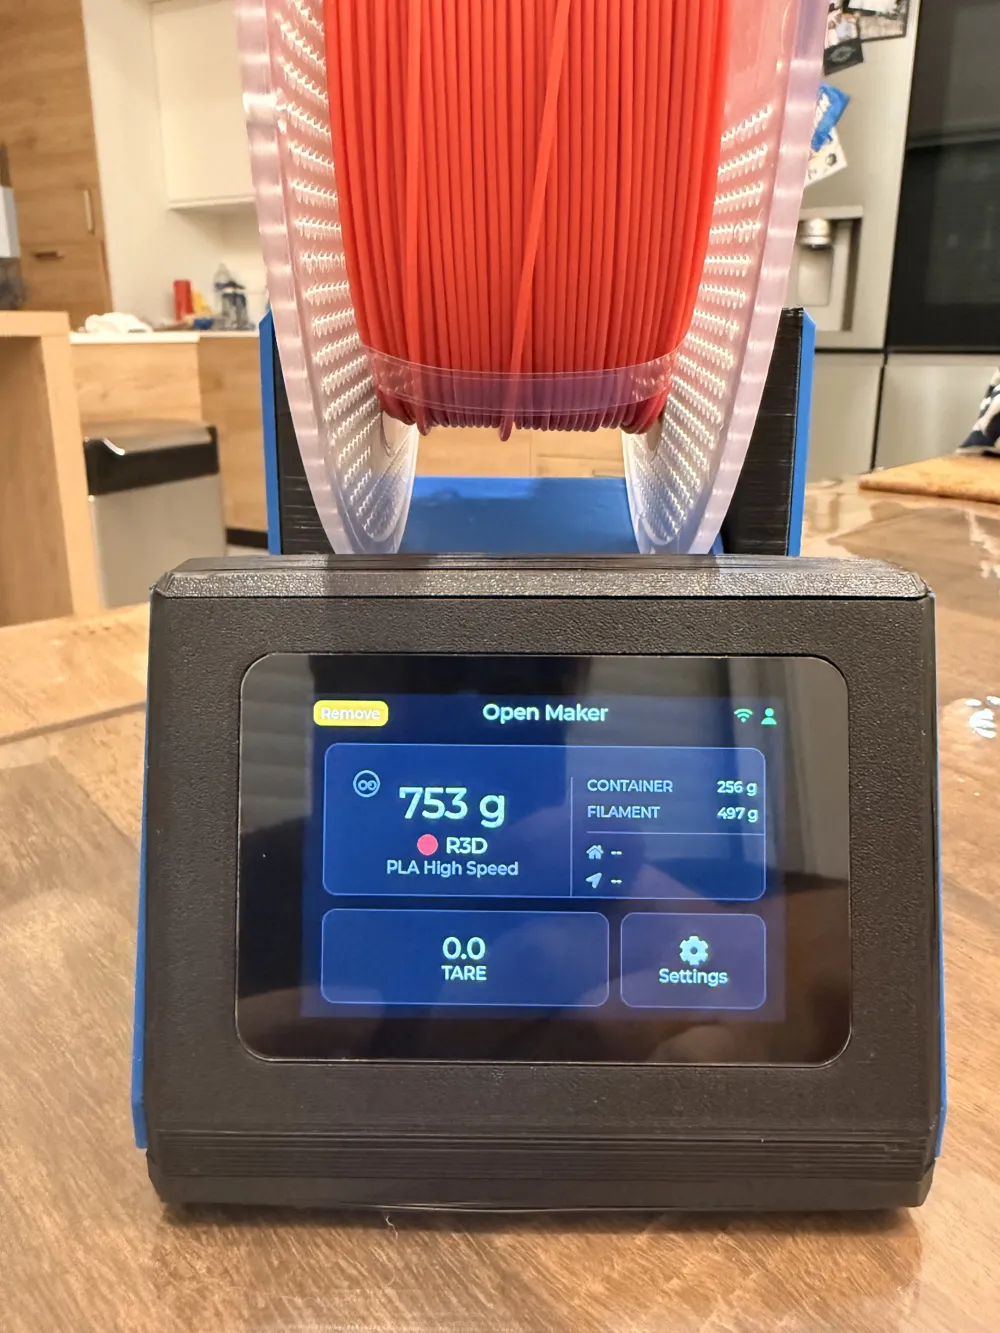
TigerScale reads the tag and already knows the brand, the material, the colour, the diameter and the empty spool weight. That is the difference between a vague number and 795 g of R3D PLA High Speed, gold.
Tags come from the TigerTag open protocol. Factory spools carry TigerTag+, whose reserved bytes hold an origin signature that can be verified offline, on your own phone, with no account. A cloned tag fails the check. Rosa3D ships it on 100% of its 1 kg production; R3D and eSun produce it at scale; Sunlu, Landu and JamgHE tag on request. You can also tag your own spools with reusable chips.
A 3.5-inch 480×320 colour touchscreen, driven by a proper LVGL interface, not a two-line character display:
Works offline: brand and material identification comes from a database stored in the device’s own flash, so identifying a tag never waits on the internet. The cloud account is optional.
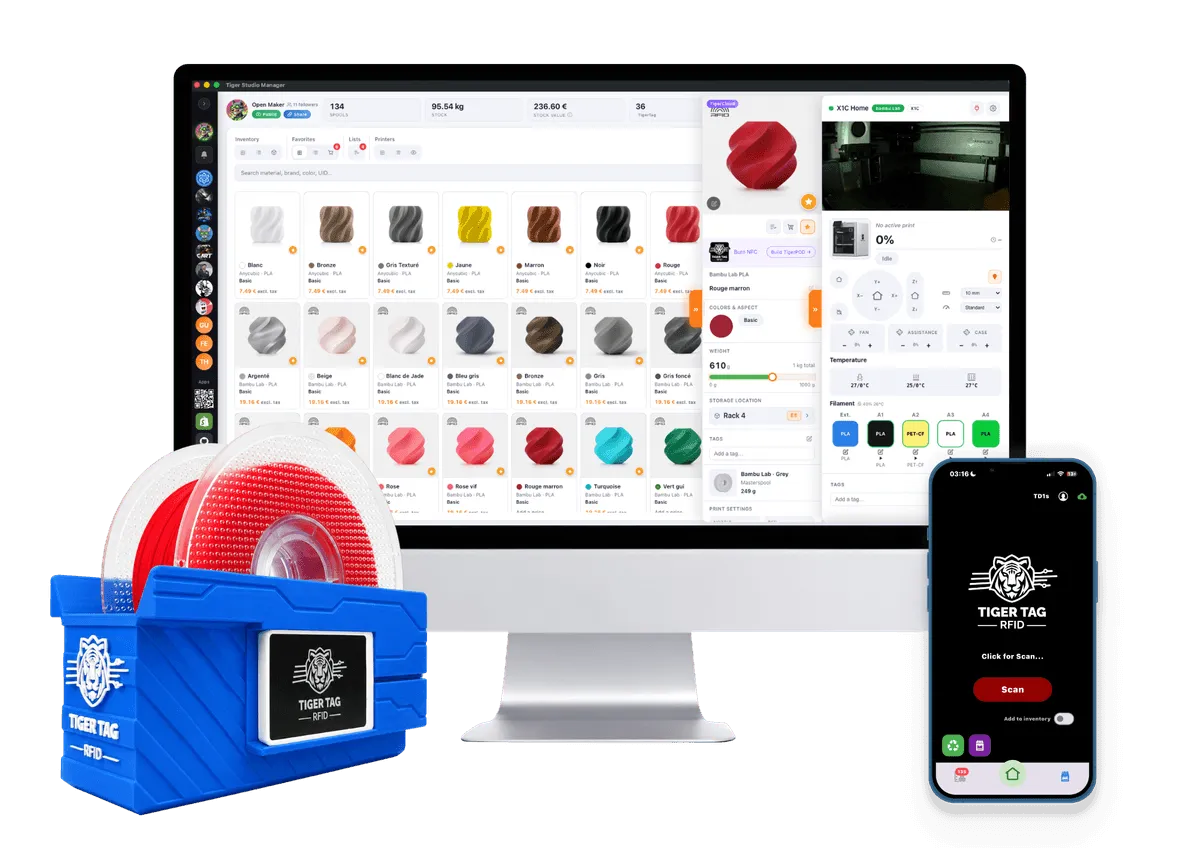
The scale is the hardware end of a system. TigerTag Studio is the desktop side: your whole filament inventory in one place, organised into racks and positions, every weighing from the scale landing in it seconds after the spool touches the platform. Weigh a spool on the scale, watch its remaining grams update in Studio across the room. One account, one language, one inventory, every device agrees. Get it at tigersystem.io
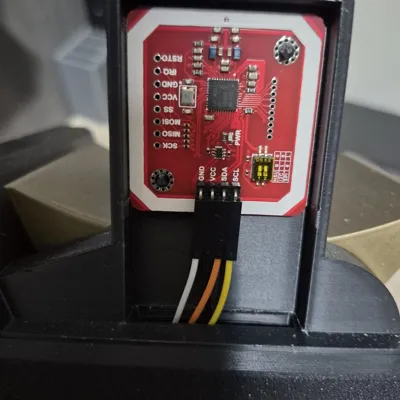
This is a build, not a kit – you will need to solder and wire. Two readers, because a spool can carry its tag on either flange. What you need:
Every part with a purchase link, and the full wiring diagram, is on the GitHub repo. Important: get PN532 modules with a pin header. The sealed USB-C-only dongles cannot work on this board – its USB-C port is wired as a device and can never act as a host. This is a hardware fact, not a firmware limitation.
Easiest: the web installer – plug the board into Chrome or Edge, click Install, done. No toolchain, nothing to compile. Or build from source with PlatformIO. After that the scale updates itself over the air, and every update keeps your WiFi, account and calibration. MIT licensed. Firmware, wiring diagram, issues and improvements are all on GitHub. Come say hi on Discord.
New to this build? You are not on your own. Flashing takes one click from your browser, the scale sets itself up on first boot, and our community is one message away if you get stuck.



Reviews
There are no reviews yet.